Want to transform your boring planner into a productivity powerhouse? Here’s how to use aesthetic planner stickers to create a cohesive theme:
Key sticker types to include:
Pro tips:
Think of creating a planner theme like cooking up your favorite dish. You need the right ingredients – colors, patterns, and seasonal designs – to make it taste (or in this case, look) amazing.
Want a planner that looks put-together? Keep things consistent. It’s not just about looking good – it makes your planner easier to use, too. Nicola from My Inner Creative puts it this way:
"Creating a color palette for your journal or planner really helps you create a really cohesive feel in your journal."
Here’s a trick: plan your themes for the whole year in advance. It saves you from scratching your head each month, wondering what theme to use next.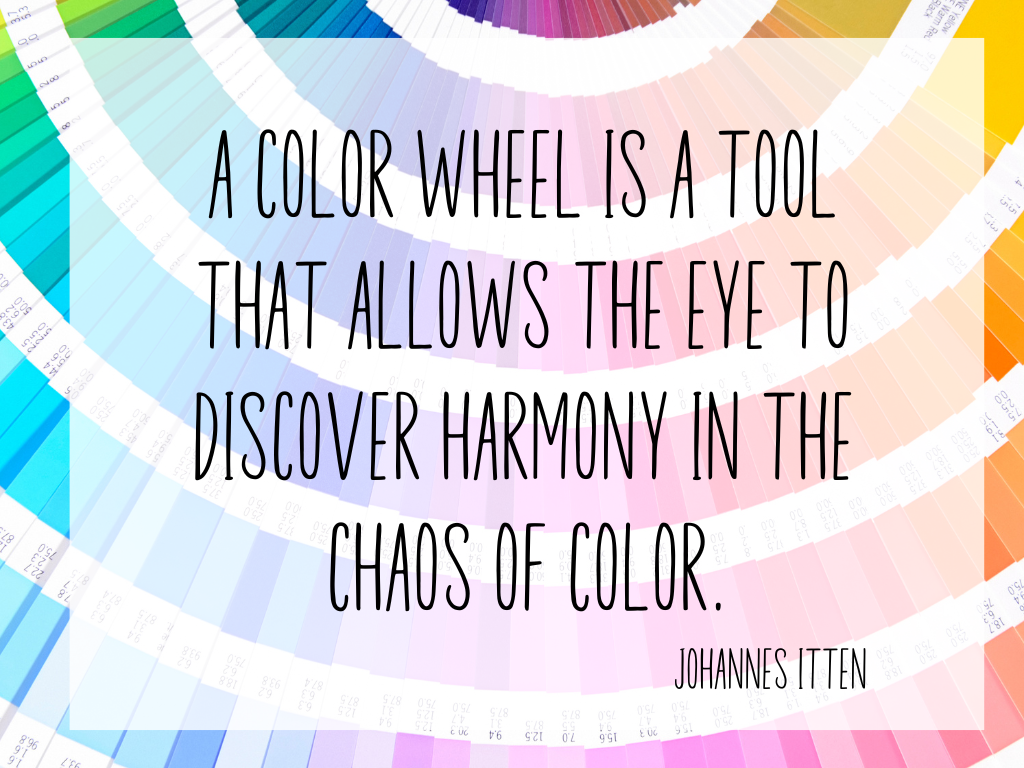
Colors are the secret sauce of your planner theme. They set the mood and can even make you more productive. Try this: make a mood board in your journal. Grab colors from pictures you love to create a theme that flows.
Take IvoryDigitalHub‘s approach, for example. They used soft, earthy colors that made their notes and doodles look cozy and inviting. They found:
"Using an aesthetic color set also helped me stay organized and focused."
Want to find info fast? Give each topic its own color. It’s like color-coding your brain!
Mixing patterns can be tricky. But when you nail it, your planner really pops. Here’s an easy way to do it:
One planner fan shared their theme: Mustard, Grey, and Black with A&O Stickers, plus marbled and wood wash washi tape. It looked great and let them get creative, too.
Let’s get your planner theme up and running. Here’s how to create a look that’s both practical and eye-catching.
Choosing your main colors sets the stage for your entire planner. Pick 2-3 core colors that match your style and the mood you’re after.
Take Dark Moon Paper‘s ‘Lilac Dusk’ sticker kit. It uses lavender, soft gray, and white. This mix creates a calm, dreamy feel – perfect if you want your planner to be a stress-free zone.
Your color choices can impact your mood and how much you get done. Bright colors, like in the ‘Electric Forest‘ kit, can pep you up. Softer shades of green, like in ‘Cottage Succulents‘, might help you feel more centered.
Now that you’ve got your colors, it’s time to accessorize. This is where the fun begins! Pick stickers, washi tape, and other decorations that go well with your main colors.
Here’s what Rachael Snow, founder of Dark Moon Paper, says:
"Don’t be scared to mix things up. Sometimes, the combos you least expect look the best. Just make sure there’s something tying it all together – could be color, theme, or style."
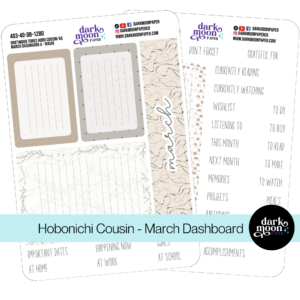
Using the ‘Cottage Succulents’ theme? Try adding some flowery washi tape, leaf-shaped page markers, and earth-toned highlighters. This will boost that cozy, natural vibe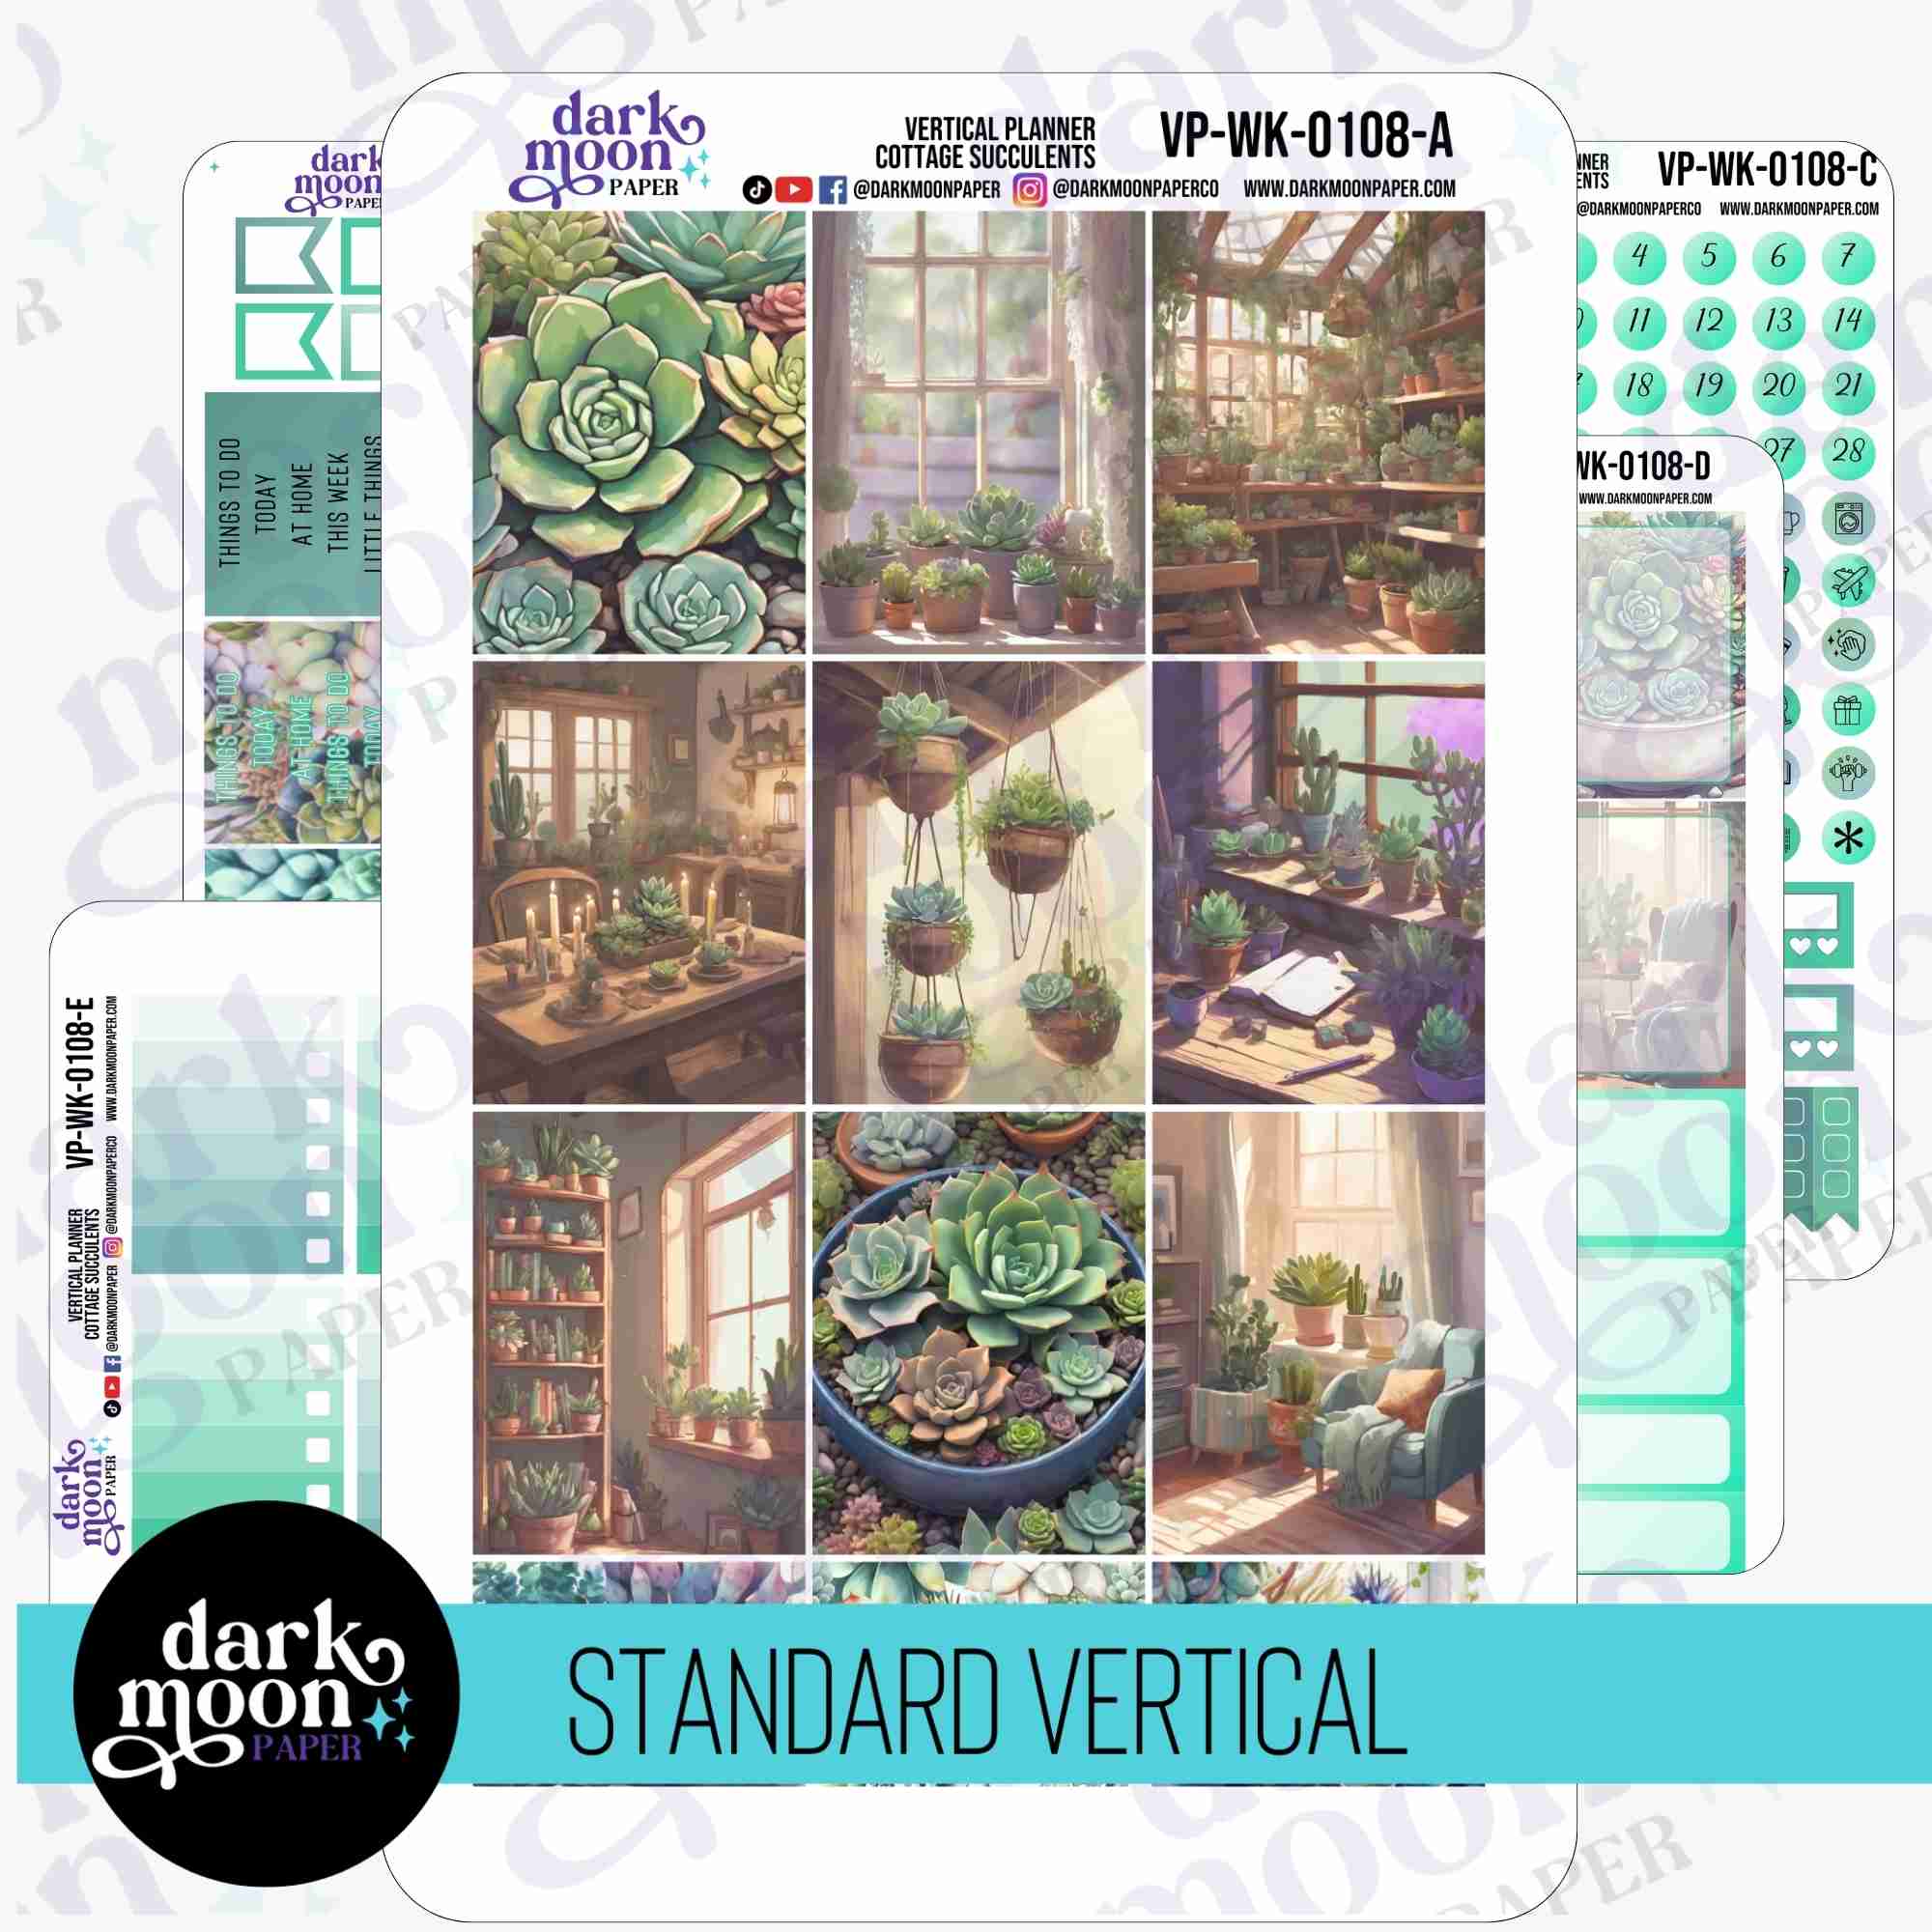 ’Cottage Succulents’ planner sticker kit by Dark Moon Paper
To keep your theme going strong throughout your planner, consistency is key. Here’s a simple way to keep your layouts fresh yet cohesive:
1. Weekly Layouts
Start with a base that fits your main theme. If you’re using the ‘Electric Forest’ kit, you might use neon washi tape to split up your days.
Chloe from @bulletjournalbychloe has a tip:
"I only use Monday to Friday as this daily agenda is for work. It’s a super simple way to decorate your daily agenda and keep it functional!"
2. Monthly Layouts
For your monthly spread, go all out with your theme. This is where you can really show off those beautiful stickers and let your creativity loose. Use bigger decorative elements here – you’ve got more space to play with.
3. Transitioning Between Themes
Want to switch things up month-to-month? Try to find something that connects them. Maybe it’s a color that carries over, or a design that evolves. This creates a subtle flow in your planner, even as your themes change.
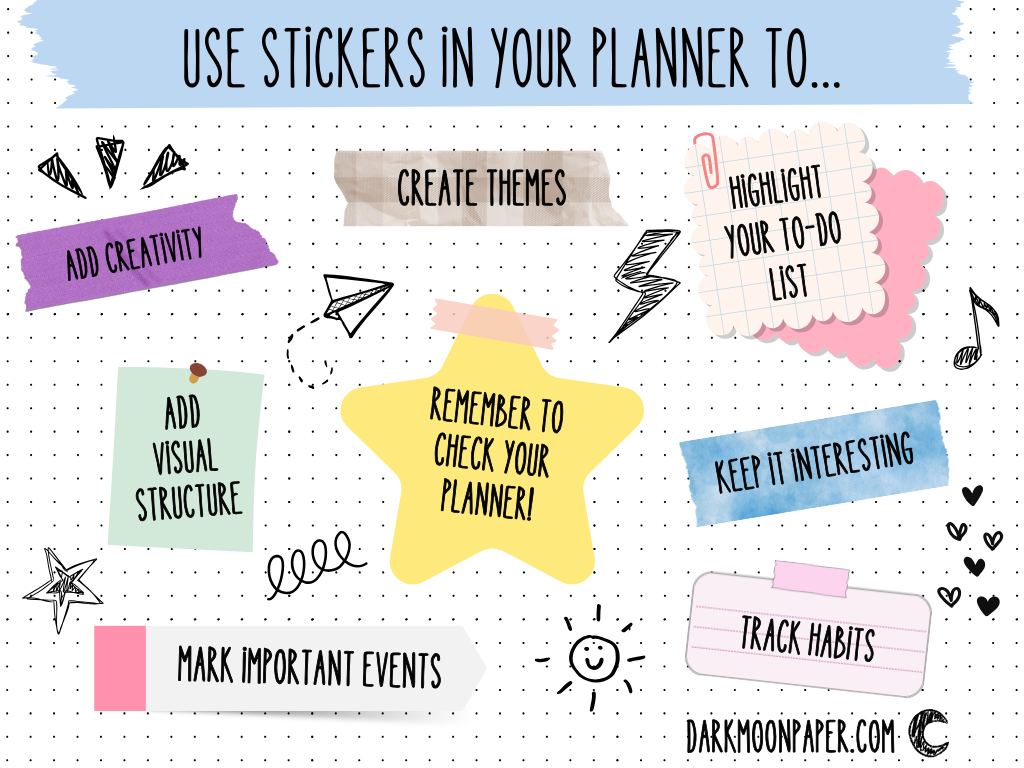
Creating a planner that’s both functional and stylish isn’t rocket science. Here’s a rundown of the sticker types you’ll want to have in your arsenal:
These are your planner’s backbone. They include:
Take Dark Moon Paper’s ‘Lilac Dusk’ kit. Its lavender headers can give your layout an instant facelift. As Rachael Snow, the founder, puts it:
"Start with your basic layout stickers. They’re like the skeleton of your planner – everything else builds on top of them."
These are your productivity boosters:
Pro tip: Use different colors for different tasks. Blue for work, green for personal stuff. Simple, but effective.
This is where you get to flex your creative muscles. Decorative stickers and washi tape can turn your planner from drab to fab. Check out Dark Moon Paper’s ‘Electric Forest’ kit for some nature-inspired eye candy.
But remember, pretty doesn’t mean useless. Rachael Snow nails it:
"Don’t be afraid to mix functional and decorative stickers. A beautiful tracker can motivate you to actually use it!"
When picking stickers, think about how they’ll play together. You’re not going for identical twins, but more like a harmonious family portrait. For example, the ‘Cottage Succulents’ theme pairs nicely with earth-toned highlighters and leaf-shaped page markers.
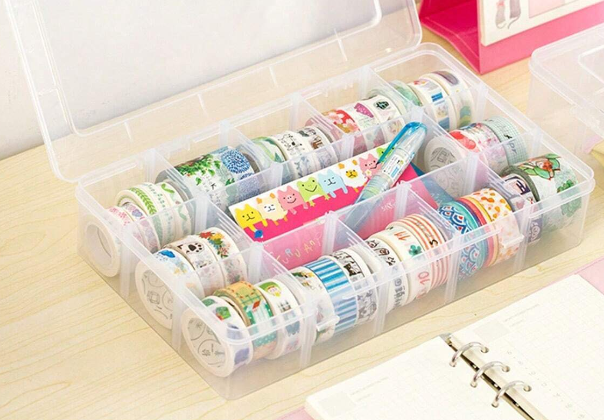
And don’t sleep on versatility. Washi tape is like the Swiss Army knife of planner supplies. Use it for decoration, labels, or quick dividers. It’s a must-have in any planner enthusiast’s toolkit.
Got your stickers? Great! Let’s make your planner pop.
Smart sticker placement can turn your planner from dull to dazzling:
Rachael Snow from Dark Moon Paper says:
"Think of your planner as a canvas. Each sticker is a brushstroke. Place them smart to guide the eye and highlight what matters."
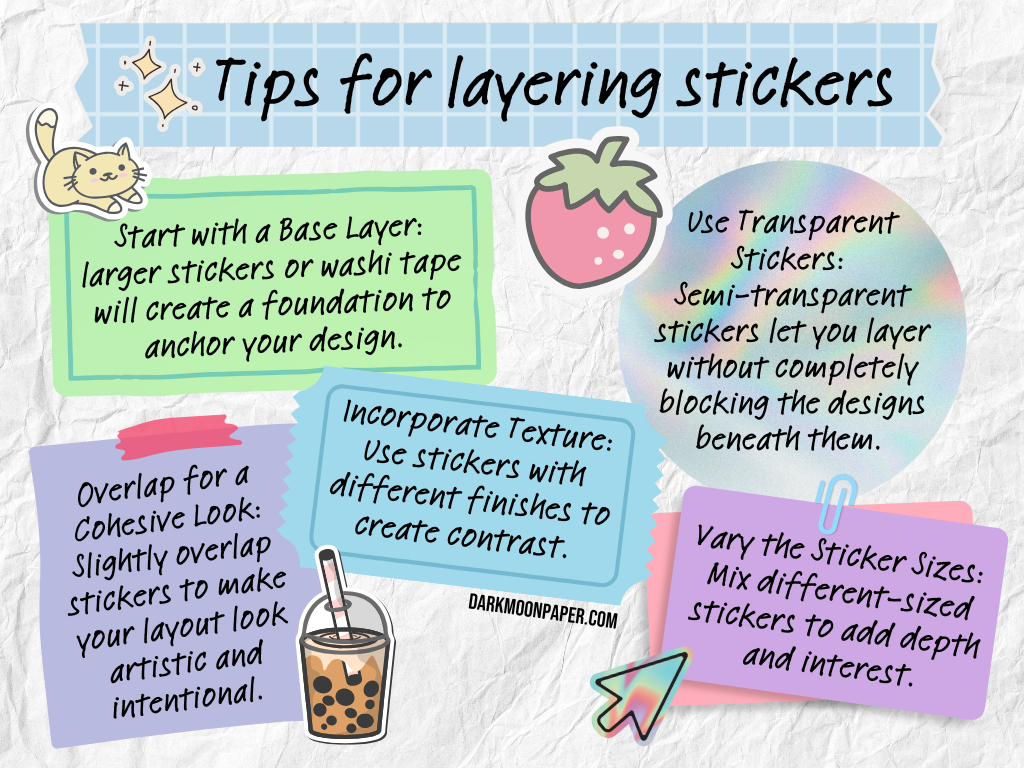
Layering adds depth, but don’t go overboard. Here’s the trick:
1. Start with a base: Big, flat stickers go first.
2. Build up: Add smaller stickers on top, slightly overlapping.
3. Use transparency: Semi-transparent stickers, like in the ‘Lilac Dusk’ kit, are great for layering without hiding stuff.
4. Keep it functional: Don’t cover important info or writing space.
Rachel, a planning fan, puts it well:
"Stickers can support your goals and make planning fun. But sometimes, one perfect sticker beats a whole bunch."
Make your planner look good AND work well:
Sticking to a planner theme all year? It’s not as hard as you think. Here’s how to keep it fresh and fun.
Want your weekly layouts to pop? Try these:
1. Color is king
Pick a color scheme and stick to it. Using Dark Moon Paper’s ‘Lilac Dusk’ kit? Make those lavender and soft gray tones your best friends.
2. Sticker rotation
Keep your color scheme, but mix up your stickers. It’s like changing your outfit while keeping your style.
3. Theme days
Give each day a job. It’s not just organized – it’s a chance to use those themed stickers regularly.
Thalia, a productivity guru, says: "Having set tasks for each day takes the stress out of daily planning."
Changing your theme month-to-month? Here’s how to do it without giving your planner an identity crisis:
1. Slow and steady
Don’t rush into changes. Ease new elements in that play nice with your current theme.
2. Roll with the seasons
Let your theme follow nature’s lead. Spring pastels can bloom into summer brights.
3. Keep some constants
Hold onto a few key elements across months. Maybe it’s your header style or a recurring doodle.
Holidays are your chance to jazz things up without losing your theme’s essence. Here’s the game plan:
1. Color harmony
Choose holiday stickers that vibe with your main colors. Got a green theme? Red Christmas stickers will look right at home.
2. Overlay magic
Use holiday overlays or washi tape that complement, not overpower. Check out EaseAndFlowLife on Etsy for some "Holiday Goodnotes Stickers" that play well with others.
3. Quick changes
Add small holiday touches you can easily swap out later. It’s like putting a Santa hat on your theme – festive, but temporary.
A California-based planner pro who designs holiday sticker sets says: "You can deck out your planner for a whole year with seasonal holiday stickers. It’s like a year-long celebration in your planner!"
Even pros hit snags with their planners. Let’s tackle some frequent issues and how to solve them.
Crooked stickers can mess up your spread. Here’s how to fix them without ruining your pages:
For stubborn stickers:
1. Use a clothes iron
Set it to low heat. Put a piece of cardstock over the sticker for protection.
2. Apply heat
Gently press the iron over the sticker area. This softens the glue.
3. Cool and flatten
After heating, put a heavy, cool object on top for about 20 minutes.
They suggest using a hair dryer and a clean toilet paper roll. Blow hot air through the roll while rolling the stickers against the curve. Then, cool it down with something heavy on top.
For easier stickers, just peel them back carefully and stick them on again. Take your time and be gentle to avoid tearing pages.
Too many stickers can make your planner messy and hard to use. Here’s how to clean it up:
1. Prioritize
Figure out which stickers you really need for planning and which are just for looks.
2. Consolidate
Use bigger stickers that cover more space. It looks cleaner.
3. White space
Leave some blank areas. It gives your eyes a break and makes important stuff stand out.
4. Layering
If you can’t part with stickers, try layering them. It adds depth without overwhelming the page.
A planner expert from Crushing It Chronically says:
"Simple is always best. You can always add lines, dots, colors, stickers and notes to a very simple layout."
When colors clash, it can throw off your whole theme. Here’s how to fix it:
1. Use a color wheel
It helps you find colors that work well together.
2. Stick to a palette
Pick 2-3 main colors and use shades of these throughout your spread.
3. Neutral buffer
If colors are clashing, add a neutral color like white, beige, or gray between them.
4. Color coding
Use specific colors for different tasks or events. It looks organized and helps you plan better.
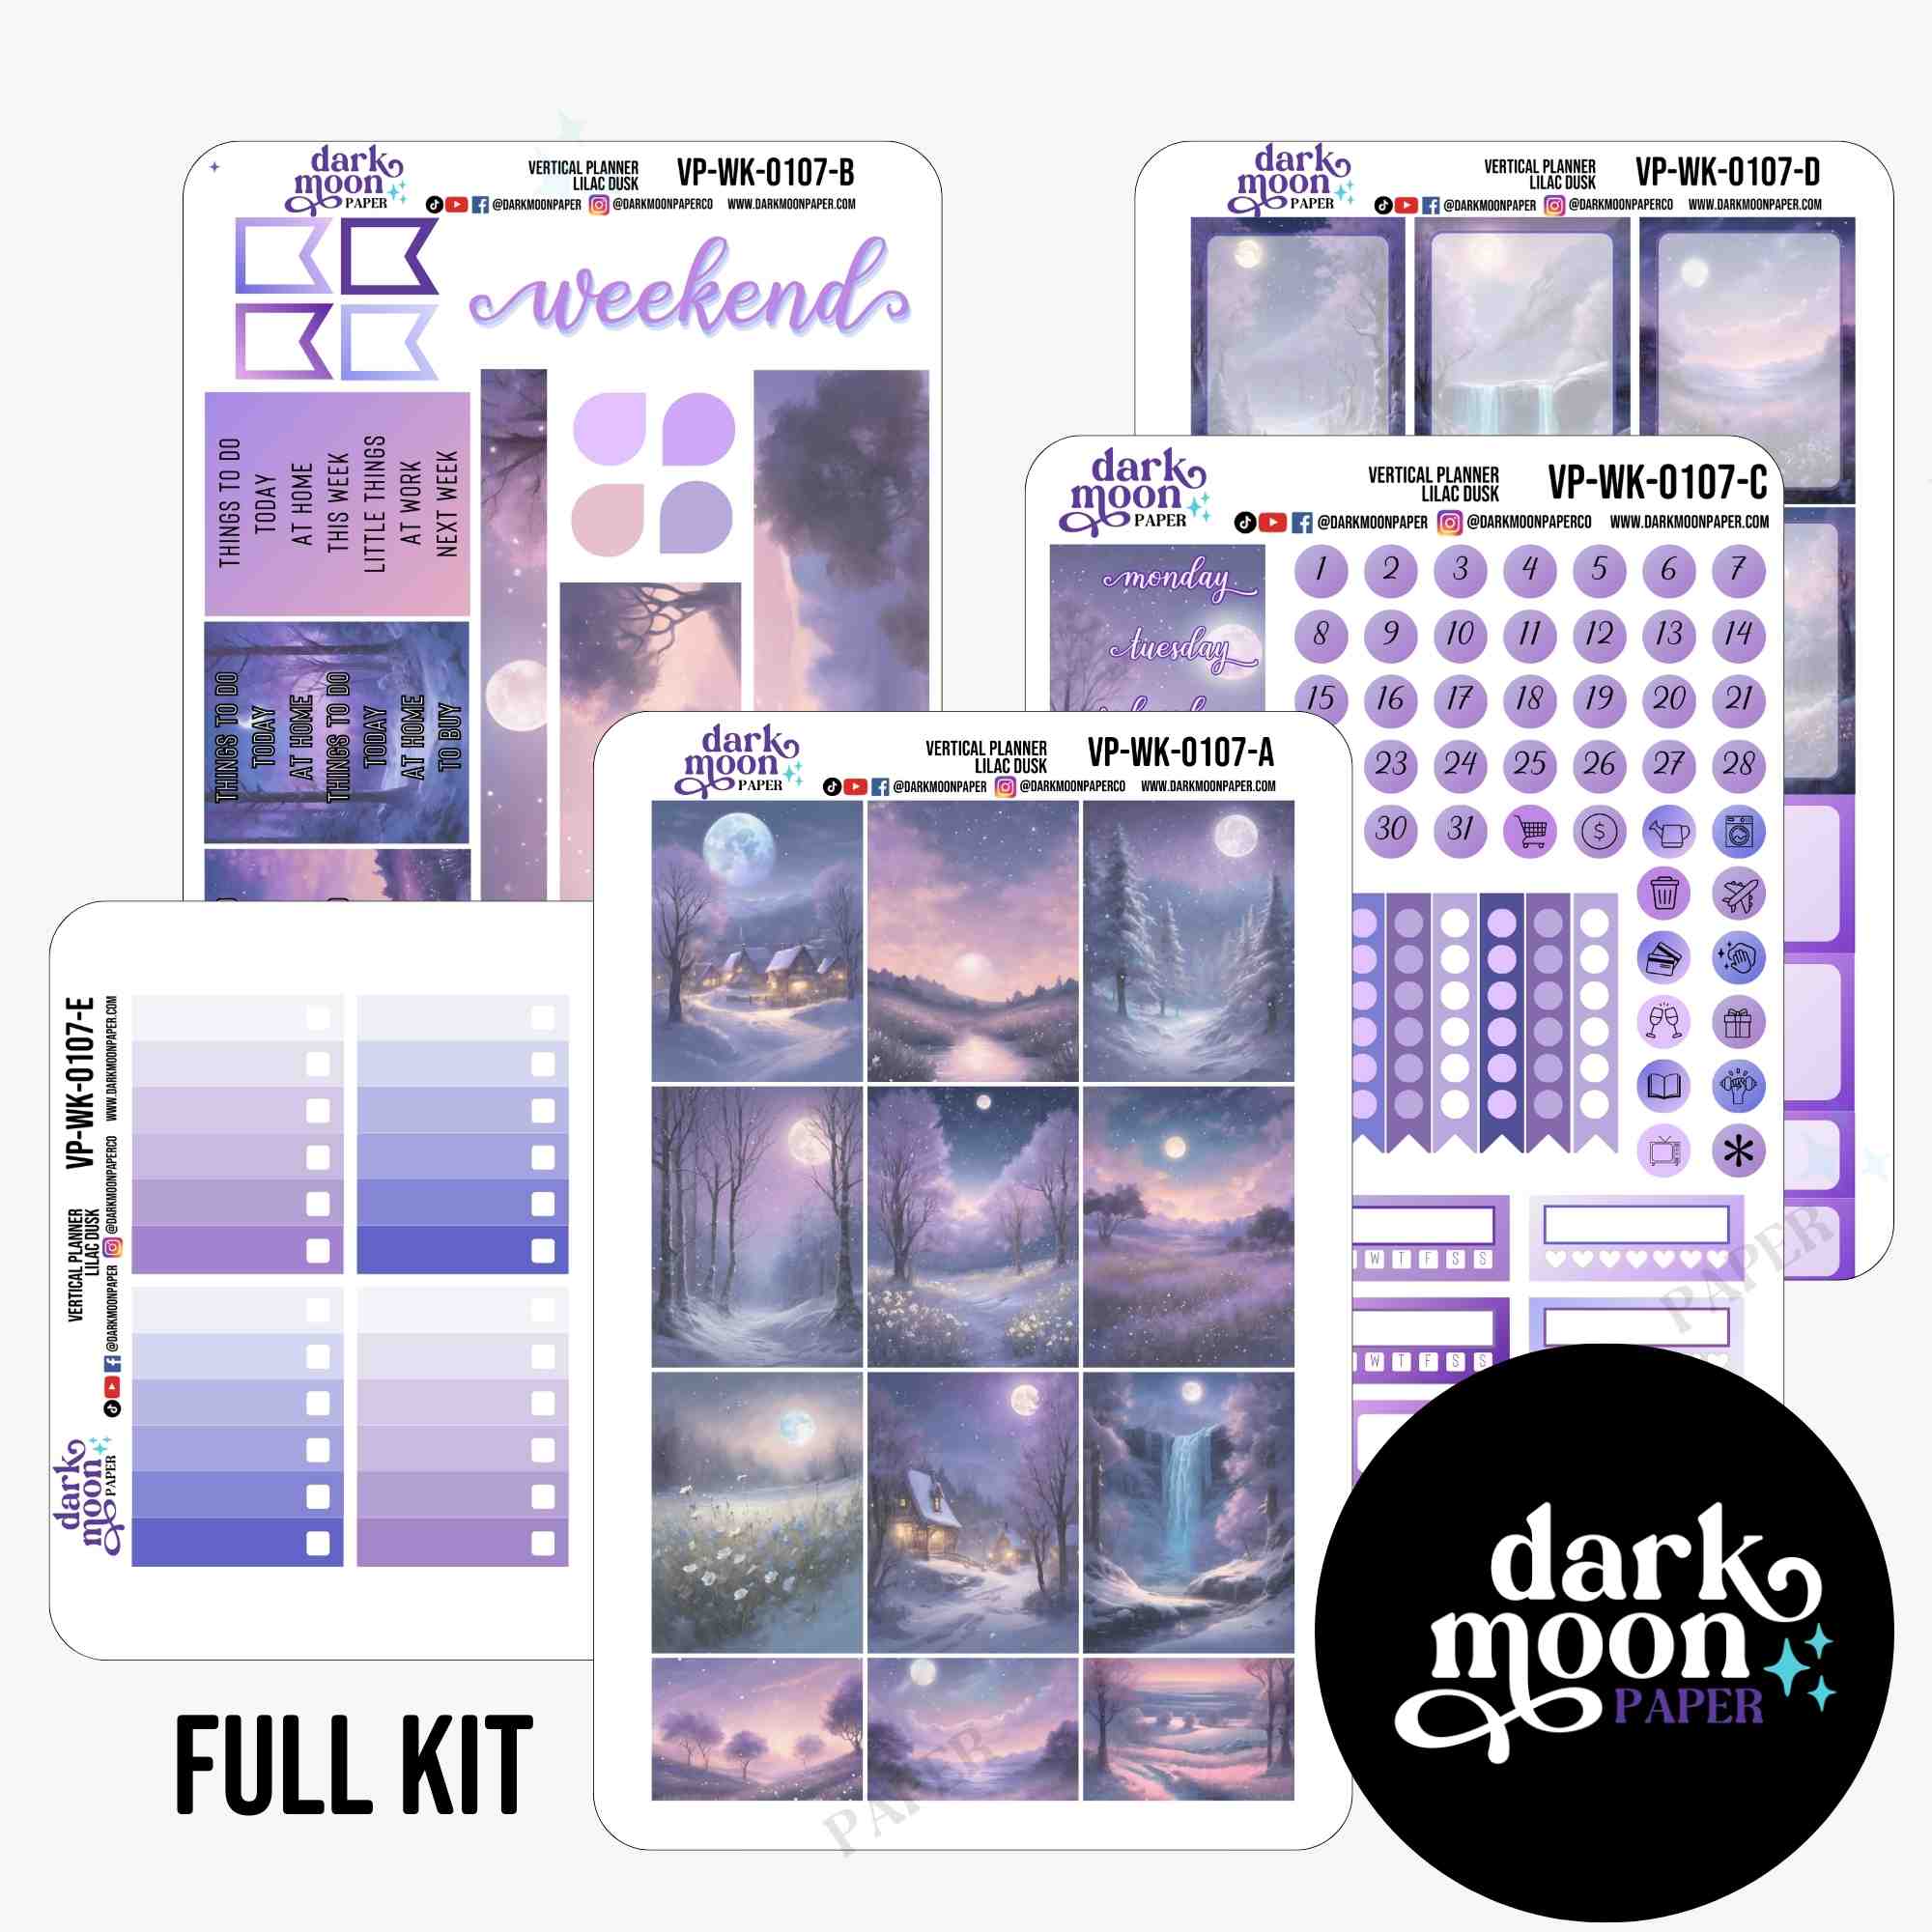 Lilac Dusk planner sticker kit by Dark Moon Paper.
Creating a cohesive theme with planner stickers isn’t just about making things pretty. It’s about turning your planner into a productivity powerhouse.
We’ve covered a lot of ground in this guide. From picking colors to layering stickers, each step helps you build a planner you’ll actually want to use.
Dark Moon Paper’s themed kits like ‘Lilac Dusk’ and ‘Electric Forest’ are great for getting started. They give you a ready-made look without the headache of mixing and matching.
But don’t be afraid to get creative. Stickers do more than just look good. They’re visual cues that make it easier to track habits, deadlines, and important dates. Plus, decorating your planner can be a nice break from daily stress.
Your planner isn’t just a schedule. It’s a snapshot of your goals and style. By using stickers smartly, you’re creating a roadmap that’s all you.
So grab those stickers and start building a planner that works for you. Your future self will thank you for the organization, inspiration, and creativity you’ve added to each day.
Planner stickers can spice up your planning game. Here’s how to use them:
Color-code your plans with different stickers. Dark Moon Paper’s ‘Electric Forest’ kit has bright colors that make organizing a breeze.
Highlight important dates. Use eye-catching stickers for birthdays or deadlines. The ‘Lilac Dusk’ kit from Dark Moon Paper works great for this.
Track habits and goals. Use stickers to monitor things like water intake or exercise. Rachael Snow, the brains behind Dark Moon Paper, says:
"Don’t be afraid to mix functional and decorative stickers. A beautiful tracker can motivate you to actually use it!"
Make your planner pop. Fill empty spaces with themed stickers. It’ll make you want to use your planner more.
Create lists for groceries, project steps, or daily tasks. It helps keep different parts of your life separate in your planner.
Add your personal flair. Use stickers that show off your personality, like cute animals or inspiring quotes.
The trick is to balance function and looks. A planner fan from Goldmine & Coco puts it this way:
"Planner stickers allow you to have an organized system for your daily activities and thoughts while also looking extremely beautiful."
Stickers Made for Planning
Our custom stickers are a fuss-free way to brighten up your planner pages with perfectly-sized designs that add a spark of personality to every layout.
Why use planner stickers?
Planner stickers make organizing easy, fun, and personal! Add color, creativity, and structure to every page, transforming your planner into a tool that reflects you. Perfect for tracking, decorating, and staying inspired daily!
Hello and welcome!
I’m Rachael Snow, a lifelong artist and entrepreneur, and I started Dark Moon Paper to blend my love of art, technology, and the mysterious beauty of the world around us. My sticker kits are meant to set the mood, tell a story, and give you a little escape from the ordinary.
I work from my cozy studio tucked away in the beautiful woods of Oregon, surrounded by nature and a dark night sky full of stars.