Want a planner that truly fits your life? A DIY weekly planner is the perfect solution. It combines functionality with personal design, letting you organize your schedule while adding your unique touch. Here’s what you need to know:
Quick Comparison of Formats:
| Format | Best For | Features |
|---|---|---|
| Hobonichi Weeks | Detailed schedulers | Compact, structured spreads |
| Erin Condren | Visual planners | Bright, pre-designed layouts |
| Bullet Journal | Creative organizers | Blank pages for full customization |
Follow these steps to create a planner that works for you and evolves with your needs. Dive in to learn how to make planning both fun and effective!
A DIY weekly planner blends organization with your personal touch. Here’s a breakdown of what makes a planner system work effectively.
The first step is choosing a format that fits your planning habits. Here are some popular choices:
| Format | Ideal For | Features |
|---|---|---|
| Hobonichi Weeks | Detailed schedulers | Compact with structured spreads |
| Erin Condren | Visual planners | Bright, pre-designed layouts |
| Bullet Journal | Creative organizers | Blank pages for full customization |
Pick a format that suits how you like to stay organized [2]. Once you’ve got that, the next step is designing a weekly layout that works for your needs.
When building your weekly spread, focus on these essentials:
A good layout is straightforward but covers everything you need. For instance, you could divide your spread into sections for scheduled events, tasks, and notes or trackers. After setting up the structure, you can add your personal flair.
Decorations should enhance your planner’s functionality without making it cluttered. Here are some ideas:
Keep the focus on making your planner both useful and visually pleasing.
Creating your own weekly planner can be a fun and practical way to stay organized. Start by gathering the right tools and materials to make sure your planner is both useful and visually appealing.
Choose sturdy materials to ensure your planner lasts. Here’s what you’ll need:
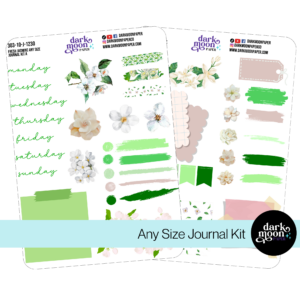
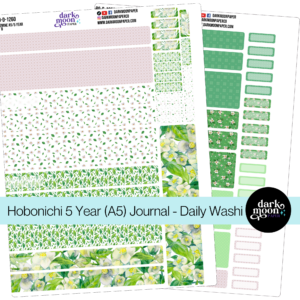
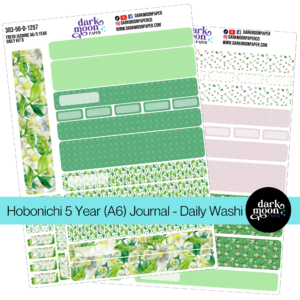
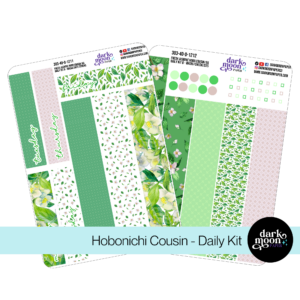
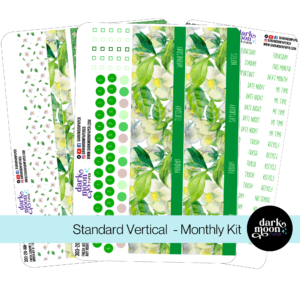
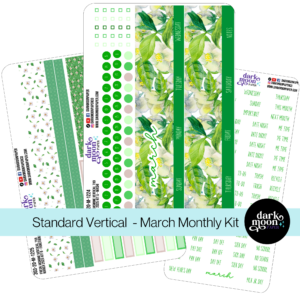
Themed sticker kits can be a great way to add style and functionality to your planner.
Think about how you’ll use your planner and design sections to match your needs. Popular options include:
Make your planner uniquely yours while keeping it practical:
Once your planner is ready, the next step is figuring out how to use and maintain it to stay on top of your schedule and goals.
A well-maintained planner can be a game-changer for staying organized and productive. Here are some practical ways to get the most out of it over time.
Turning your planner into a part of your daily routine makes it much more effective. Spend about 10 minutes each morning reviewing your schedule and tasks. On Sundays, dedicate 30 minutes to reflect on the past week, set priorities, and update any trackers.
Keep your planner somewhere easy to see and grab. Once you’ve established the habit, tweak your system as needed to make it work even better for you.
Your planning needs will change, so don’t hesitate to adjust your setup. Planning expert Sarah Renae Clark suggests:
"Draft your entire layout in pencil before finalizing it to ensure a well-planned design and avoid mistakes. Use stickers, correction tape, and washi tape to cover mistakes and add aesthetic elements" [1].
Regular updates can keep you motivated and make your planner feel fresh:
| Timeframe | Suggested Updates |
|---|---|
| Monthly | Change colors or add themed stickers |
| Every three months | Test out new layouts |
| Seasonally | Refresh trackers and goal sections |
| Annually | Review and adjust the overall format |
When trying out changes, experiment first to see if they improve both functionality and creativity. Regular updates not only keep your planner useful but also ensure it evolves with your needs.
Making your own weekly planner isn’t just about staying on top of tasks – it’s also a chance to combine practicality with your personal style. With so many modern planner formats available, you can customize yours to fit your needs while keeping things organized.
From picking out supplies to sketching layouts, each step lets you design a planner that works for you. Whether you lean toward structured templates or prefer a more freeform approach, the goal is to create something that aligns with how you like to plan.
Once you’ve settled on a format, the real challenge is keeping it up-to-date and adjusting it as your needs change. A DIY planner can grow with you, staying useful and keeping you motivated as life evolves.
Your planner should work for you – both as a tool for organization and as a creative outlet. Try out different designs and layouts until you find the perfect fit. Adding personal touches and sticking to a routine will make your DIY planner an essential part of your daily life.
As you dive into your DIY planner project, focus on building habits that match your lifestyle. Whether you’re organizing daily tasks, setting goals, or managing creative projects, your personalized planner will be a trusted partner in staying organized and inspired [1][3].
Here are answers to some popular questions about customizing your planner to make it both useful and enjoyable.
Decorating your planner can be both fun and practical. Use tools like stickers, washi tape, and colorful pens to add personality and structure [1]. Here are a few ideas:
For more tips, check out the "Decorating with Style" section, where you’ll find advice on color coding and layout ideas.
Add a personal touch to your planner to make it more engaging [3]. Here are some suggestions:
Planners like Hobonichi Weeks and Erin Condren are great examples of balancing creativity with functionality [2]. To keep things fresh, update your planner weekly – Sunday evenings work well for many people [1][3].
Stickers Made for Planning
Our custom stickers are a fuss-free way to brighten up your planner pages with perfectly-sized designs that add a spark of personality to every layout.
Why use planner stickers?
Planner stickers make organizing easy, fun, and personal! Add color, creativity, and structure to every page, transforming your planner into a tool that reflects you. Perfect for tracking, decorating, and staying inspired daily!
Hello and welcome!
I’m Rachael Snow, a lifelong artist and entrepreneur, and I started Dark Moon Paper to blend my love of art, technology, and the mysterious beauty of the world around us. My sticker kits are meant to set the mood, tell a story, and give you a little escape from the ordinary.
I work from my cozy studio tucked away in the beautiful woods of Oregon, surrounded by nature and a dark night sky full of stars.