Want to boost your productivity with a simple system? A weekly bullet journal layout can help you organize tasks, track goals, and manage time effectively. Here’s how you can create one that works for you:
Quick Tip: Spend 10 minutes daily updating your layout to stay on track. Whether for work, study, or personal growth, this method keeps you organized and focused.
A good weekly layout is the backbone of effective bullet journaling. By understanding its key elements and styles, you can create a system that boosts productivity without feeling overwhelming.
A productive weekly spread focuses on goals and simplicity. Studies even suggest that writing down goals can improve achievement rates by 42% [3].
Here’s what a functional weekly spread often includes:
Task Management
Time Organization
Progress Tracking
Here’s a quick look at some common layout styles and their benefits:
| Layout Style | Ideal For | Benefits |
|---|---|---|
| Vertical | Time-based planning | Clear daily timelines |
| Horizontal | Task-focused planning | More space for writing |
| Grid-based | Tracking multiple areas | Balanced and flexible |
| Running Task List | Managing projects | Continuous task flow |
Choose a layout that suits your planning style. For example, beginners might prefer a "Basic Boxes Layout" for structure, while professionals juggling multiple projects often benefit from a "Running Task List" [1].
As Type B Planner wisely says:
"The best bullet journal weekly layout for you, is the one that you will actually use." [2]
Tips for Customizing Your Layout
Your layout should grow with you, ensuring it stays practical and relevant. Now that you know the basics, let’s dive into designing a layout that matches your goals and lifestyle.
Planning a weekly layout that works for you takes a bit of thought, but it’s worth the effort. Here’s how to create a layout that keeps you organized and productive without overcomplicating things.
Start by figuring out what you need to include in your week. Think about these areas:
Once you’ve outlined your priorities, you’re ready to turn them into a layout that works for you.
Now that you know what to include, it’s time to design the structure. Keep it simple but effective by focusing on these sections:
Start with bigger sections and refine the details as you go. Leave some white space to avoid overcrowding – it makes the layout easier to use.
Boost your layout with tools that help you stay on track. Choose features that fit your needs without adding unnecessary complexity.
Helpful Additions:
Including a review section is key. Use it to reflect on your week and make adjustments for the next one. A simple "What worked/What didn’t" format can provide plenty of insight.
Quick Tip: Spend 10 minutes each morning reviewing and updating your layout. This small habit keeps you focused and ensures your layout stays a helpful tool, not just another chore.
Make your layout both practical and visually appealing by adding thoughtful design elements. A consistent color scheme can help organize tasks by type or urgency.
Here are a few ways to enhance your layout:
Having the right tools can help you create clean and polished layouts. Here are some popular recommendations from seasoned bullet journal users:
| Tool Type | Suggested Options | Purpose |
|---|---|---|
| Rulers | Clear ruler with grids | For straight lines and spacing |
| Pens | 0.38mm fine-liners | Writing tasks and details |
| Highlighters | Dual-tip markers | For color-coding |
| Stencils | Geometric shapes | Creating consistent symbols |
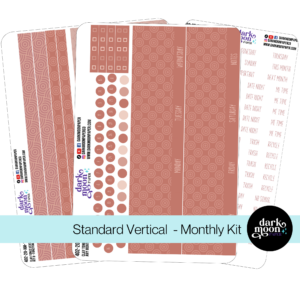
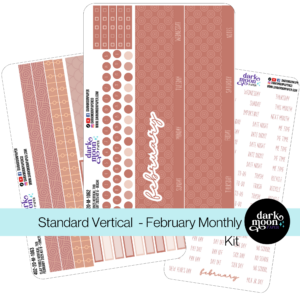
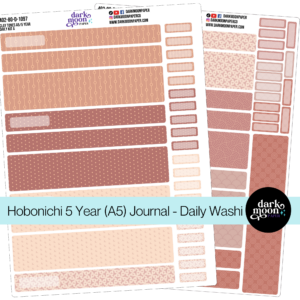
For an extra touch, consider pre-made sticker kits like Dark Moon Paper‘s ‘Lilac Dusk,’ which combine productivity with style.
Your bullet journal is a tool that should evolve with your schedule and priorities. Tweaking your layout each week helps keep it relevant and effective.
Here are some ideas for tailoring layouts to specific weeks:
Project-Heavy Weeks
Personal Growth Weeks
Travel or Event Weeks
Keep the essential productivity features intact while customizing the extras to suit your week. This approach ensures your bullet journal stays a flexible and efficient tool.
Designing a useful weekly bullet journal layout means finding the right mix of structure and flexibility. A good layout should match your goals and adjust to your changing priorities.
The trick is to keep things simple. Start with the basics and only add complexity if it genuinely helps. Make sure every element in your layout serves a purpose – focus on what boosts your productivity instead of adding features just for looks.
Once you’ve crafted a layout that fits your needs, the real challenge is sticking with it to make the most of its benefits.
Consistency is what makes your weekly layouts work. Take a few minutes each day to check in with your journal – update tasks, track progress, and keep it relevant. A quick daily review and a weekly recap can go a long way in keeping your system effective.
Be open to tweaking your layouts as your needs evolve. Explore ideas from the bullet journal community to keep things fresh and aligned with your goals. The flexibility of the bullet journal method gives you the freedom to create a system that works for you while staying practical and manageable.
Stickers Made for Planning
Our custom stickers are a fuss-free way to brighten up your planner pages with perfectly-sized designs that add a spark of personality to every layout.
Why use planner stickers?
Planner stickers make organizing easy, fun, and personal! Add color, creativity, and structure to every page, transforming your planner into a tool that reflects you. Perfect for tracking, decorating, and staying inspired daily!

Hello and welcome!
I’m Rachael Snow, a lifelong artist and entrepreneur, and I started Dark Moon Paper to blend my love of art, technology, and the mysterious beauty of the world around us. My sticker kits are meant to set the mood, tell a story, and give you a little escape from the ordinary.
I work from my cozy studio tucked away in the beautiful woods of Oregon, surrounded by nature and a dark night sky full of stars.