The Happy Planner is a customizable, disc-bound system designed to help you organize your life in a fun and flexible way. Whether you’re new to planning or looking to upgrade your current system, here’s a quick overview to get started:
Quick Setup Steps:
The Happy Planner is more than just a calendar – it’s a tool to help you stay organized, inspired, and on top of your goals.
The disc-bound system of the Happy Planner makes it easy to manage your pages. The pages are designed to snap securely onto the discs, making them both sturdy and simple to handle.
To remove pages:
To add pages:
"They are very secure. You have to pull up toward you to remove them. Then snap back in to replace them. They really don’t get damaged. It’s pretty amazing."
Once your pages are in place, updating your planner becomes quick and hassle-free.
Switching covers is just as easy. Pull the old cover upward to remove it. Then, align the notches of the new cover with the discs and press down to secure it.
Picking the right disc size is key to keeping your planner functional and organized. Happy Planner offers three options:
| Disc Size | Diameter | Page Capacity | Ideal For |
|---|---|---|---|
| Mini | 0.75" | 70-100 pages | Compact layouts with notes |
| Medium | 1.25" | 140-170 pages | 12-month planners with weekly spreads |
| Expander | 1.75" | 220-250 pages | 18-month planners or planners with multiple inserts |
When selecting a disc size, consider the thickness of your planner, the duration of your planning, and any extra inserts or accessories you might add. For best results, ensure the planner’s thickness doesn’t exceed the disc diameter. If you’re unsure, go for the larger size to allow room for growth.
With these setup steps, you’re ready to customize your planner and make it work for your daily needs.
Adding accessories to your planner not only makes it visually appealing but also enhances its functionality and organization.
Before sticking anything down, plan your layout. Use a guide to test different arrangements and avoid wasting your stickers.
Here are some helpful sticker placement tips:
These tips help you create a planner that’s both practical and visually pleasing.
"Perfect tool to be able to layout stickers before I put them on my paper. Saves me from ruining stickers and my planner pages! Bonus that it comes with all the different layout guides."
– Michelle K., Verified Buyer
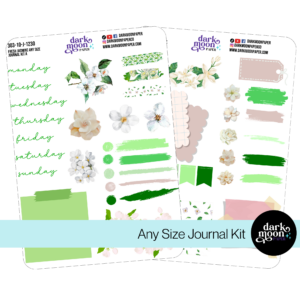
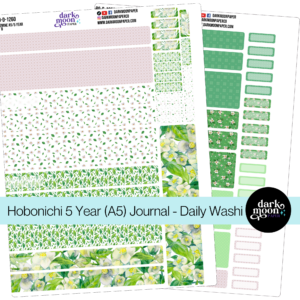
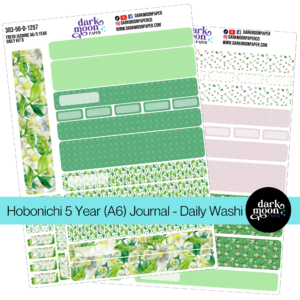
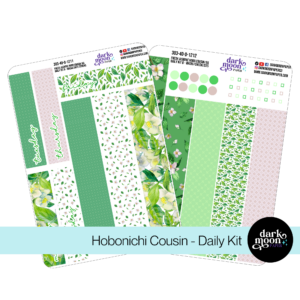
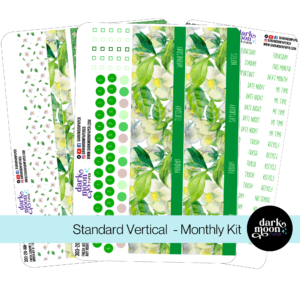
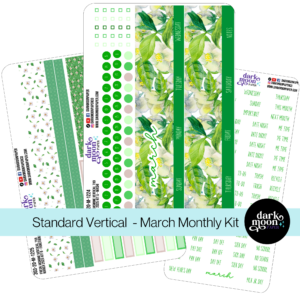
Dark Moon Paper’s themed sticker kits, like "Lilac Dusk" and "Winter Hygge", offer coordinated designs that include functional elements such as checklists, headers, and trackers.
Creating custom pages can take your planner to the next level. Here’s how to get started:
Always print a test page first to ensure proper alignment. Save your designs as .png files and adjust opacity to leave enough space for writing.
Beyond stickers and custom pages, you can add more personality with decorative elements. Washi tape is a versatile option that works well for borders, flags, banners, and labels.
"Using stamps can be a great way to plan functionally – either with icons or if you have an event that is repetitive. Plus, it’s a great chance to be creative."
– Jennie McGarvey
Clear rubber stamps allow precise placement. Use pigment inks to avoid bleeding or ghosting, or stamp on sticker paper first for extra control.
The Happy Planner Washi Tape 7-Pack, rated 4.5 out of 5 stars, features patterns that pair perfectly with your existing designs. Combining washi tape with stamps and stickers lets you create spreads that showcase your personal style while keeping everything organized.
Create a daily planning routine with your Happy Planner. Take a moment each morning or evening to review your planner. Include sections tailored to your needs – work, personal life, health, finances, and goals. Keep your planner close at hand so you can jot down tasks immediately. Studies show that writing tasks down right away can increase the likelihood of completing them by 42%.
"The more you personalize a planner to your life, the more you’ll feel motivated to use it to stay organized!" – The Happy Planner
To keep your planner both functional and visually appealing, try organizing your layout like this:
This vertical structure helps balance task management with decorative elements, making your planner practical and enjoyable to use. Kameron, a Happy Planner user, shared in October 2024 that using a vertical layout with stickers encouraged consistent daily use.
Pair your planning habits with digital tools to boost efficiency. For example, The HappyPlannerPro.com digital bundle ($17.99) offers over 1,000,000 customization options and calendar app integration, giving you plenty of flexibility.
Here are some popular digital tools to consider:
These tools can help you with:
Got an old Happy Planner lying around? You can turn it into something functional and fun! Here are a couple of ideas:
"Create a home filing system by upcycling a Big Happy Planner, cover, discs and some dividers."
– Kevin Girard, Planner
And if you’re not into repurposing, keeping your planner up-to-date with fresh pages is key.
The Happy Planner’s disc-bound setup makes it easy to swap out pages and customize your planner. Here are some tools to consider:
| Method | Best For | Tools Needed |
|---|---|---|
| Happy Planner Punch | Custom inserts | Official punch |
| Cricut Edge Targeting | DIY pages | Cricut machine |
| Manual Disc System | Regular pages | No tools required |
Want to get the most out of your planner’s disc system? Here are a few tips to make it work better for you:
And don’t stop there! Natasha Smalarz even turned planner packaging into garden markers for indoor plants. It’s a great reminder that every part of your Happy Planner system can be used creatively.
Ready to kick off your Happy Planner journey? Here’s a quick-start guide to help you dive in:
Start by picking the size and layout that suits your lifestyle. For example, the Classic size offers a great mix of portability and writing space. If you’re printing custom pages, scale them to 84% for Classic or 54% for Mini to ensure they fit perfectly.
Follow these initial setup steps:
If you’re using a Custom Planner, it can hold up to two extra extension packs. Keep in mind, the total number of pages you can add depends on any additional materials you’re using. Need more space? Expander discs are available to give you extra room.
Pro Tips:
Your Happy Planner is more than just a calendar – it’s a fully customizable tool that can grow and change with you. Start designing it to fit your life today!

Stickers Made for Planning
Our custom stickers are a fuss-free way to brighten up your planner pages with perfectly-sized designs that add a spark of personality to every layout.
Why use planner stickers?
Planner stickers make organizing easy, fun, and personal! Add color, creativity, and structure to every page, transforming your planner into a tool that reflects you. Perfect for tracking, decorating, and staying inspired daily!


Hello and welcome!
I’m Rachael Snow, a lifelong artist and entrepreneur, and I started Dark Moon Paper to blend my love of art, technology, and the mysterious beauty of the world around us. My sticker kits are meant to set the mood, tell a story, and give you a little escape from the ordinary.
I work from my cozy studio tucked away in the beautiful woods of Oregon, surrounded by nature and a dark night sky full of stars.