Looking for ways to make your Hobonichi Weeks planner more organized and visually appealing? This article offers 10 layout ideas to help you stay on top of your schedule while adding a personal touch. Here’s a quick overview of what you’ll learn:
Whether you prefer practical organization or creative expression, these ideas will help you get the most out of your Hobonichi Weeks planner. Let’s dive in and explore your options!
These layouts make managing your week much easier. Up next, we’ll look at ways to add more functionality with creative planning techniques.
These methods can be adjusted to suit your needs while taking full advantage of the compact Hobonichi Weeks planner. Once your system is set, you can add a creative touch to your planner by combining artistic journaling with productivity tools.
The Hobonichi Weeks’ grid paper and structured layout make it easy to balance creativity with functionality. Thoughtfully blending artistic elements into your journal can help you create a planning system that’s both personal and effective.
Next, let’s dive into how themed layouts can make your Hobonichi Weeks even more customized.
The "Garden of Goals" layout takes the concept of creative journaling and turns your Hobonichi Weeks into a tool for tracking growth and progress. This design blends practicality with a nature-inspired aesthetic, using Dark Moon Paper’s Cottage Succulents sticker kit for added flair.
Split your layout into three parts: ‘seed goals’ for new ideas, ‘growing tasks’ for ongoing efforts, and ‘blooming achievements’ for completed milestones. Use the grid to create zones for priorities, tasks, and habits. Add leaf-shaped bullet points and vine-like progress bars for a cohesive look. The horizontal format of Hobonichi Weeks works perfectly to show the flow of tasks and goals over time.
"A garden theme naturally combines growth tracking with visual appeal", says Rachael Snow from Dark Moon Paper [1].
Stick to a sage green color scheme, complemented by botanical stickers and small, simple illustrations. Keep decorations minimal to avoid clutter and ensure the layout remains functional. Forest green washi tape can be used to create borders or section dividers, while leaving enough white space to keep it clean and organized.
Layouts like the ‘Garden of Goals’ make your Hobonichi Weeks more than just a planner – it becomes a space for both organization and personal growth, blending creativity with purpose.
The Hobonichi Weeks planner is a blend of practicality and personalization. Its horizontal layout and intuitive design make it a great canvas for everything from straightforward weekly plans to more imaginative, themed layouts.
Its portable size encourages efficient use of space, while the grid layout provides structure without limiting creativity. Whether you’re into minimalist weekly spreads, time-blocking, hybrid task systems, or themed layouts like the ‘Garden of Goals,’ this planner can adapt to a variety of planning styles.
To get the most out of your Hobonichi Weeks, start with simple layouts and gradually add elements that work for you. Whether that’s habit tracking, goal setting, or a bit of creative journaling, the key is finding a system you’ll stick with.
With a little experimentation, your Hobonichi Weeks can become more than just a planner – it can be a tool for staying organized and expressing yourself in a way that suits your life.
Stickers Made for Planning
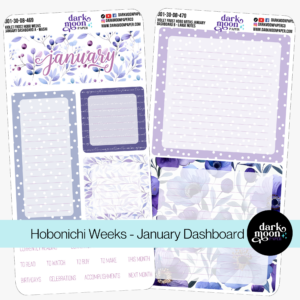
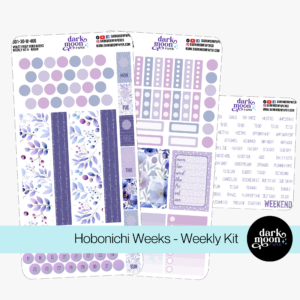
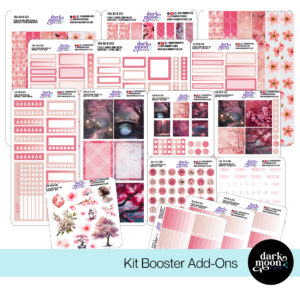
Our custom stickers are a fuss-free way to brighten up your planner pages with perfectly-sized designs that add a spark of personality to every layout.
Why use planner stickers?
Planner stickers make organizing easy, fun, and personal! Add color, creativity, and structure to every page, transforming your planner into a tool that reflects you. Perfect for tracking, decorating, and staying inspired daily!

Hello and welcome!
I’m Rachael Snow, a lifelong artist and entrepreneur, and I started Dark Moon Paper to blend my love of art, technology, and the mysterious beauty of the world around us. My sticker kits are meant to set the mood, tell a story, and give you a little escape from the ordinary.
I work from my cozy studio tucked away in the beautiful woods of Oregon, surrounded by nature and a dark night sky full of stars.