Want to start an art journal but not sure how? Here’s what you need to know about creating an art journal:
An art journal combines visual art with personal writing to tell your story. You’ll need:
Basic Supplies to Start:
Quick Steps to Begin:
Pro Tips:
Why Start Art Journaling?
Remember: There are no rules for creating an art journal. Your art journal is a personal space to experiment and express yourself. Start simple with one medium, then mix techniques as you get comfortable.
Want to dive in? The article below walks you through everything from picking supplies to making your first page.
Creating an art journal doesn’t have to cost a fortune. What’s most important is selecting good-quality basics that work well together and support a variety of creative techniques.
Your journal is the backbone of your art journaling adventure. Paper weight is crucial, especially if you’ll be using wet materials like paints or inks. The Pentalic Nature Sketch Multimedia Sketchbook is a popular pick because its smooth pages hold up well to wet media and won’t easily warp. Another option is Dylusions journals – these are more widely available but may show more texture when you use wet materials.
"The right paper can make or break your art journaling experience. Heavy-weight paper that can handle wet media will save you frustration and allow more creative freedom." – Rachael Snow, founder of Dark Moon Paper
Here’s a simple list to get started with your art journal toolkit:
| Supply Type | Recommended Options | Best For |
|---|---|---|
| Paints | Pebeo Studio Acrylics | Beginners, versatile coverage |
| Primer | Golden Gesso | Prepping pages, minimal odor |
| Pens | Permanent fineliners, brush pens | Adding details, lettering |
| Adhesives | Matte medium | Collage, mixed media projects |
Gesso is especially important – it acts as a primer, building a protective layer on your pages and reducing the chances of warping when using wet media. Many artists swear by Golden brand gesso for its smooth consistency and subtle smell.
Once you’ve got your essentials, consider expanding with some optional tools to bring extra texture and personality to your pages:
Stick with the basics to start, then let your toolkit grow naturally as you figure out which techniques and materials you enjoy most. Focus on quality over quantity – fewer but well-chosen tools will go much further than an overflowing stash of cheap supplies.
Art journaling lets you explore endless ways to express yourself. Here are some effective techniques to help you uncover and develop your personal style as you’re creating an art journal.
Art journaling thrives on layering. Start by using acrylic paints as your base. They dry fast and cover well, making them ideal for vibrant, no-bleed backgrounds. Pebeo Studio Acrylics are a great go-to option for this.
To add more dimension, here’s a quick layering guide:
| Layer | Technique | Effect |
|---|---|---|
| Base | Acrylic wash | Creates a cohesive background |
| Middle | Collage elements | Adds texture and variety |
| Top | Mixed media details | Highlights key focal points |
"Art journaling isn’t about creating perfect pieces – it’s about building layers of meaning through different materials and techniques. The magic happens when you combine multiple elements on a single page." – Sarah Anderson, Art Therapy Institute
When working with mixed media, layer smarter by starting light and gradually adding more weight. For example, begin with delicate watercolor washes, add lightweight paper elements fixed with matte medium, and finish with heavier acrylic paint accents. This method prevents page warping and improves how materials stick together.
Take your art journal to the next level by making it personal. Your handwriting, no matter how neat or messy, brings character and individuality to your pages. Use water-resistant pens or markers to write directly over painted backgrounds.
Here are some personal touches to try:
The most meaningful journal pages often balance visuals with written storytelling. For example, use colors that mirror your current mood to build the background, and then layer it with reflections on your day. This mix of imagery and writing becomes a powerful outlet for self-expression while documenting your journey.
Keep in mind, your art journal is YOUR space – there’s no right or wrong. Techniques are just starting points. What makes your pages special are the personal elements and stories you bring to them. Try out different materials and processes until they align with what feels right and reflects your voice.
Starting your first art journal page doesn’t have to feel overwhelming. With the right materials and a simple approach, you can create pages that capture your creative side and personal expression.
Start with a fresh, clean surface by applying a layer of white gesso. This primer not only gives you a better foundation to work on but also prevents any paint from seeping through the paper. Use a foam brush for smooth, even coverage.
"The first layer sets the tone for your entire page. A well-prepared surface with gesso gives you the freedom to build multiple layers without worrying about paper damage", says Laly Mille, a seasoned art journal enthusiast.
Pick background colors that reflect your current mood or theme. Acrylic paints work well for this – Golden Fluid Acrylics are a good choice if you’re after smooth, vibrant coverage. Experiment with these painting techniques to add personality to your page:
| Technique | Effect | Best For |
|---|---|---|
| Dry brush | Textured, streaky finish | Adding layers of texture |
| Wet blend | Soft, flowing transitions | Creating depth or mood |
| Dabbing | Mottled, uneven patterns | Adding unique texture |
Once your background has dried, you’re ready to build layers using mixed media. One handy trick is to use decorative napkins for their intricate patterns. Tear them into pieces and stick them onto your page using matte medium, as recommended by Hopalong Studio.
Think of layering as a step-by-step process:
Text can tie everything together, making your page feel more personal. Use archival ink pens to layer in your own handwriting – it doesn’t need to be flawless; its charm lies in being natural and uniquely yours. Play around with writing styles: try different sizes, orientations, or even overlapping text for added flair.
Some ideas for what to write:
You don’t need hours every day to build a solid art journaling routine. All it takes is 15-20 minutes during your most creative part of the day – whether you’re a morning person or a night owl. Keep your supplies handy and organized in one spot, so you’re ready to dive in whenever the mood strikes.
A helpful trick for consistency is "habit stacking" – pair your journaling time with something you already do every day. For example, work on your journal while sipping your morning coffee or right after finishing dinner.
"Art journaling has become such an important part of my creative practice. It has made me grow in new ways as an artist, is a wonderful source of inspiration for my other art, and above all, it’s my favorite wellbeing practice." – Laly Mille, Mixed Media Artist
Feeling stuck? Use prompts and simple exercises to kickstart your creativity. Here’s a quick and easy framework to get things moving:
| Time Frame | Activity | Purpose |
|---|---|---|
| 5 minutes | Color meditation | Select colors that match your mood |
| 10 minutes | Texture play | Experiment with different materials |
| 15 minutes | Theme exploration | Work with a specific idea or prompt |
Engage with online art journaling communities for added inspiration. Platforms like Instagram and Pinterest are treasure troves of ideas – just browse hashtags like #artjournaling or #mixedmediaart to see what others are creating. Many artists even share tutorials or host challenges that can help you stay motivated.
Your art journal is YOUR space – think of it as a playground for creativity, not a polished gallery exhibit. Embrace mistakes as part of the process. If something doesn’t turn out the way you hoped, try these fixes:
Focus on the journey of creating an art journal, not the final product. The beauty of your journal lies in its honest reflection of your growth, including the messy experiments and happy accidents that lead to fresh discoveries.
You’ve got the basics of art journaling down – now it’s time to dive in and start creating. Begin by gathering some essential supplies. Stores like Hopalong Studio make it easy, offering starter kits made just for beginners.
Set up a spot where journaling feels natural. Whether it’s a corner of your desk or a portable art bag you can take anywhere, having your materials ready to go makes starting much simpler. Stick to straightforward techniques at first – save those detailed mixed media experiments for later.
"The key to maintaining an art journal practice isn’t perfection – it’s showing up consistently and allowing yourself to experiment freely", says Sarah Thompson, founder of Artful Pursuits. Since 2019, her online community has connected over 50,000 art journaling fans.
Here’s a handy timeline to kick things off:
| Time Period | Focus Area | Goal |
|---|---|---|
| Week 1-2 | Basic Techniques | Get comfortable with one medium (sketching, watercolor, or collage) per session. |
| Week 3-4 | Mixed Media | Try combining 2-3 materials – think watercolor, ink, and magazine clippings. |
| Month 2 | Personal Style | Spend 15 minutes daily working on pages that showcase your individual style. |
Joining online art communities can be super motivating. Platforms like Artful Pursuits not only offer forums for sharing your work but also host monthly challenges and live workshops. Their "First Steps in Art Journaling" course has already helped thousands of beginners stick to their creative goals.
Don’t overlook free resources to help with creating an art journal, either. Art supply websites and community forums are packed with tutorials and live demos from seasoned art journalists. The secret? Start small, show up regularly, and give yourself the freedom to explore what feels right for you.
Starting an art journal might seem daunting, but it’s easier than you think. It primarily comes down to having the right tools and an open-minded approach. A sturdy multimedia sketchbook is a great way to start. For example, the Pentalic Nature Sketch or Dylusions journals are popular picks, especially for beginners, as they work well with a variety of art materials.
"The most important thing about art journaling is having paper that can handle your creative experiments", says Jeanne Oliver, author of The Painted Art Journal. "Heavy-weight paper prevents frustrating issues like bleeding and warping when using wet media."
Here’s a useful approach to building your art journal:
If you’re just beginning, stick to one medium per page – such as watercolors or collaging – before combining multiple styles. This keeps things manageable while you’re figuring out your technique.
Art journaling is all about expressing who you are. While books like Art Journal Courage by Dina Wakley offer great tips, the real magic happens when your journal represents your creative story.
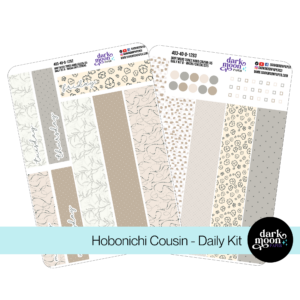
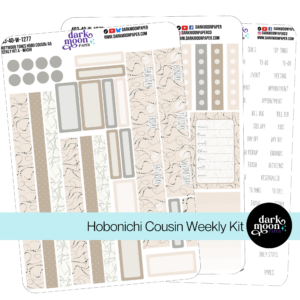
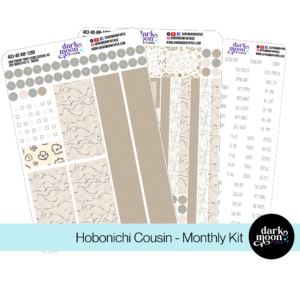
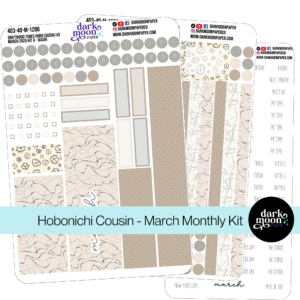
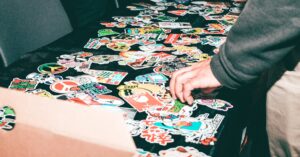
Stickers Made for Planning
Our custom stickers are a fuss-free way to brighten up your planner pages with perfectly-sized designs that add a spark of personality to every layout.
Why use planner stickers?
Planner stickers make organizing easy, fun, and personal! Add color, creativity, and structure to every page, transforming your planner into a tool that reflects you. Perfect for tracking, decorating, and staying inspired daily!
Hello and welcome!
I’m Rachael Snow, a lifelong artist and entrepreneur, and I started Dark Moon Paper to blend my love of art, technology, and the mysterious beauty of the world around us. My sticker kits are meant to set the mood, tell a story, and give you a little escape from the ordinary.
I work from my cozy studio tucked away in the beautiful woods of Oregon, surrounded by nature and a dark night sky full of stars.