Creating a planner page that works for you starts by addressing your specific needs and goals. Whether you’re managing work deadlines, organizing personal tasks, or tracking habits, a custom planner can help you stay on top of things. Here’s how to get started:
Quick Comparison of Planner Formats:
| Format | Best For | Key Features |
|---|---|---|
| Hobonichi Weeks | Busy schedules | Compact, weekly spreads, portable |
| Erin Condren | Visual organization | Colorful layouts, goal-oriented |
| Bullet Journal | Full customization | Flexible, creative, blank canvas |
A great planner blends practicality with personal style. Start simple, test your layout, and adjust as needed to create a tool that helps you stay organized and motivated.
Before making design decisions, take a moment to define what you want your planner to achieve. This step will shape every choice you make about its layout, format, and features.
Think about your main planning needs – are they related to work, school, personal life, or creative projects? Be clear about how you’ll use your planner most often, whether it’s for tracking deadlines, managing appointments, or organizing goals.
Here are some common focus areas:
The format you choose should align with your specific needs. Here’s a quick comparison of popular options:
| Format | Best For | Key Features |
|---|---|---|
| Hobonichi Weeks | Busy schedules | Compact, weekly spreads, easy to carry |
| Erin Condren | Visual organization | Colorful layouts, structured for goal setting |
| Bullet Journal | Full customization | Flexible, creative, and great for rapid notes |
When picking a format, keep these factors in mind:
Your first choice doesn’t have to be final. Start with a format that fits your current needs, and adjust as your planning style develops. The format you pick will influence how you design and customize your planner, so choose one that aligns with your goals.
Once you’ve picked your format, the next step is designing a layout that’s both practical and visually appealing. Your planner should help you stay organized while showcasing your personal style.
Choose a layout that matches your time scale and planning needs. Here’s a quick guide:
| Layout Type | Ideal For | Key Features |
|---|---|---|
| Daily Spread | Detailed schedules | Hour-by-hour timeline, task list, notes |
| Weekly View | Balanced overview | 7-day grid, weekly goals, habit tracker |
| Monthly Layout | Big-picture planning | Calendar view, goals section, project tracker |
Leave some white space to avoid clutter and make your planner easier to use. Focus on what’s most important to you – appointments, tasks, or creative ideas – and organize your page accordingly. Consider dividing your layout into sections like:
Bring some personality to your planner with themed stickers or decorative elements. Functional stickers can also help you create headers or checklists while keeping things consistent.
For a polished look, try the following:
Design software can make layout creation easier. For example, Canva provides free templates that you can tweak to suit your style and needs [2].
Save time by creating a reusable master template. Test your layout for a week to see what works and tweak it as needed. Once you’re happy with it, you can move on to customizing it even further to fit your preferences.
With your basic layout ready, it’s time to make your planner work for you. Tailoring it to fit your goals and daily routines not only boosts its usefulness but also adds a personal touch that keeps you engaged.
Your planner should make things easier, not harder. Consider adding sections or trackers that align with your priorities. Here are a few ideas:
| Section Type | Purpose | Ideal For |
|---|---|---|
| Habit Tracker | Keep track of routines | Fitness, reading, meditation |
| Mood Log | Record emotional trends | Managing stress, mental health |
| Project Timeline | Track progress visually | Work deadlines, big goals |
| Goal Tracker | Measure achievements | Monthly targets, SMART objectives |
Start small – maybe just one or two trackers – so your layout doesn’t feel cluttered. You can always expand later. Pre-made sticker kits or templates are great for adding these elements without much hassle, while keeping your planner organized and visually appealing.
Life changes, and your planner should keep up. Add sticky notes for tasks or ideas that might shift around, and use tabs to mark important sections like your monthly calendar or goal pages. If you want even more flexibility, try a disc-bound system that lets you easily rearrange or remove pages.
"Users can ensure their planner remains organized by using clear headings, labeling sections, and maintaining a consistent layout. For example, using a table of contents or index can help users quickly locate specific sections or pages" [1][2].
Once you’ve customized your planner to match your needs, you’ll be ready to assemble it and add those final touches for a polished, functional tool.
With your planner pages designed and customized, it’s time to put it all together and create a functional tool that works for you.
The binding method you select can make a big difference in how you use your planner. Here are a few popular options:
| Binding Type | Ideal For | Advantages |
|---|---|---|
| Spiral | Everyday use | Lays flat for easy writing |
| Disc-bound | Flexibility | Allows for easy page additions or removals |
| Three-ring | Larger content | Offers strong support for heavy use |
To protect your planner, opt for sturdy materials like laminated covers or clear page protectors. Tools like Blurb‘s BookWright can help you design a cover that’s both stylish and functional [2].
Personalize your planner while keeping it practical. A few small details can make a big impact:
Once everything is assembled and personalized, your planner is ready to become an essential part of your daily routine.
Creating a planner is just the first step – keeping it useful over time takes a bit of strategy. Here are some practical ways to make sure your planner stays helpful and relevant.
The best way to stick with a planner is to keep it simple at first. Begin with just the basics and add more as you go. According to Personal Planner, users who start with basic layouts and slowly add features are 65% more consistent in using their planners long-term compared to those who dive into overly detailed systems right away [1].
For example, you can start with a weekly layout to manage your time. Over time, you might add to-do lists, habit trackers, or even some decorative touches. As your needs grow, make sure your planner can grow with you.
Your planner should change as your life and priorities shift. Including flexible elements ensures it stays aligned with your goals.
What helps? Use things like removable stickers, page markers, or blank pages for temporary or evolving tasks. Tools like BookWright allow you to experiment with layouts before committing to a final design [2].
You can also combine your physical planner with digital tools for scheduling and reminders. This way, you get the best of both worlds – organization that works for you without added complexity [3].
Designing your ideal planner page is all about blending practicality with a touch of personal flair. A truly effective planner begins with addressing your essential needs and grows with you over time. It should align with your unique way of staying organized.
Focus on building a tool that boosts your productivity while showcasing your personality. The best planner page isn’t about intricate designs or endless tracking features – it’s about crafting a system that works for you and keeps you motivated to use it.
The strength of custom planner pages lies in their ability to grow with you. Start with a clear purpose and carefully include elements that serve your goals. Add visuals that inspire you, making your planner both useful and enjoyable to use without losing sight of its main function.
Stickers Made for Planning
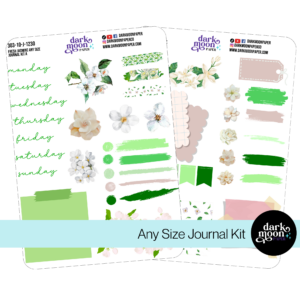
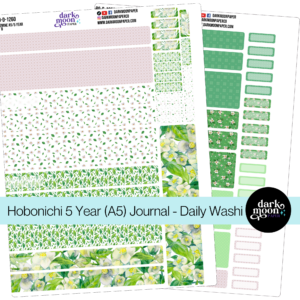
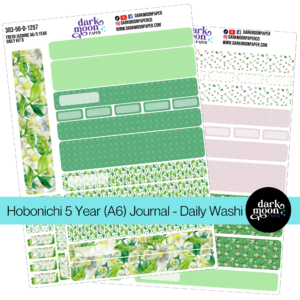
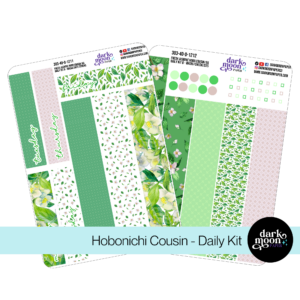
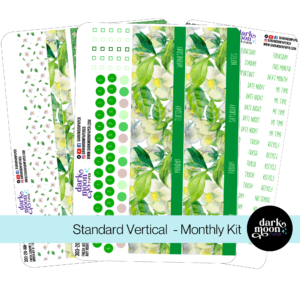
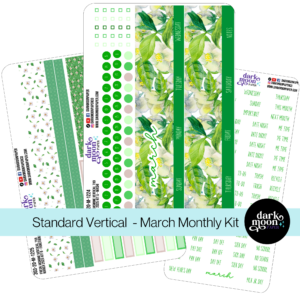
Our custom stickers are a fuss-free way to brighten up your planner pages with perfectly-sized designs that add a spark of personality to every layout.
Why use planner stickers?
Planner stickers make organizing easy, fun, and personal! Add color, creativity, and structure to every page, transforming your planner into a tool that reflects you. Perfect for tracking, decorating, and staying inspired daily!
Hello and welcome!
I’m Rachael Snow, a lifelong artist and entrepreneur, and I started Dark Moon Paper to blend my love of art, technology, and the mysterious beauty of the world around us. My sticker kits are meant to set the mood, tell a story, and give you a little escape from the ordinary.
I work from my cozy studio tucked away in the beautiful woods of Oregon, surrounded by nature and a dark night sky full of stars.