Flower planner stickers can transform your planner into a functional and visually appealing tool. Whether you’re using them to create borders, highlight headers, or design themed pages, these stickers add charm and organization to your layouts. Here’s a quick summary of how you can use floral stickers effectively:
These ideas work for any planner format, from bullet journals to Hobonichi or Erin Condren planners. Whether you prefer clean layouts or bold designs, floral stickers can enhance both the functionality and beauty of your planner.
Flower planner stickers can make beautiful borders to frame your planner pages. This approach works especially well in open-format planners like Hobonichi or bullet journals, where you have more control over the layout.
To start, create a simple frame by placing floral stickers around the edges of your page. For weekly spreads, try adding small flowers in the corners and extending vines along the sides for a polished look. Just make sure to leave enough room for your tasks and notes.
Want a more structured look? Arrange floral stickers across the top of your page to create a horizontal border.
Here are some tips to give your borders more depth:
Floral borders not only enhance your planner’s design but also help set the tone for seasonal themes. Once you’ve mastered borders, you can use floral stickers to highlight key elements in your planner. Let’s dive into that next!
Headers play a key role in organizing your planner, and floral stickers can make them both functional and visually appealing. In planners like Erin Condren’s LifePlanner, adding small flower planner stickers to daily headers can make them stand out without sacrificing usability.
For weekly spreads, try placing a small floral cluster at the start of each day’s header. If you’re using a bullet journal, add a delicate flower sticker above or beside your header text for a subtle touch that enhances the design without creating clutter.
Here are some tips for choosing and placing stickers effectively:
To add a seasonal vibe, match your stickers to the time of year. Think pastel cherry blossoms for spring or deep burgundy roses for autumn. This adds charm while keeping your planner organized.
For compact layouts like the Hobonichi, opt for tiny blooms or individual petals. These subtle accents work well with the thin paper and grid system, adding beauty without bulk or distraction.
When done thoughtfully, floral stickers can make your headers not just functional but also visually stunning. Now, let’s dive into how flower planner stickers can elevate your doodles and sketches.
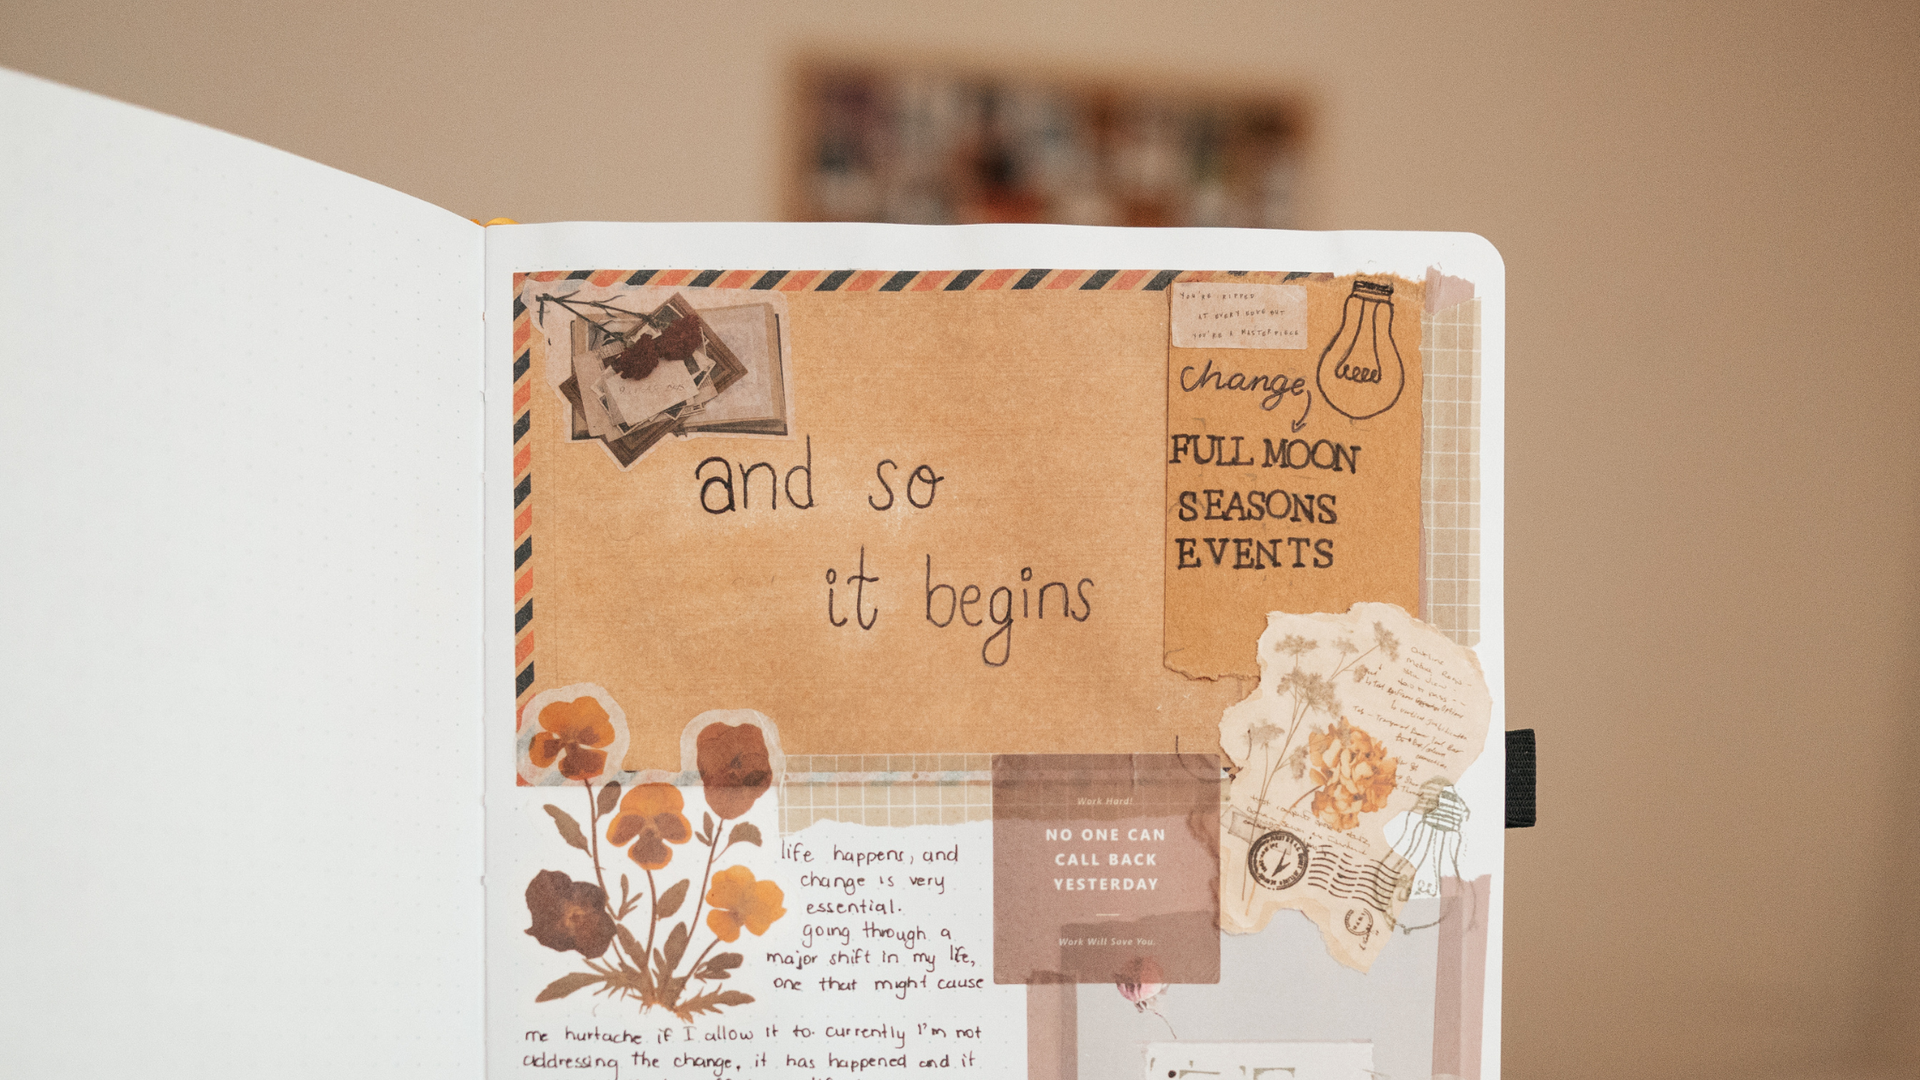
Take your planner doodles to the next level by incorporating floral stickers into your designs. This simple trick adds a mix of charm and practicality, especially in bullet journals or larger planners like the Happy Planner, where there’s plenty of room to play around.
Use flower planner stickers as the centerpiece of your doodles. For example, you can draw vine patterns with a fine pen and place small flower stickers at key points. This creates a smooth blend between your sketches and the stickers, giving your design a polished and intentional look.
Here’s how to combine stickers and doodles effectively:
If you’re just starting out, try creating simple frames. For instance, draw a rectangular border and decorate the corners with small floral stickers. In tighter layouts, stick to basic doodles and smaller stickers to keep things balanced.
Balance is key. If your floral stickers are bold and colorful, stick to simple line drawings for your doodles. On the flip side, detailed sketches pair well with subtle, translucent stickers to create a cohesive look.
This method not only enhances your planner’s visual appeal but also lets your personal style shine through. Now that you know how to elevate your doodles, let’s dive into creating small, captivating scenes with floral stickers.
Use floral stickers to turn empty planner spaces into delightful mini-scenes. Start by picking a color palette that matches your planner’s design and functional areas like appointment slots or task lists.
Pick a theme – like a spring garden – and layer cherry blossom stickers with small buds and leaves to create a sense of depth and flow. To keep things organized, place your scenes in specific areas, such as the corners of daily spreads or the margins of weekly layouts. This way, your planner stays functional while looking more visually appealing.
Add dimension by using a bold peony sticker as the focal point. Surround it with smaller wildflowers and leaves to create a natural, layered arrangement. This approach makes your scenes stand out without overwhelming the page.
For smaller planners, like the Hobonichi, stick to tiny flower planner stickers for detailed yet subtle designs. In larger formats, such as bullet journals, you can go bigger and mix sticker sizes to create more elaborate scenes.
Make your scenes even more interesting by adding seasonal touches. For example, decorate a summer spread with bright sunflowers and butterfly stickers, or give an autumn layout a cozy vibe with muted flowers and tiny leaf stickers.
If you’re just starting out, keep it simple. Try a basic three-sticker arrangement to practice your technique. Once you’re comfortable, you can expand your skills and even create full-page patterns for a more dramatic effect.
Add some flair to your planner pages using floral stickers to create beautiful background patterns. This approach keeps your planning space both stylish and functional.
Opt for stickers that follow a specific theme, like pastel flowers for spring. Smaller floral designs are ideal for crafting patterns that don’t overpower your writing space.
Try using tiny stickers to form a checkerboard pattern across the page. A ruler can help you keep the spacing even, which works particularly well in larger planners like Erin Condren or Happy Planner formats. For extra depth, alternate between solid and transparent floral stickers. Tip: Test your pen on a small area first to ensure it writes smoothly over transparent stickers.
You can also match your flower planner stickers to the season. Use bright sunflower stickers arranged diagonally for summer, or scatter small white flower stickers for a snowy winter vibe.
Make your patterns practical by turning them into visual markers. For example, place small floral stickers in a repeating pattern to highlight important dates or deadlines. This method works great in bullet journals, where you can use different flower colors to categorize tasks or events.
Want to add more depth? Layer transparent stickers over solid ones to create a multi-dimensional look while still keeping your planner functional.
Once you’ve nailed the basics, experiment with creating focal points to draw attention to key areas of your planner.
Floral stickers can serve as eye-catching markers to highlight goals, dates, or events while keeping your planner functional.
Here’s a layering technique to add depth:
For monthly spreads, place a large floral sticker in the corner of an important date. Pair a 2-inch flower with smaller buds to create a cascading effect that feels natural but doesn’t take over your writing space.
In weekly layouts, kick off the week with a cluster of flower planner stickers. Use larger flowers as the centerpiece and smaller elements to add depth. You can also frame key events or deadlines with floral designs. For example, a curved vine sticker above a deadline box adds a touch of elegance. To guide the eye, use lighter stickers on the right side. This works especially well in bullet journals, where the dot grid helps ensure precise placement.
Keep at least a half-inch of space between your floral designs and any text. Add fine-line borders or dots around your focal points to tie the layout together.
Once you’ve mastered focal points, you can move on to incorporating floral stickers into trackers and lists for both style and function.
Turn your trackers into eye-catching spreads by using small flower stickers (no bigger than 0.5 inches) to mark completed tasks. Think of your goals as a blooming garden, growing with each step you take.
For mood trackers, assign different flowers to represent emotions. For example, use bright sunflowers for happy days and drooping lilies for low-energy moments. Create a simple key with pressed flowers to add both style and practical value to your emotional tracking.
Here’s how you can organize tasks with floral markers:
To add flair to your daily task list, top it with a cluster of three small flowers, leaving about 1.5 inches of space below for notes. For monthly trackers, try a vertical garden look by placing vine stickers along the left margin and adding small blooms as you check off items.
Keep your spreads neat by balancing decoration and functionality. Aim for a 70-30 split between writing space and flower planner stickers. Stick larger stickers in corners or margins to avoid crowding, and use smaller flowers to highlight key entries without sacrificing clarity.
For recurring tasks, create a subtle pattern with tiny flower dots in matching colors. This keeps your lists visually consistent and easy to scan. Make sure to leave enough space between stickers to avoid a cluttered look.
You can also assign specific flowers to task categories for a quick, intuitive system. For instance, roses might represent fitness goals, sunflowers for personal growth, and cherry blossoms for creative projects.
With your trackers now blooming with charm, let’s move on to how floral stickers can enhance themed page designs.
Turn your planner into a visual masterpiece by designing themed pages using floral stickers. The trick is to pick stickers that match your theme while keeping your planner functional.
Follow the 60-30-10 rule to create a balanced layout: dedicate 60% to the main floral theme, 30% to supporting patterns, and 10% to small accents. For example, in a spring theme, use pastel rose stickers for the main focus (60%), leafy patterns for support (30%), and tiny butterflies as accents (10%).
For a consistent look across the month, stick to a signature flower and carry it through all your spreads. For example, using Dark Moon Paper‘s “Starlit Sakura” set helps you keep the same colors and plant designs in both your weekly and monthly layouts for a unified vibe.
Want to match the seasons? Choose florals that reflect nature’s colors. For spring, try Dark Moon Paper’s "Lilac Dusk" kit featuring soft purple and pink blooms. In autumn, go for warm tones and sprinkle in fallen leaves with your florals.
Here’s a quick guide for organizing your themed pages:
| Theme Element | Placement | Purpose |
|---|---|---|
| Large Florals | Top corners/margins | Frame the page and set the tone |
| Small Blooms | Between entries | Add flow to your layout |
| Vine Elements | Side margins | Tie sections together |
| Accent Flowers | Near key dates | Highlight important events |
Once you’re comfortable with general themes, add holiday-specific touches. For Valentine’s Day, mix rose stickers with heart shapes. For Easter, blend spring flowers with pastel tones and soft botanical patterns.
To keep your planner functional, decorate only the outer areas. Use about 2 inches of margin space for stickers and leave the center clear for writing. Maintain at least 0.5 inches of white space between flower planner stickers and your text to avoid clutter.
Choose sticker sizes based on your planner type. Compact planners like Hobonichi work best with tiny blooms (around 0.25 inches), while larger layouts like Erin Condren can handle flowers up to 1 inch. The goal is to enhance your pages while keeping them practical.
Give your planner spreads an extra pop by trying sticker layering. This technique adds depth and makes your layouts visually interesting while keeping them practical.
A great method to try is the 3-2-1 technique. Start with a large sticker (around 1.5 inches) as your base, layer medium-sized shapes or icons (0.75-1 inch) on top, and finish with small accent stickers (0.25-0.5 inches) for the final touch.
| Layer Type | Size Range | Purpose | Example Elements |
|---|---|---|---|
| Base Layer | 1.5" | Foundation | Large roses, peonies |
| Middle Layer | 0.75-1" | Add Interest | Geometric shapes, boxes |
| Top Layer | 0.25-0.5" | Final Accents | Tiny buds, leaves |
You can get creative with transparent floral stickers to make custom colors – like blending pink and yellow for a peachy hue. To keep your planner functional, leave about 0.75 inches of writing space and place sticker clusters in the margins or corners.
For flexibility, use permanent stickers as your base and repositionable ones for the top layers. This way, you can make adjustments without disturbing the foundation.
Want an extra touch? Combine textures! Matte floral stickers paired with metallic accents create subtle contrast and make even simple designs stand out.
You can also use layering to highlight key dates. Arrange smaller floral elements around a central sticker cluster to draw attention without cluttering your layout.
Once you’re comfortable with layering, try experimenting by pairing floral stickers with washi tape for even more creative options.
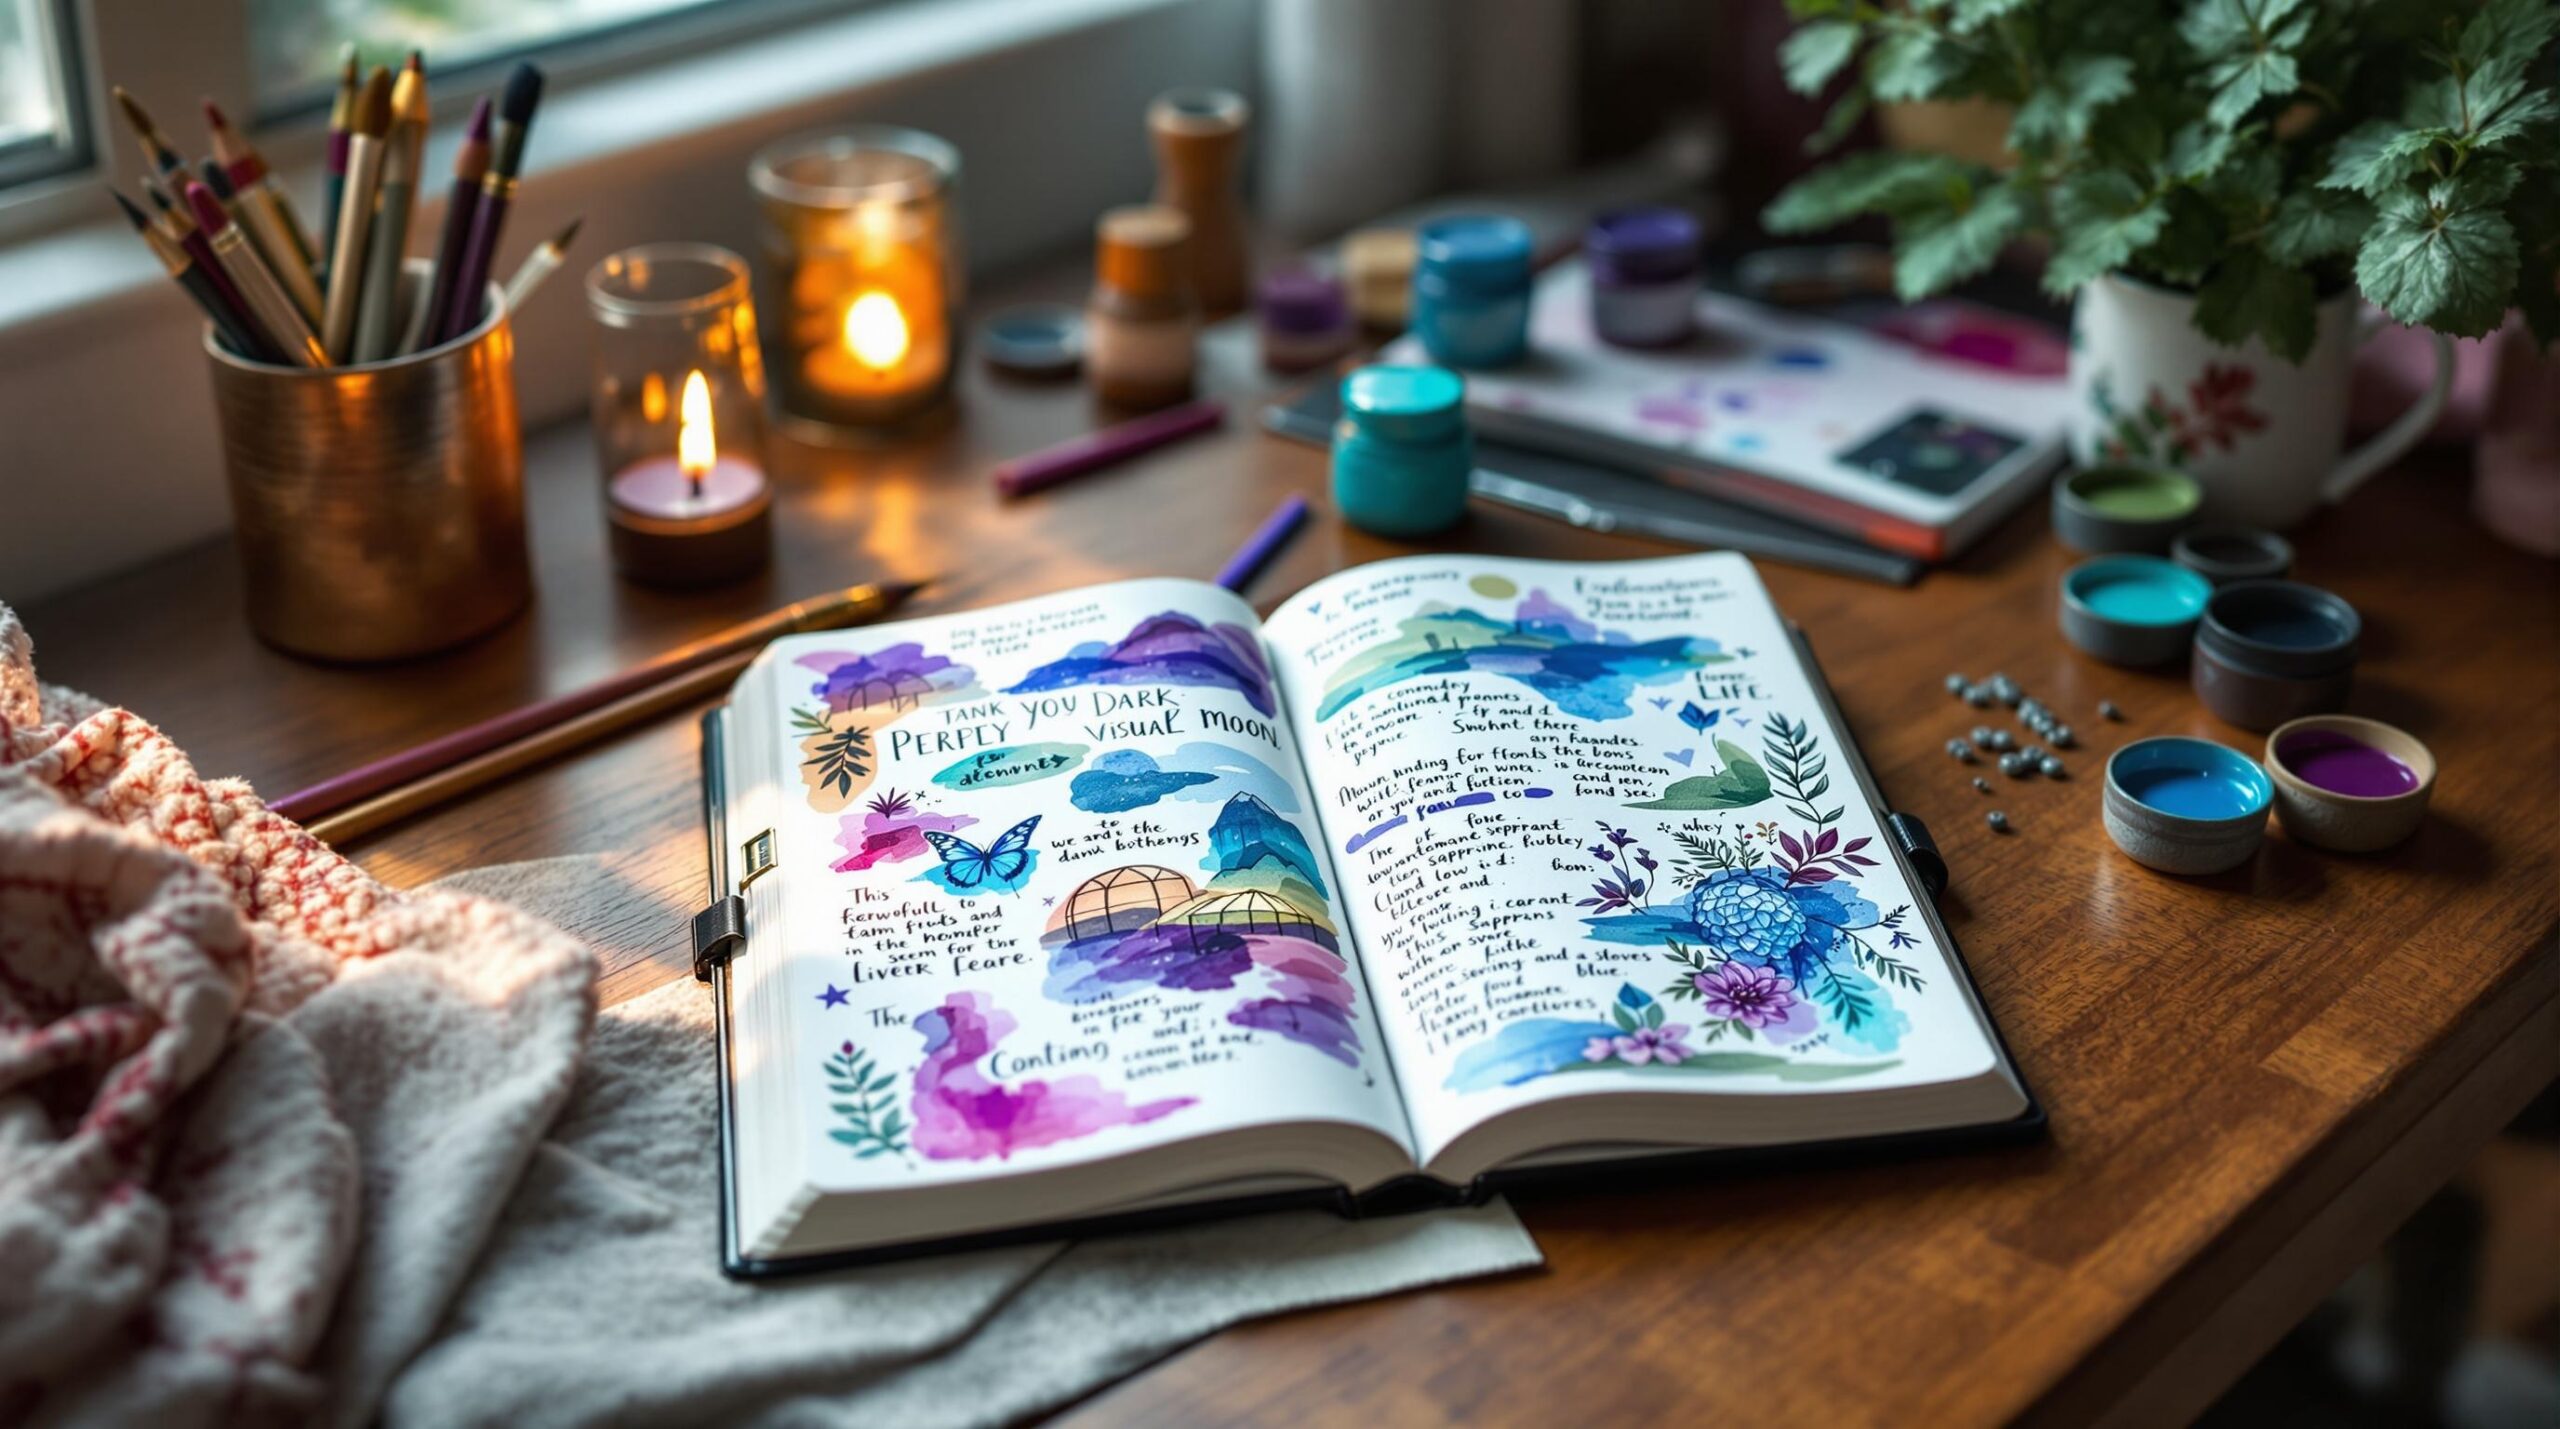
When it comes to decorating your planner with floral stickers, sometimes less is more. A minimalist approach can highlight elegance and keep your layout organized without sacrificing practicality. Instead of covering entire pages, try using a single flower sticker to make a statement. For instance, place a 1-inch rose sticker in the top corner of your monthly spread to mark the start of each month.
The key to this style is thoughtful placement. Choose stickers with clean lines and soft colors for a balanced look – collections like Papier’s botanical series or Simply Gilded‘s minimalist florals are great options. Stickers should enhance your planner’s color scheme, not compete with it.
White space plays an important role in minimalist designs. Leave at least 1.5 inches of clear space for daily tasks and notes to keep your planner functional and polished. For a subtle touch, use small floral stickers (around 0.25-0.5 inches) to mark key dates or add understated accents that won’t overwhelm your layout.
Minimalist layouts can still pack a punch visually. Pair a single flower sticker with a handwritten quote or an elegant date marker to infuse personality while keeping things simple. This creates a striking effect without losing the clean, streamlined aesthetic that defines minimalism.
Once you’re comfortable with this approach, you can start experimenting by combining flower planner stickers with other design elements for a touch of added flair.
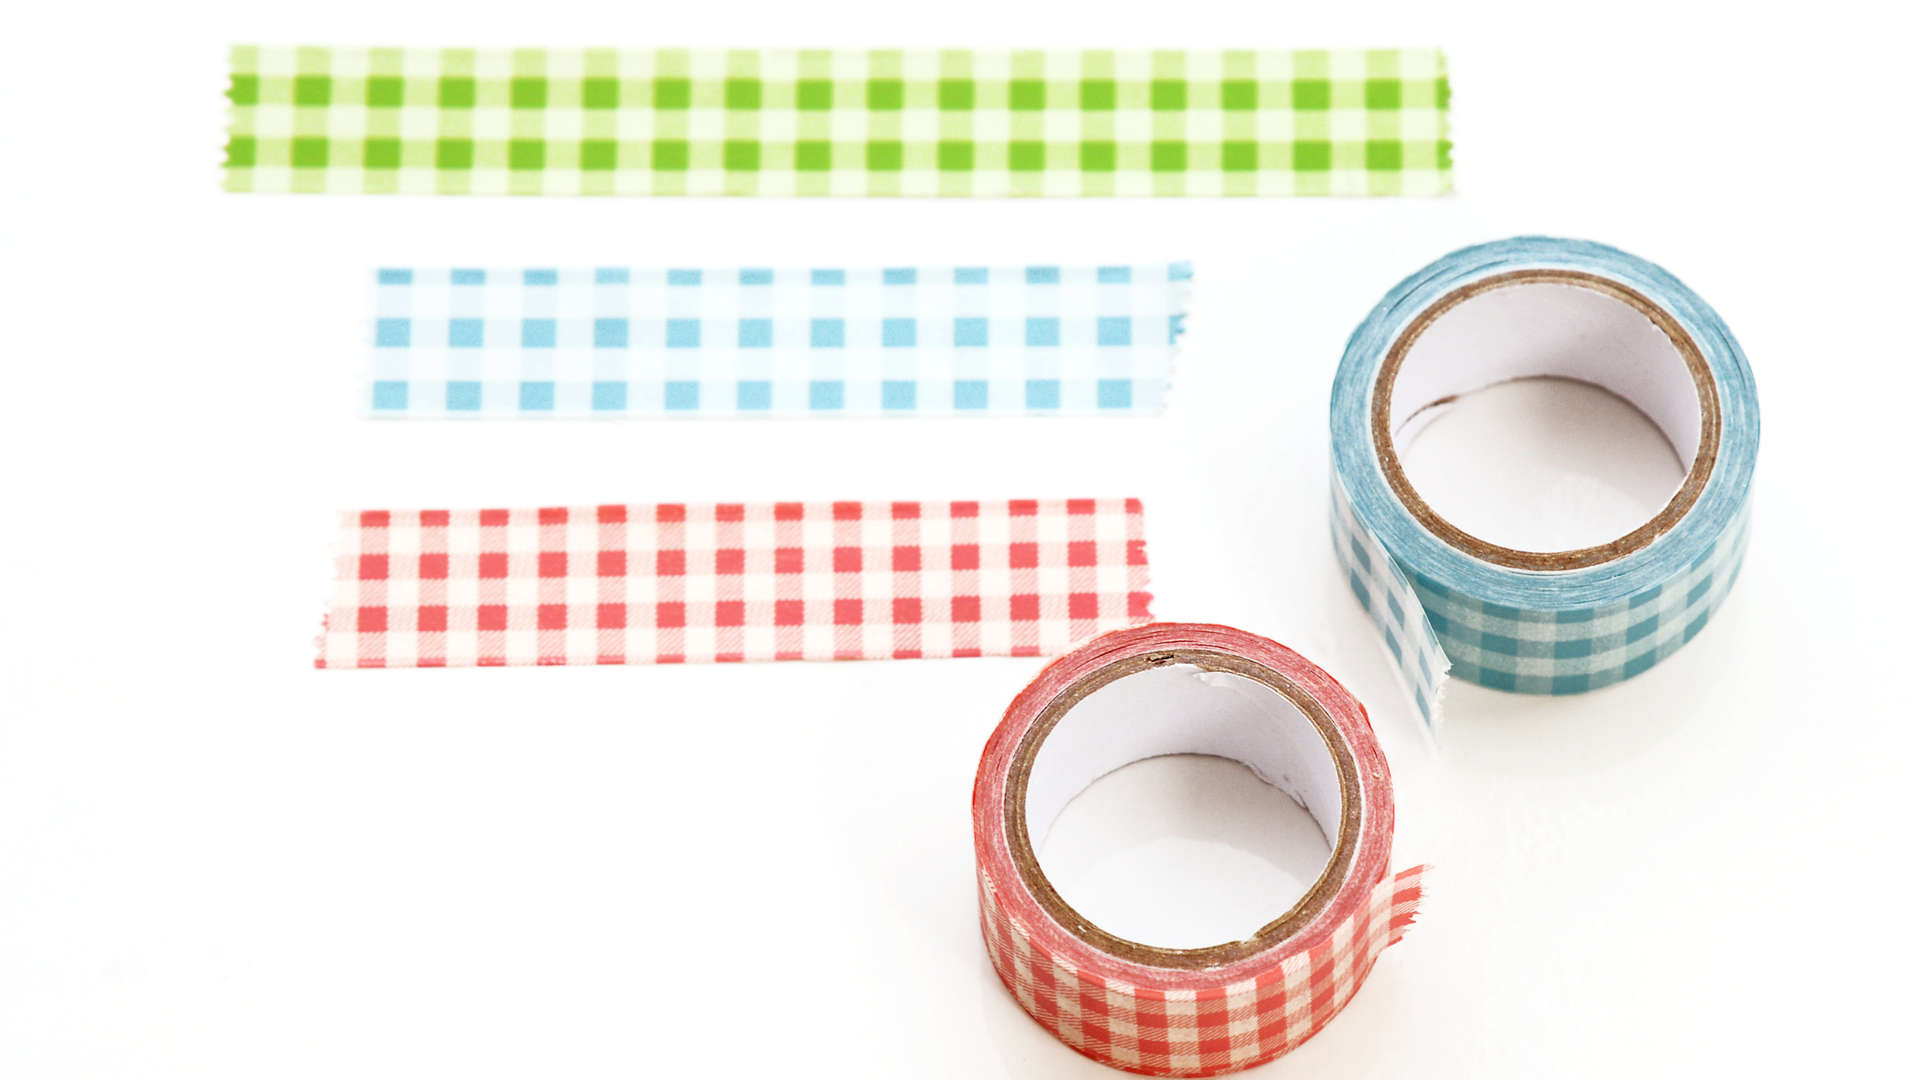
Combining floral stickers with washi tape can transform your planner into a stylish and practical tool. This pairing not only boosts your planner’s visual appeal but also helps create organized and structured layouts.
Try layering wide washi tape with thinner patterns, then add floral stickers to bring depth and charm. Start with a solid base of washi tape, layer on a patterned design, and finish by placing floral stickers thoughtfully. This method adds dimension while keeping your planner neat and organized.
For a polished touch, use metallic washi tape as a border and place small floral stickers at key points. Prefer a more understated look? Transparent washi tape works great – it adds texture without overpowering your floral stickers.
You can also make your trackers more creative by outlining grids with washi tape. Then, use small floral stickers to mark completed tasks, making your tracker both functional and decorative. Washi tape isn’t just for decoration – it’s also a useful tool. Use it to create clean dividing lines between sections in your planner, and soften those lines with a few floral accents.
Once you’re comfortable combining these elements, take it a step further by turning flower planner stickers into custom icons to add even more functionality to your layouts.
Use floral stickers to create a personalized visual system in your planner. By trimming small floral stickers into shapes, you can design unique task markers and assign them to specific categories:
Bullet journal expert Amanda Rach Lee suggests making a key page to display your floral icons with their meanings. This keeps your system clear and consistent as you plan.
For added creativity, combine your floral icons with simple line drawings. For example, pair petals with shapes to represent different project stages or milestones.
Once you’ve set up your floral icons, experiment with decorating other planner elements, like tabs or dividers, to tie everything together.
Add a touch of flair to your planner tabs by using flower planner stickers as decorative dividers. For smaller tabs, like those in Hobonichi planners, opt for tiny flower stickers (around 1/4 inch) to create elegant borders that don’t overcrowd the space. Larger tabs, such as those in Erin Condren planners, can handle more elaborate floral designs.
Assign different flower types to various sections of your planner for both organization and style. For example, use bright sunflowers for your Goals section, soft cherry blossoms for Monthly Spreads, and timeless roses for Important Dates. Once you’ve chosen your flowers, layering them can add depth and personality to your designs.
Washi tape can serve as a subtle background to highlight your floral stickers while keeping them the main focus. A tab with cherry blossoms and soft pink washi tape might represent a personal journal, while sunflowers paired with gold washi tape could mark your work notes.
Switch up your tab decorations with seasonal flowers to keep your planner feeling fresh. Think tulips for spring or chrysanthemums for autumn – this small change can make a big difference as the months go by.
"Balance is crucial for functional, visually appealing tabs", says Di Hickman from Creative Karma Designs. "Leave enough white space around your floral elements to ensure text stays readable and the tabs remain functional."
To protect your decorated tabs from wear and tear, cover the floral stickers with a small piece of clear tape. This simple trick ensures your designs stay intact, even with frequent use.
Give your planner pages more dimension by using floral stickers creatively. Try layering smaller flower stickers on top of larger ones with foam tape for a standout 3D effect. For example, a small daisy sticker can "pop" off the page when placed on foam tape.
"The key to creating depth is strategic placement", says Amanda Rach Lee, a well-known planner artist. "Start with larger elements in the background and work forward with smaller details, just like arranging a real garden."
Mix and match different floral sticker types to create texture. Pair matte and metallic finishes for a subtle contrast, or layer semi-transparent stickers to mimic soft shadows. You can also add materials like textured washi tape as a backdrop or use die-cut elements for extra layers.
If you’re working with functional planning spaces, focus textured designs in the corners or along the edges to keep the writing areas open. For example, try a clustered corner design by layering 3-4 floral stickers, starting with a larger 2-inch bloom and ending with tiny 1/4-inch buds.
Use white space to highlight your layered designs without making the page feel overcrowded. This is especially useful in bullet journals, where clean layouts make textured elements stand out even more.
For seasonal themes, think about how texture can enhance your design. Adding depth with these techniques can tie your spreads to specific times of the year, making your planner both visually appealing and cohesive. Once you get the hang of it, you can experiment with seasonal textures to take your designs to the next level.
Bring your planner to life by aligning floral stickers with seasonal themes. This not only makes your planner visually appealing but also helps create a natural rhythm throughout the year.
Pick flowers that represent the essence of each season, while keeping a balance between decoration and practicality. Smaller floral stickers (around 1/2 inch or less) work well for marking key dates or deadlines.
"Seasonal themes provide structure while encouraging creativity year-round", says Sarah Martinez, lead designer at Passion Planner. "Our customers report spending 40% more time engaging with their planners when using seasonally themed decorations."
Here’s a simple seasonal guide to help you get started. You can tweak these ideas to match your local climate for a more personal touch:
| Season | Suggested Flowers | Color Palette | Extra Details |
|---|---|---|---|
| Spring | Cherry blossoms, Tulips | Pastels, Light pinks | Raindrops, Butterflies |
| Summer | Sunflowers, Daisies | Bright yellows, Blues | Tiny bees, Green leaves |
| Fall | Chrysanthemums, Dahlias | Orange, Deep reds | Gold leaves, Acorns |
| Winter | Poinsettias, Holly | White, Deep greens | Snowflakes, Silver tones |
If you live in a tropical area, you might prefer vibrant flowers all year. For those in regions with distinct seasons, you can fully embrace the changing colors and designs as the year progresses.
Your planner isn’t just a tool for tracking dates – it can also be a space to spark creativity and make planning more enjoyable. By incorporating floral stickers and other decorative elements, you can turn a simple schedule into something personal and motivating.
Adding stickers and themes to your planner can encourage you to use it more consistently and effectively. Whether you prefer a clean, minimal look with a few accents or a fully decorated page bursting with color, the goal is to create layouts that keep you inspired to plan regularly. Seasonal and themed sticker collections are a great way to get started, no matter your experience level.
The most important thing is to balance style with practicality. These ideas work well for both paper and digital planners, so you can easily adapt them to fit your preferred method. Plus, the planner community is full of inspiration, offering endless tips and ideas to keep you motivated.
Use these suggestions to make your planner a reflection of your creativity and a tool you’ll enjoy using every day.
Stickers Made for Planning
Our custom stickers are a fuss-free way to brighten up your planner pages with perfectly-sized designs that add a spark of personality to every layout.
Why use planner stickers?
Planner stickers make organizing easy, fun, and personal! Add color, creativity, and structure to every page, transforming your planner into a tool that reflects you. Perfect for tracking, decorating, and staying inspired daily!

Hello and welcome!
I’m Rachael Snow, a lifelong artist and entrepreneur, and I started Dark Moon Paper to blend my love of art, technology, and the mysterious beauty of the world around us. My sticker kits are meant to set the mood, tell a story, and give you a little escape from the ordinary.
I work from my cozy studio tucked away in the beautiful woods of Oregon, surrounded by nature and a dark night sky full of stars.