Color-coding a planner isn’t just for show – it’s a game-changer for organization and productivity. Here’s how to do it in 5 easy steps:
Why bother? Color-coding helps you:
Color-coding in your planner is a game-changer for organizing your life and boosting productivity. Let’s break down what you should color-code and how to group your tasks effectively.
Start with these fundamental elements:
This visual system lets you grasp your schedule in seconds.
Now, let’s dive into creating color groups that work for you:
Category-Based Coding
Many swear by category-based coding. Here’s an example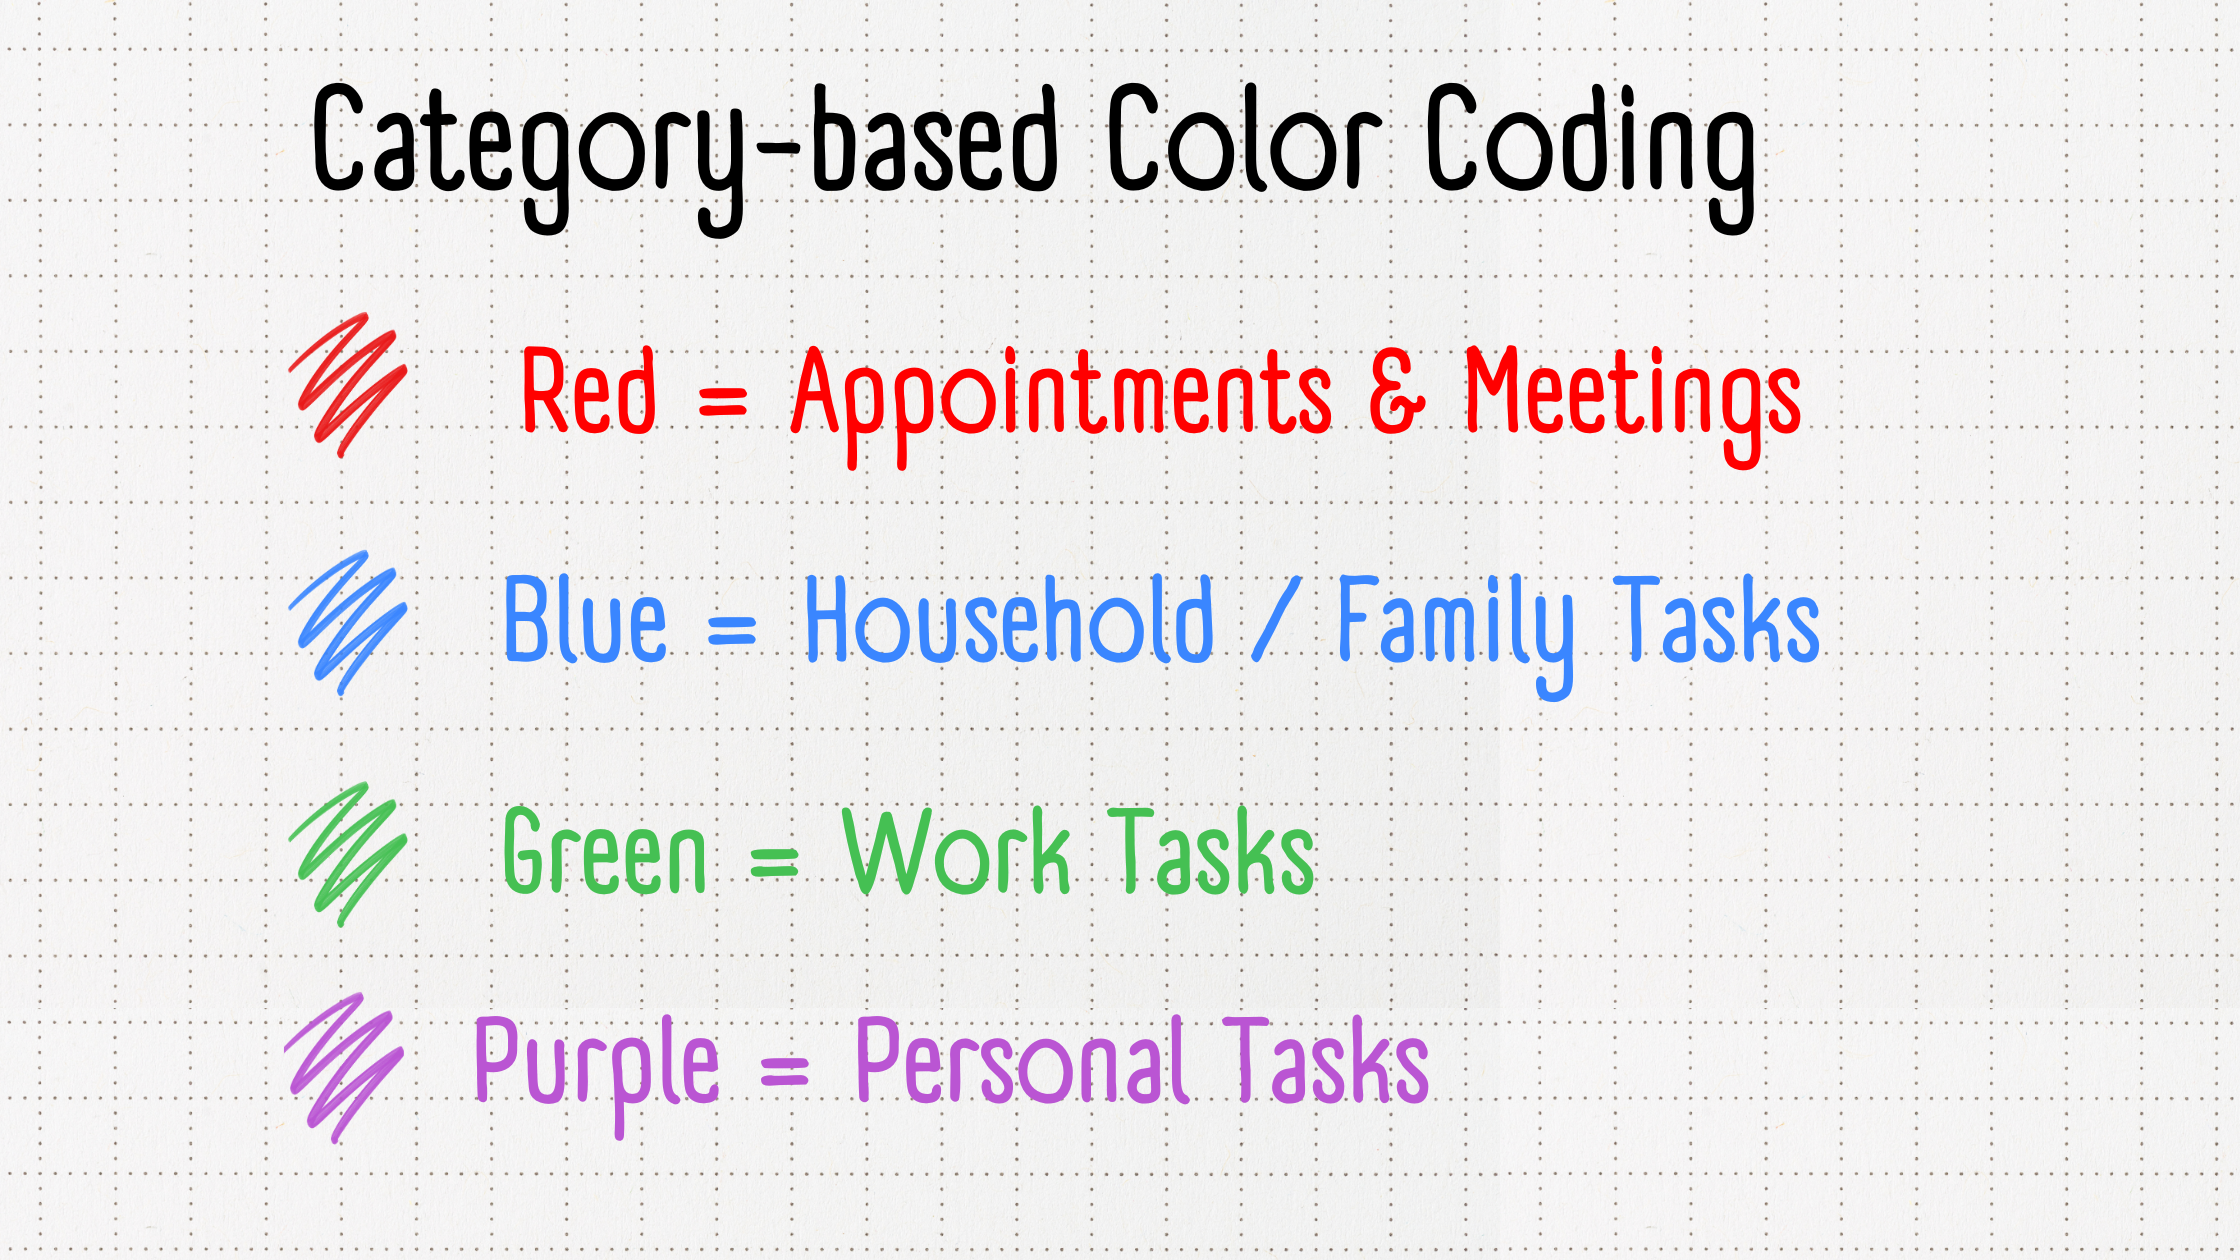
"Pink for planner tasks, green for work, orange for blog content, and purple for personal stuff. It helps you plan your week and see what’s next at a glance." – Maria Bonacci, planner enthusiast
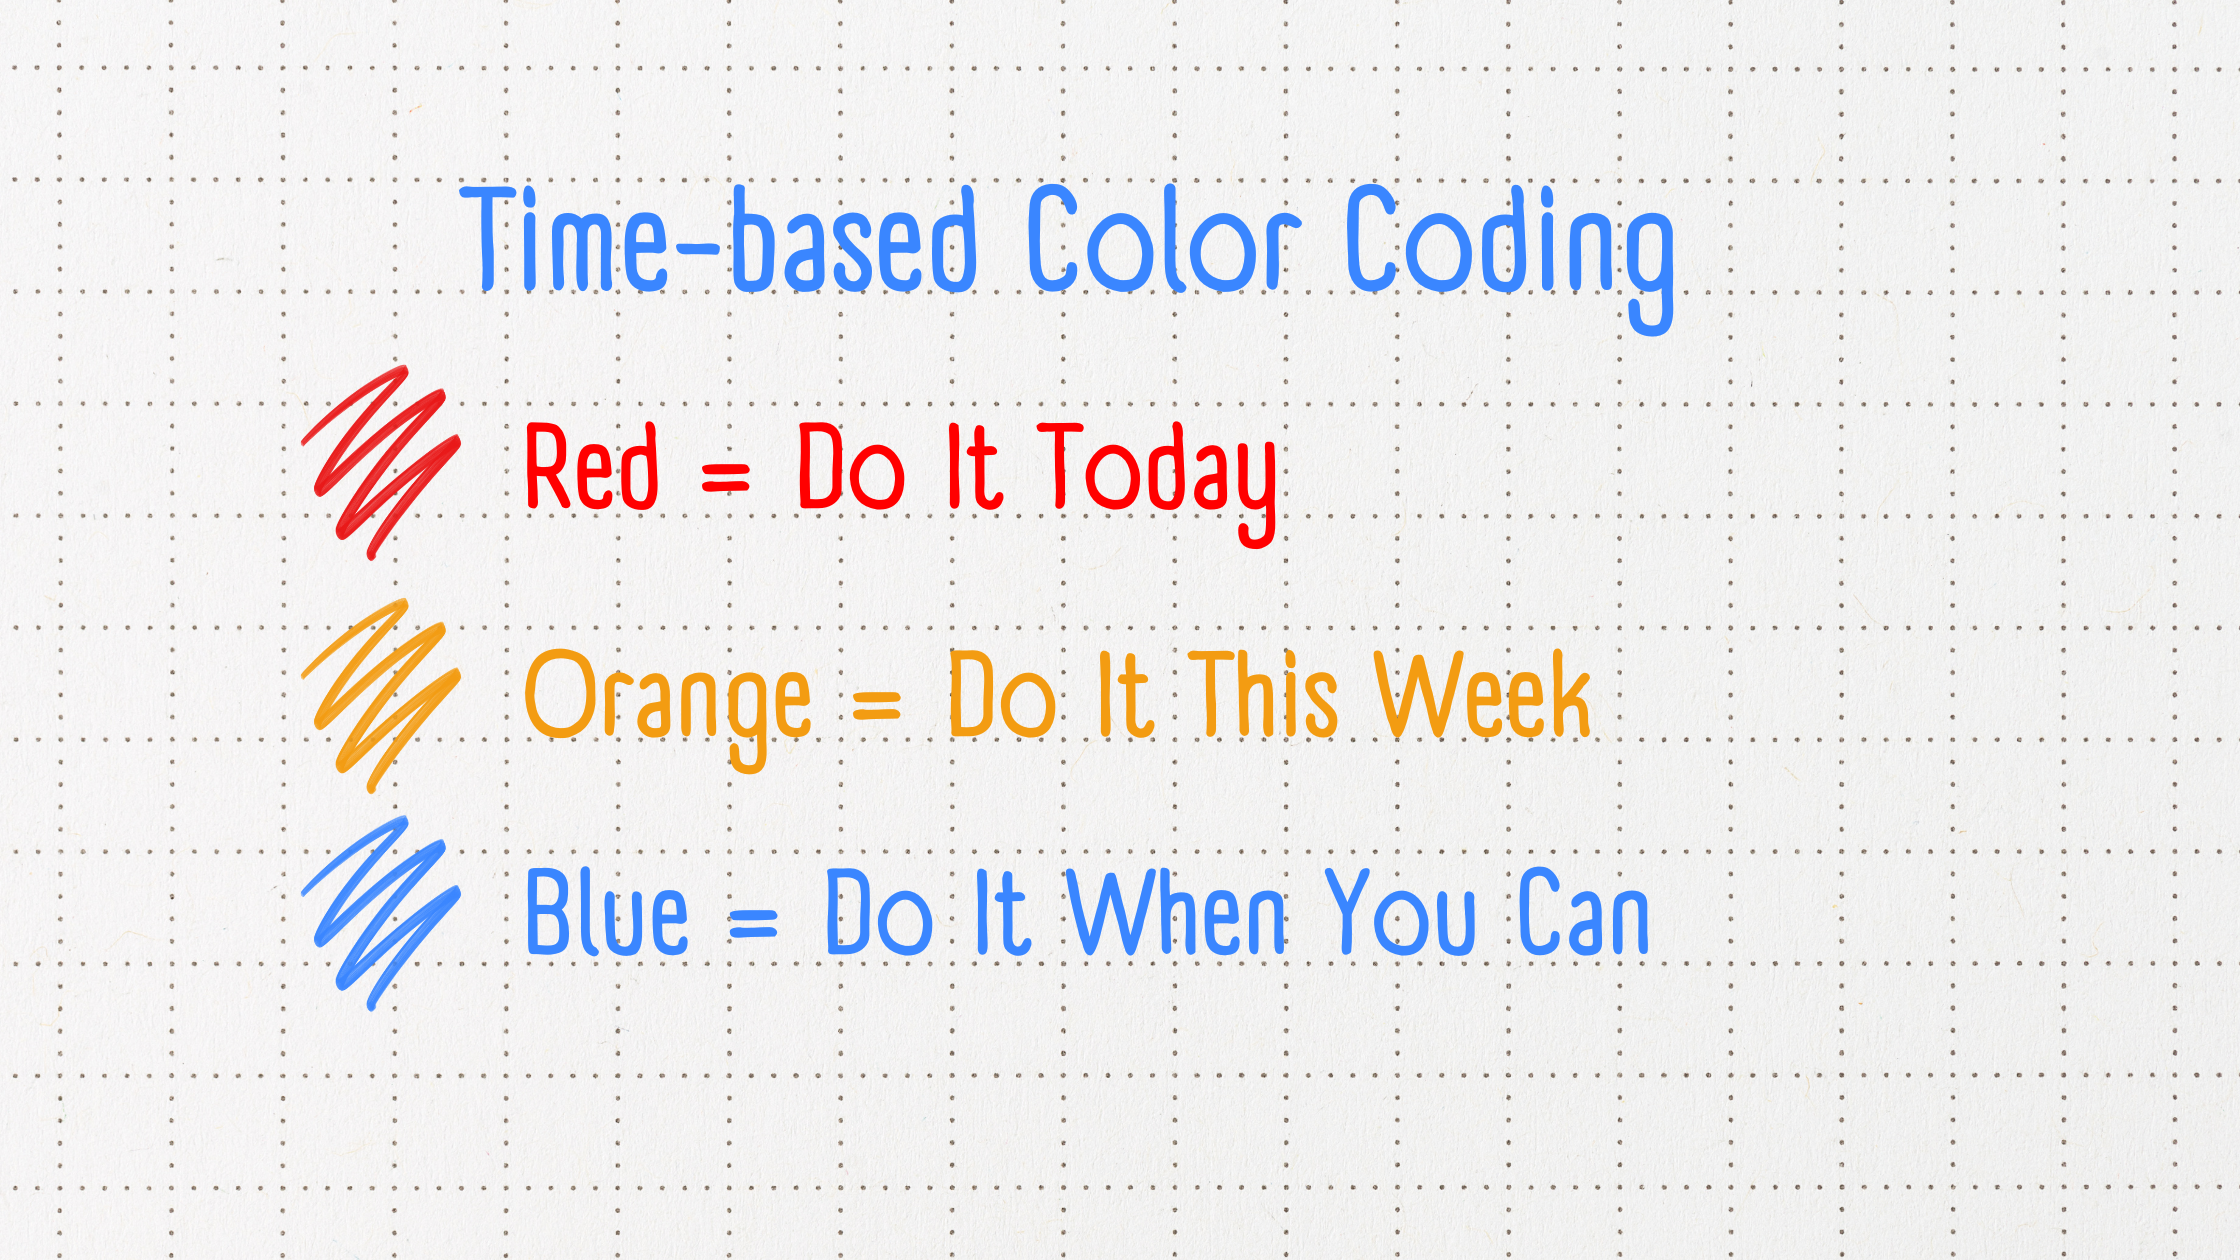
Time-Based Coding
Prioritize based on urgency:
People-Based Coding
Managing a family or team? Try this:
Parents juggling multiple schedules, this one’s for you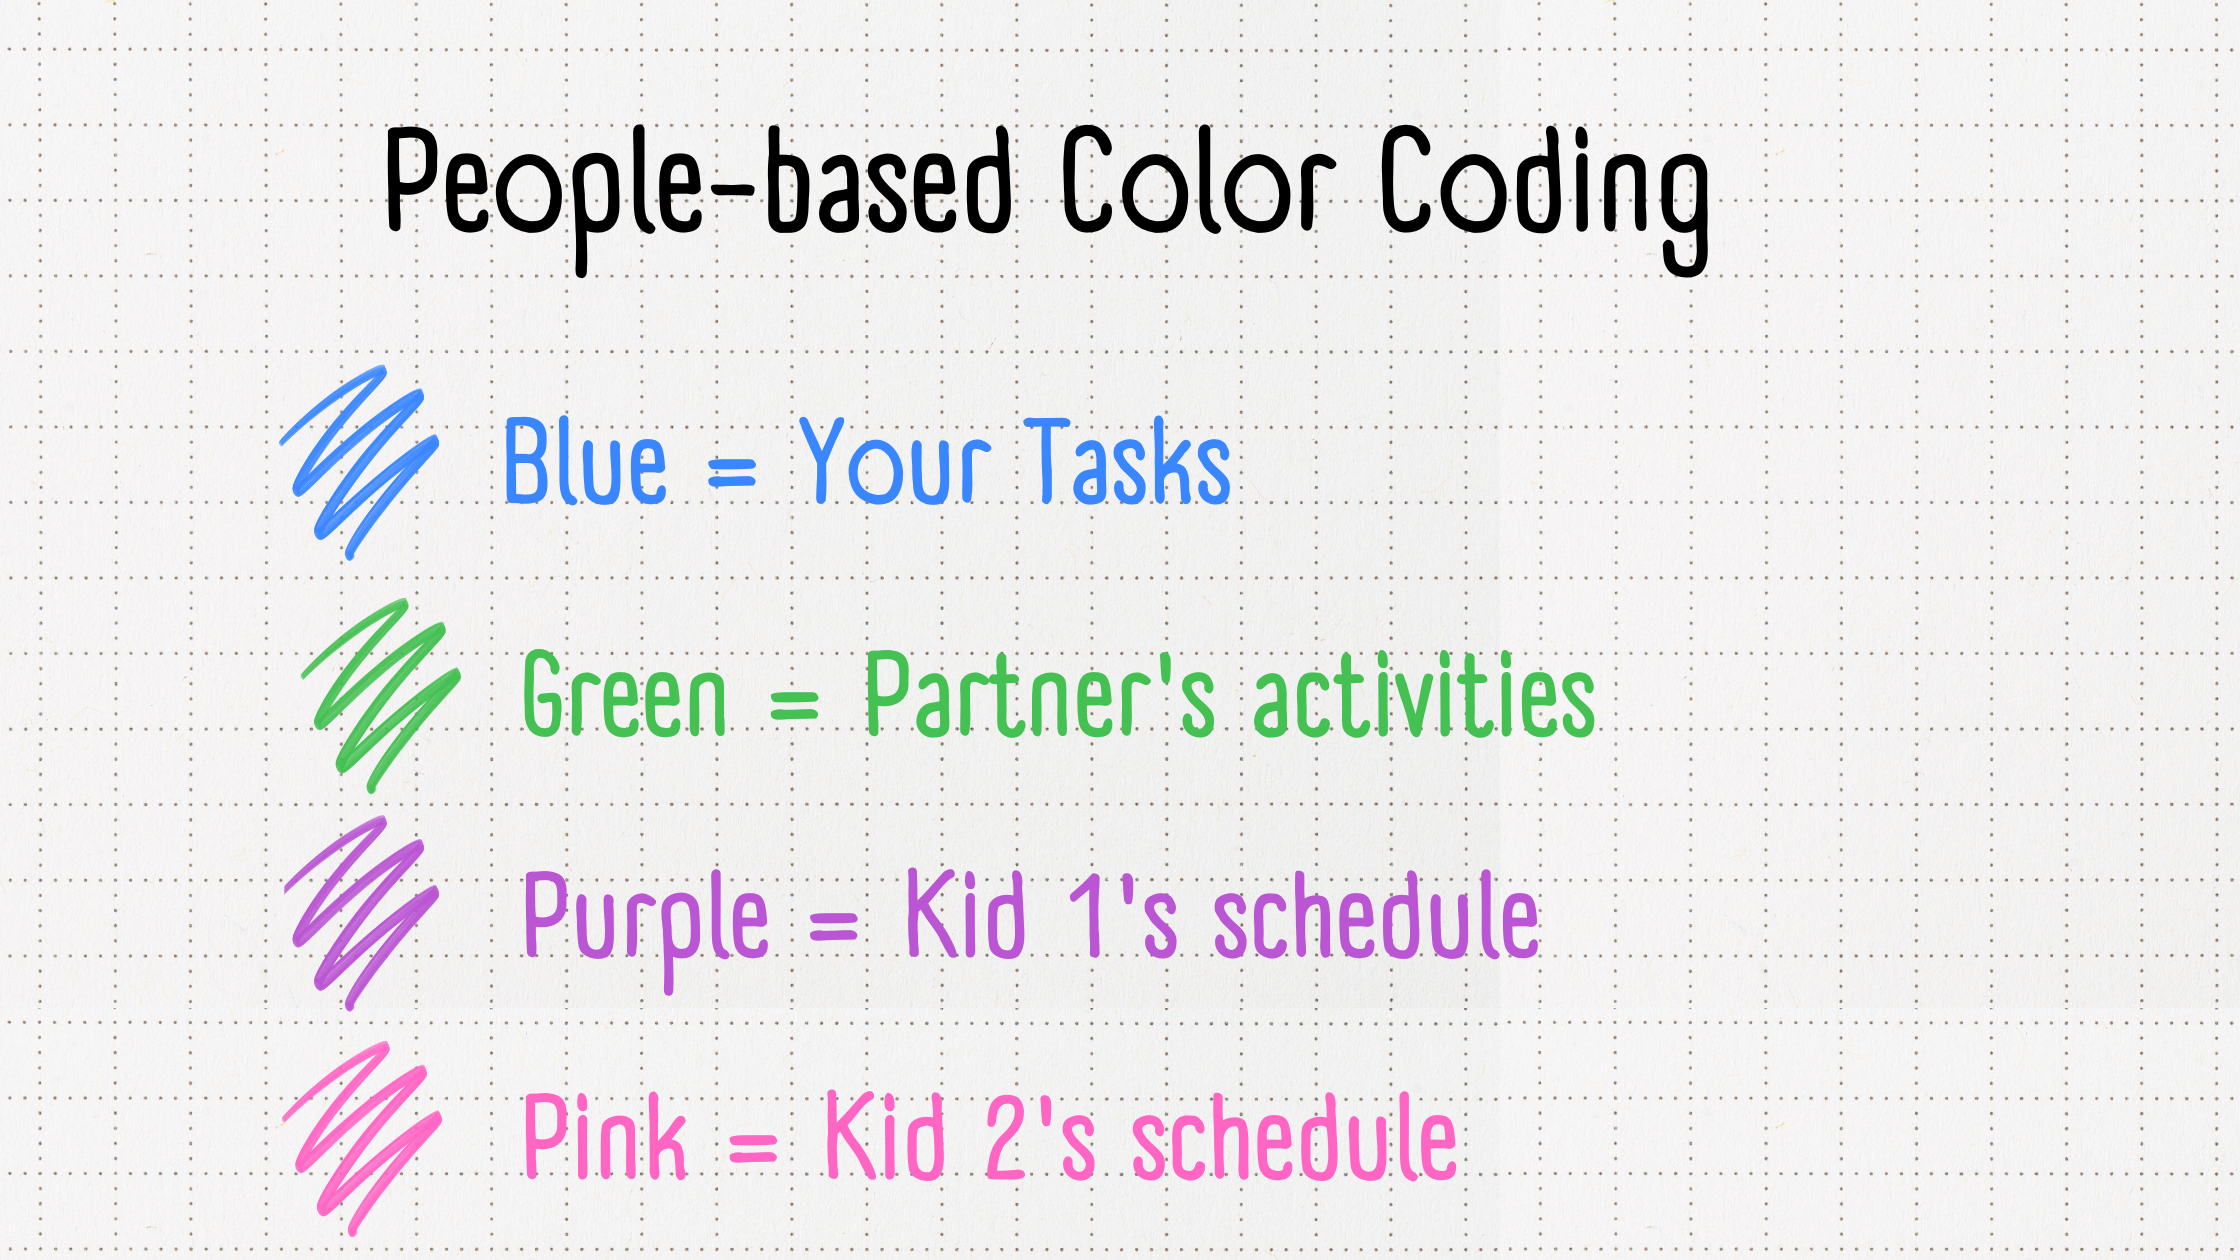
The goal? Create a system that clicks for you. Play around with different groupings. And don’t forget to make a color key at the front of your planner.
Choosing the right colors is key to making your planner work for you. It’s not just about pretty colors – it’s about creating a system you can understand at a glance.
When picking your colors, go for ones that stand out but still look good together. Here’s how:
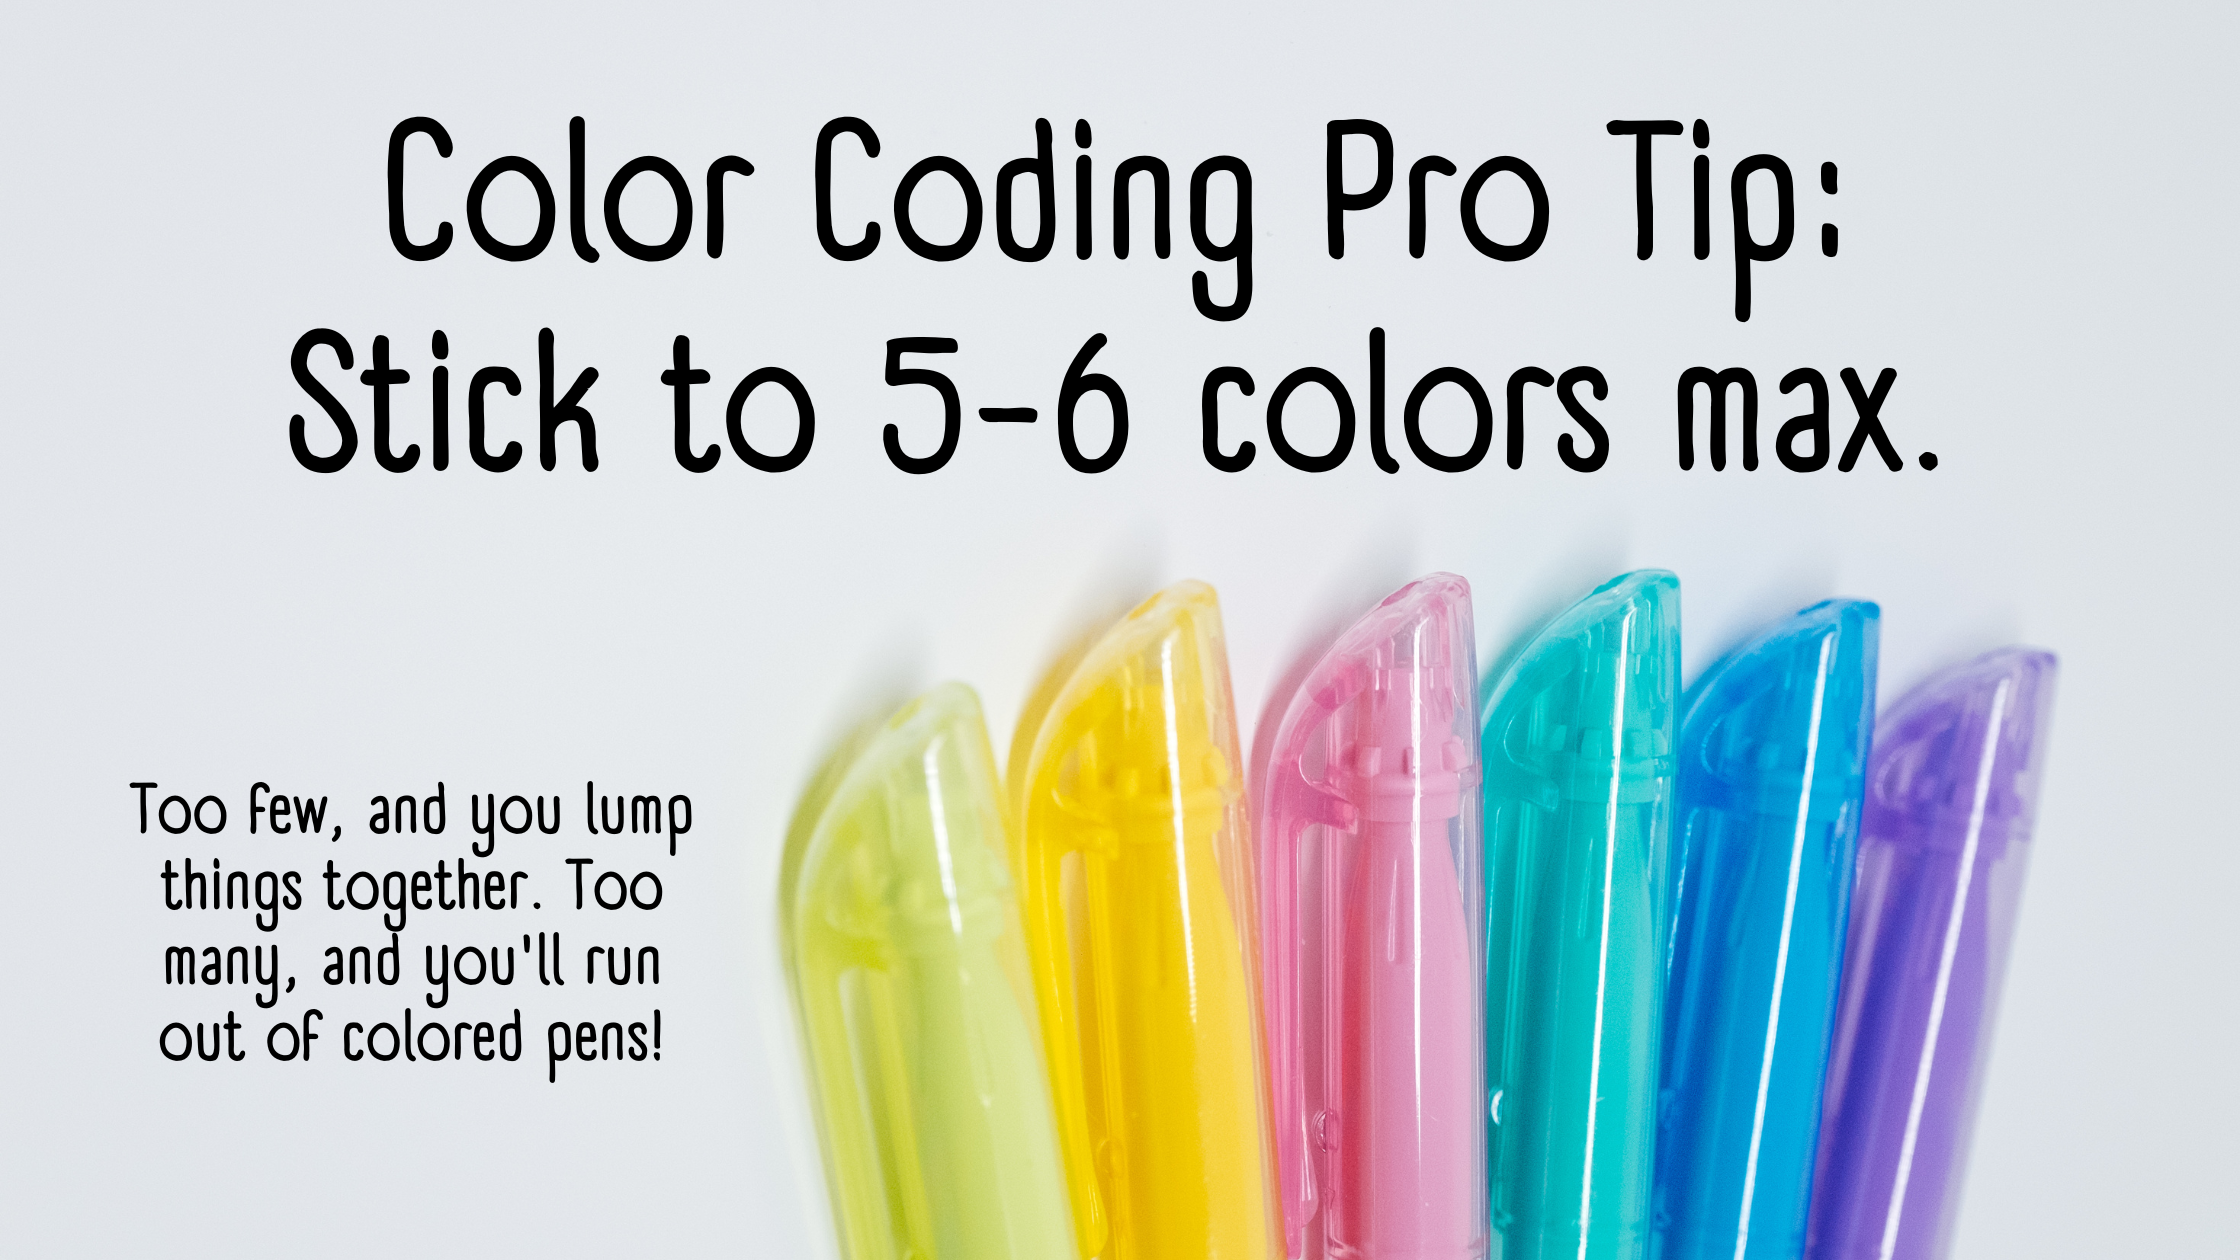
A color guide keeps your planner consistent. Here’s how to make one:
"Over complicating your color palette will lead to a confusing mess in the long run!" – Nicola from My Inner Creative
You’ve picked your colors. Now, let’s grab the tools to make your color-coded planner pop. The right supplies can turn your planner from "meh" to "wow!"
Pens and Markers
Good pens are the backbone of your color-coding system. Here are some top choices:
Highlighters
Need to make important stuff stand out? Grab some highlighters:
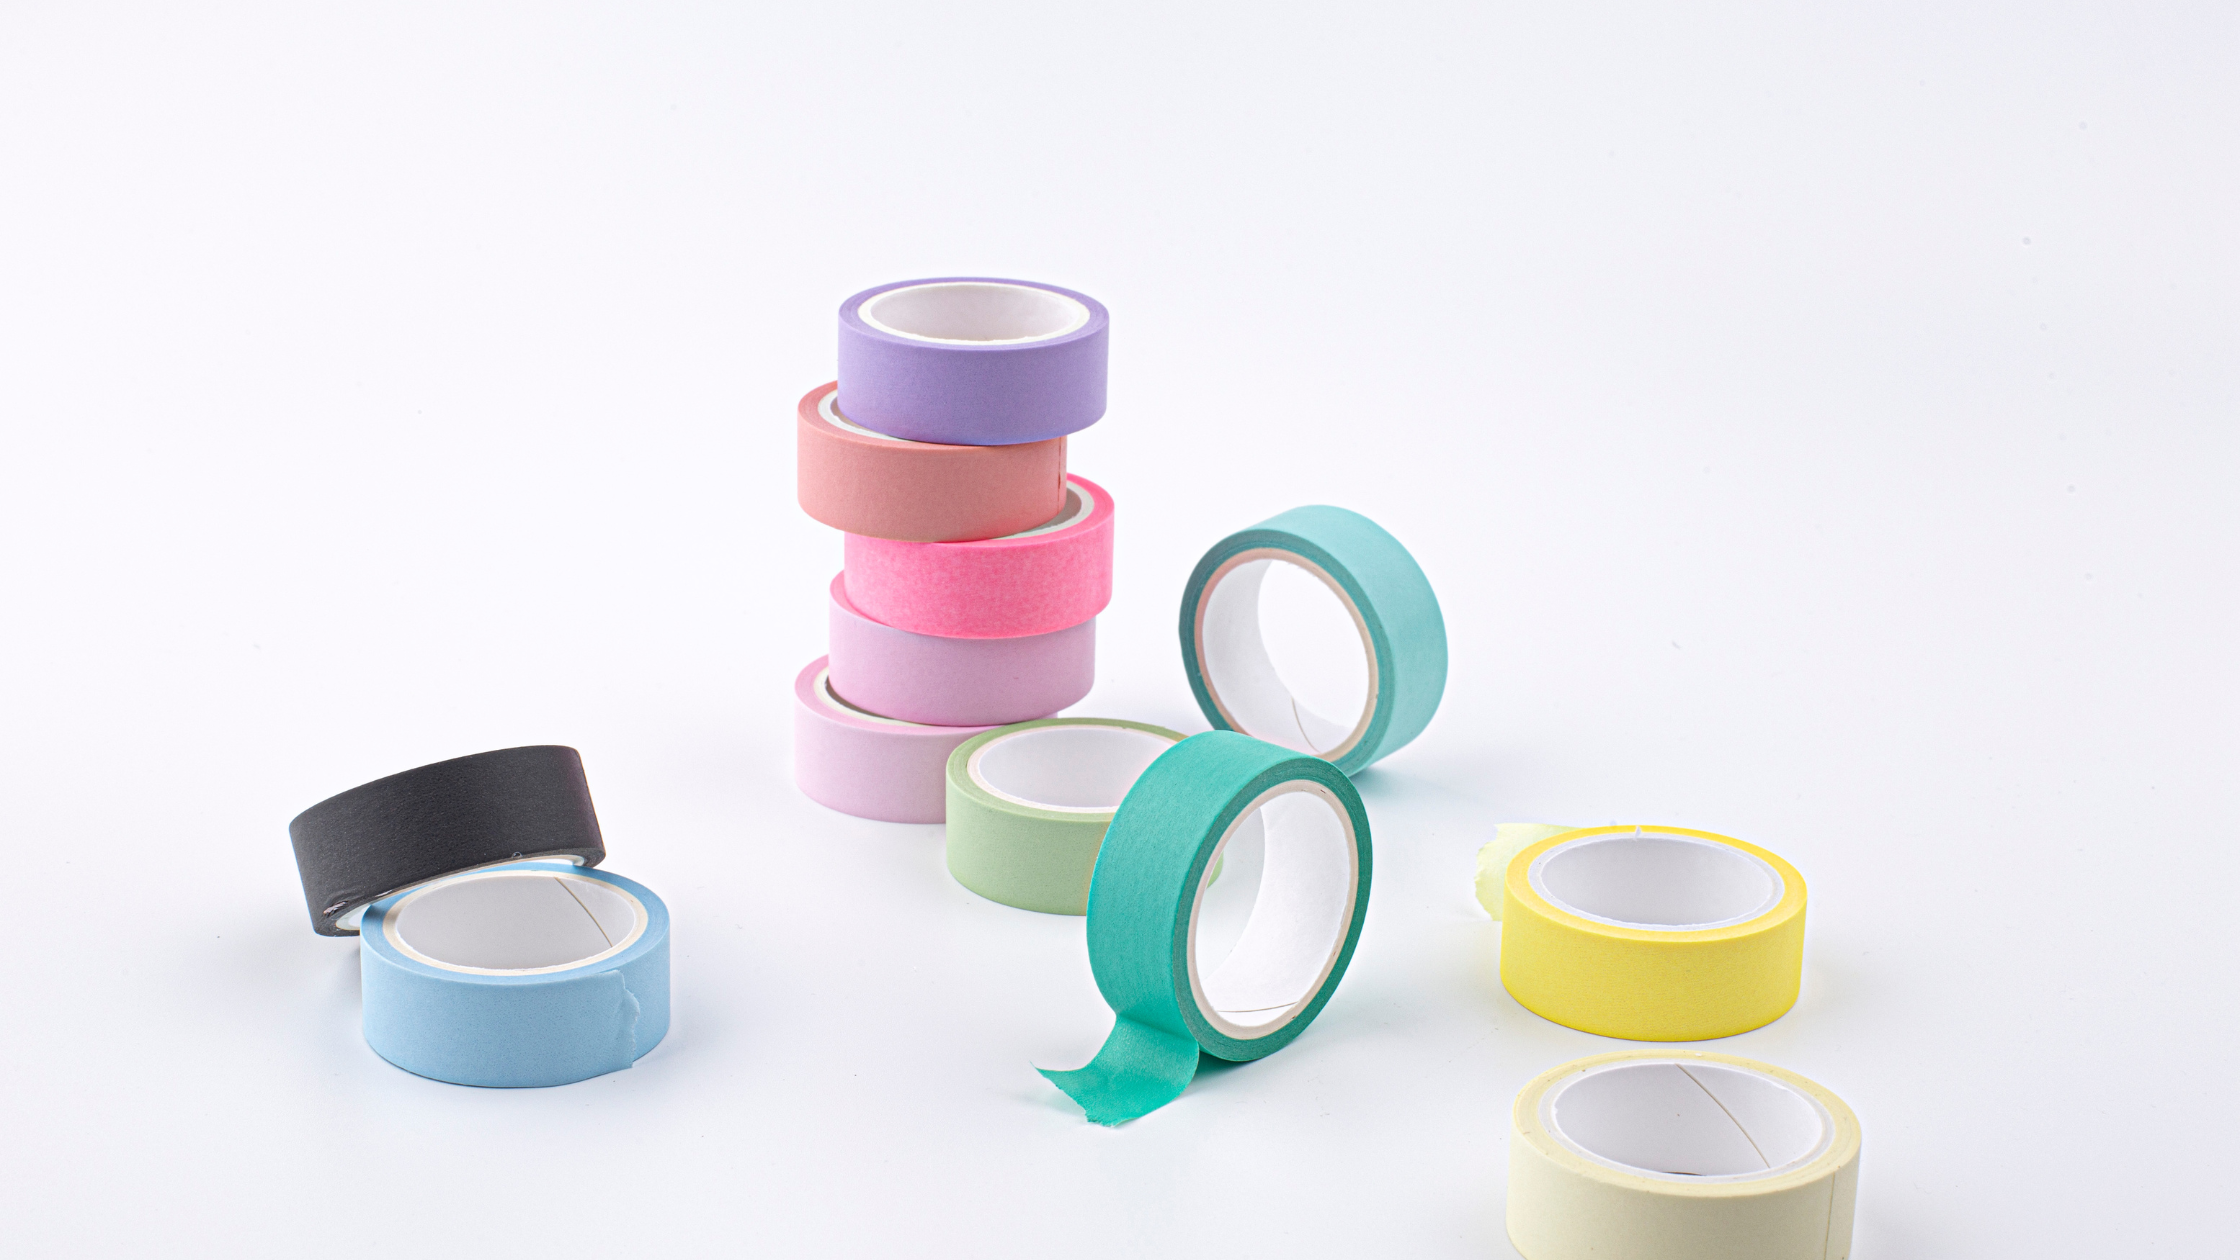
Stickers and Washi Tape
Want to add some pizzazz? Try these:
Now that you’ve got your colors and supplies, let’s divide your planner into easy-to-navigate sections. This step is key for creating a system that keeps you organized.
The secret to effective color-coding? Keep it simple. Here’s how to sort your planner activities into manageable groups:
Erin Condren, a planning expert, says:
"To keep yourself motivated and focused, it’s essential to set goals."
With this in mind, consider creating sections for different time frames:
Your categories should be flexible enough to adapt as your needs change. Planner enthusiast Maria Bonacci shares her approach:
"Pink for planner tasks, green for work, orange for blog content, and purple for personal stuff. It helps you plan your week and see what’s next at a glance."
This method lets you quickly spot different areas of your life without reading every entry.
Pro Tip: Managing multiple schedules? Try a people-based coding system. Assign a color to each family member to easily track everyone’s commitments.
Time to bring your color-coded planner to life! This step transforms your planner into a powerful organizational tool.
Start with your core categories:
Use the right colored pen or highlighter for each entry. Your schedule will pop and be easier to read.
Keep your color key handy – stick it inside the cover or use it as a bookmark. This helps you stay consistent until it becomes second nature.
Want to level up? Try these:
1. Urgency Coding
Use different shades of the same color for priority levels. Dark red for must-do, medium for should-do, light for could-do.
2. Time Blocking
Highlight time blocks for specific activities. It’s a visual way to manage your time better.
3. Progress Tracking
Mark completed tasks with a checkmark or cross them out in a contrasting color.
Don’t be afraid to tweak your system as you go. You might need to adjust categories or add new ones.
Some practical tips:
Stay consistent, and your planner will become your go-to tool for managing time and tasks. You’ll quickly see your schedule and priorities, boosting productivity and cutting stress.
You’ve set up your color-coded planner. Great! But don’t stop there. Let’s look at how to spot issues and make your system even better over time.
Even the best color-coding systems can hit snags. Here are some typical issues and how to solve them:
Too Many Colors
Feeling swamped by a rainbow in your planner? Time to simplify. The Appointed Team says:
"Color-coding should save you time, make checking off your to-do list more efficient, and help you keep a closer eye on your schedule and priorities."
Fix it: Stick to 4-6 main colors. Try blue for work, green for personal tasks, pink for family, and orange for urgent stuff. This makes your planner easier to read quickly.
Mixed-Up Colors
Oops! Used the wrong color? It happens.
Fix it: Try erasable pens like Pilot Frixion. They let you fix mistakes without messing up your pages. One planner fan shared:
"I use 5-6 Frixion pens for color coding, which allows for easy corrections when appointments change."
Inflexible Categories
Life changes, and your planner should too.
Fix it: Use Post-It notes for flexible planning.
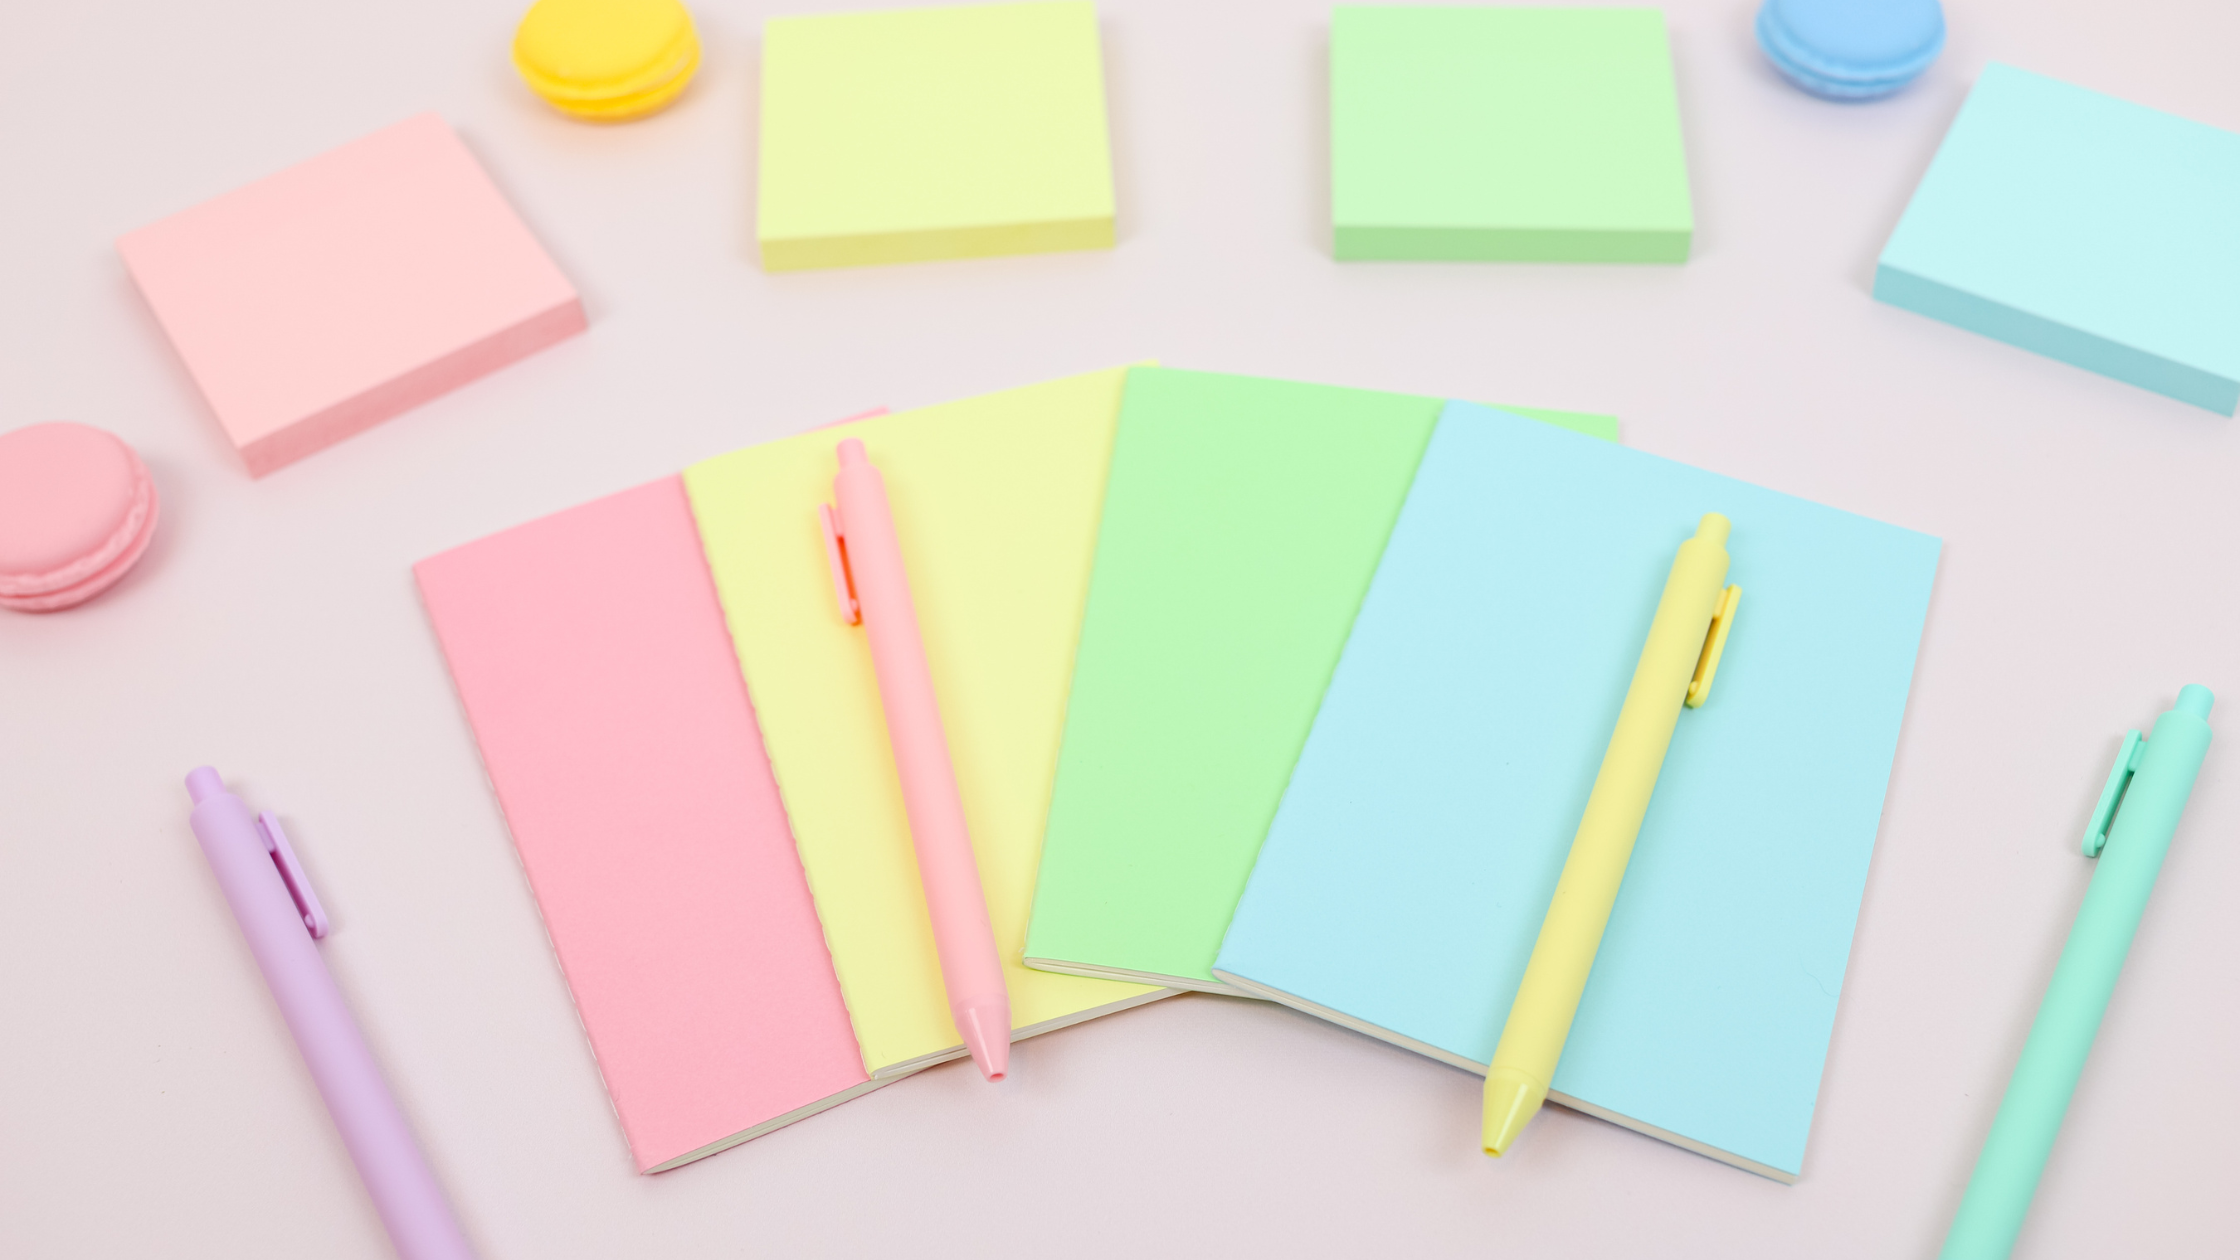
Using Post-It Tabs for lists and ideas in your planner makes it easy to move things around when plans shift.
Inconsistent Usage
Not using your color system regularly? It won’t work well if you don’t stick to it.
Fix it: Keep your color key where you can see it. Planner expert Maria Bonacci suggests:
"Keep a list of the colors you’re using for each topic in the front of your planner to serve as a reminder until you get the hang of which colors are used for what."
Overcomplicating Your System
Using too many different tools can make things confusing.
Fix it: Pick one type of color-coding tool and stick with it. If you like pens, use only pens. If highlighters are your thing, just use those. This makes your system easier to use and maintain.
Color-coding your planner is great, but keeping it up is key. Here’s how to make sure your system stays on track:
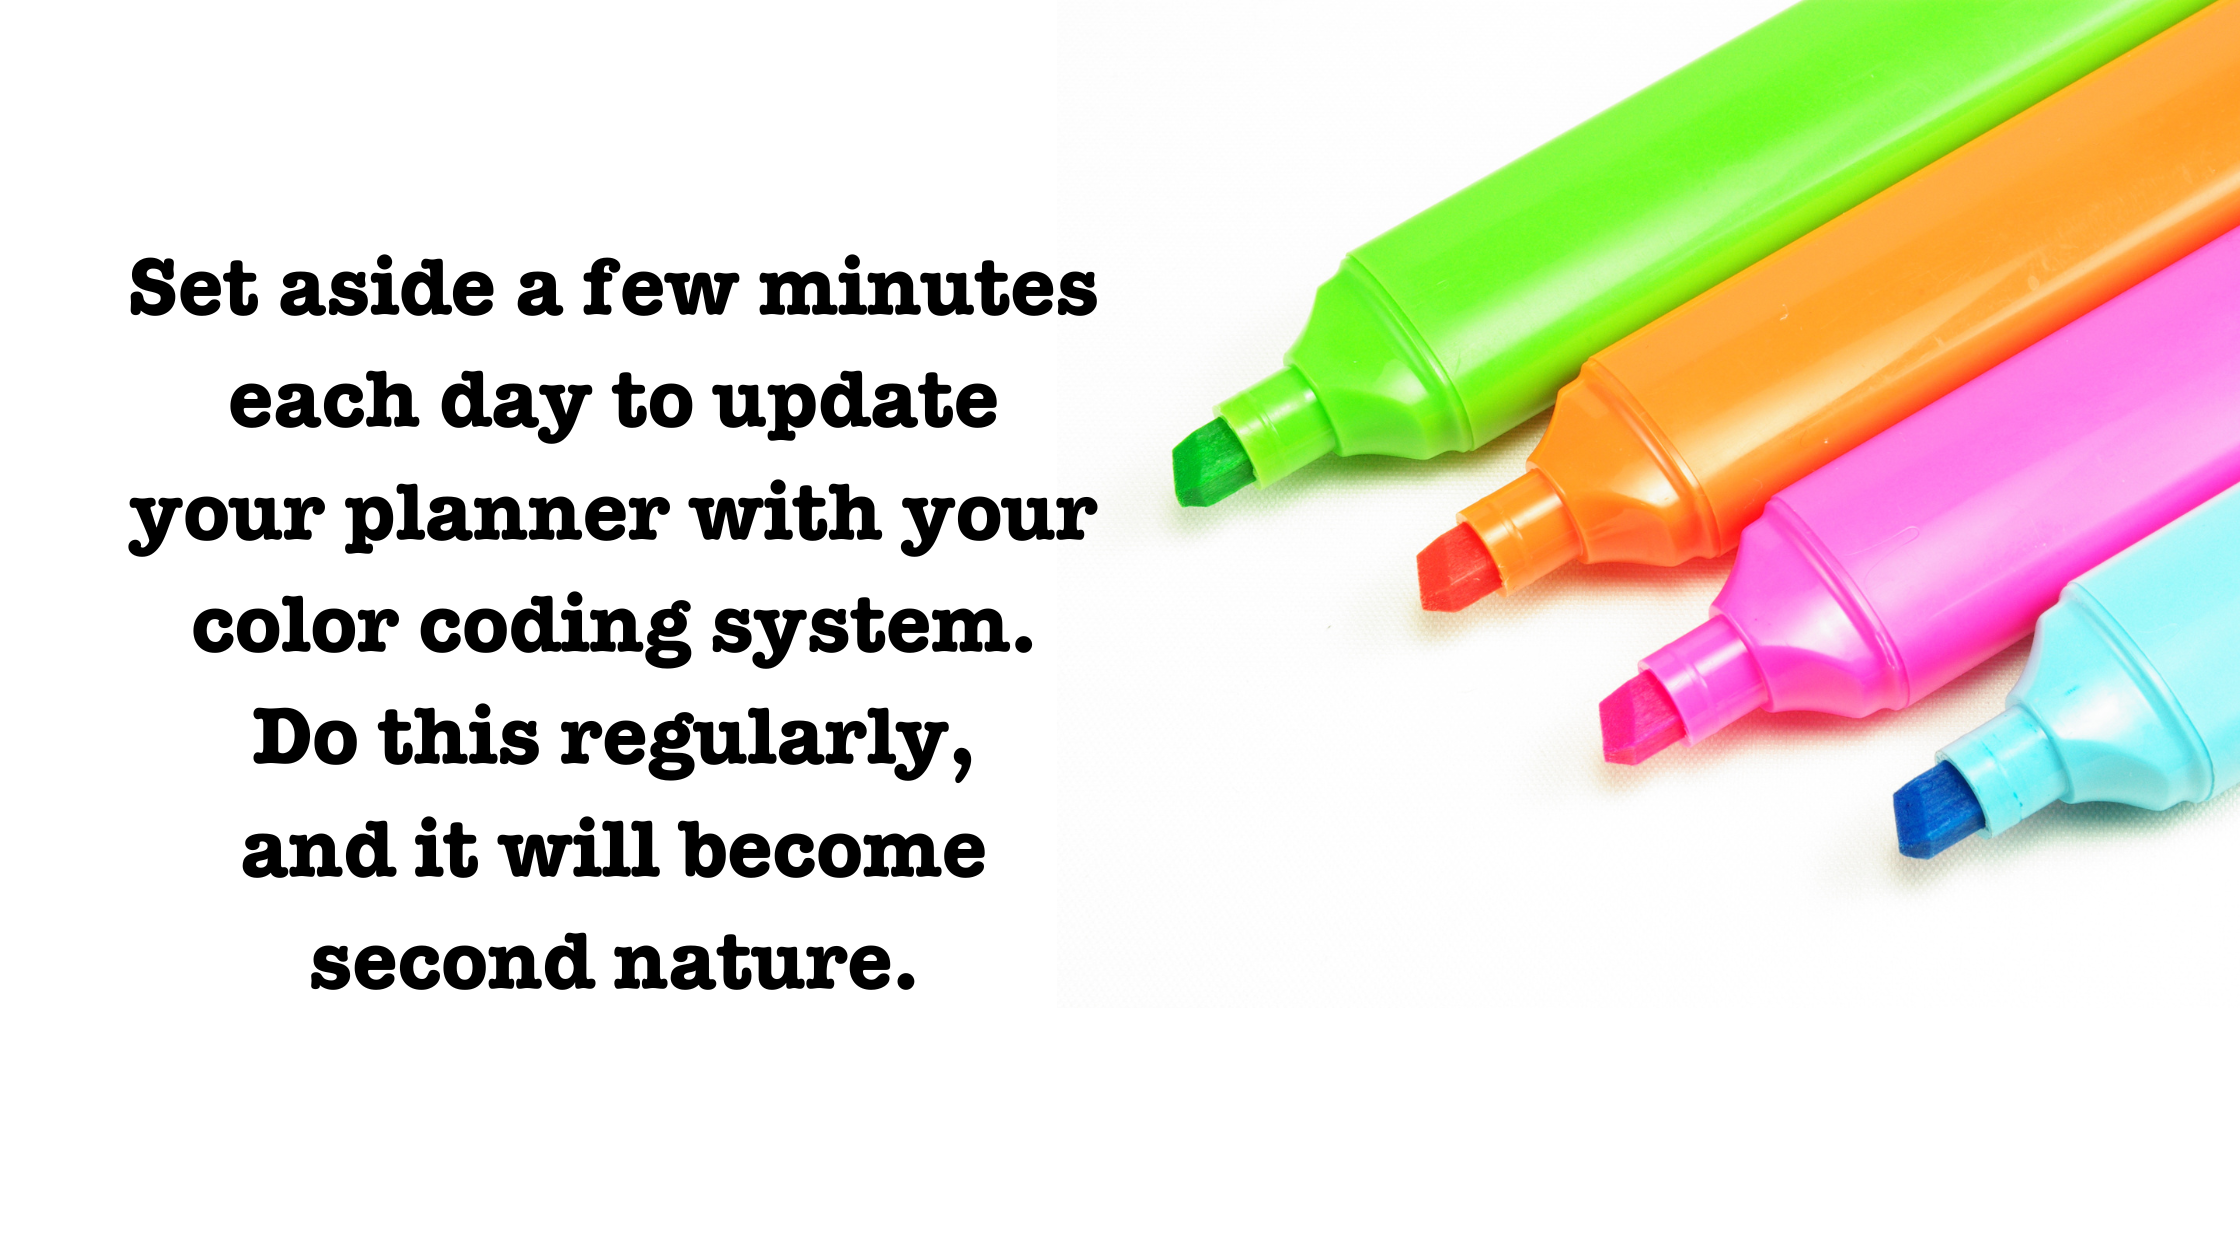
Make it a habit. Set aside a few minutes each day to update your planner with your color system. Do this regularly, and it’ll become second nature.
Check and change. Life changes, so should your planner. Every month or so, see if your color system still works for you. Don’t be scared to switch things up.
Use good tools. Get pens that won’t bleed through pages. Try erasable ones like Pilot Frixion for easy fixes when plans change.
Be flexible. Life’s unpredictable. Use sticky notes for tasks that might move. As one planner user put it:
"I used to get annoyed when dates changed. Then I remembered, ‘Oh yeah, that’s why I have a planner!’"
Sticky notes are great for movable tasks without messing up your color-coded pages.
Your color system should grow with you. Here’s how to update smartly:
1. Track your time
Keep an eye on how you spend your days. This helps you spot areas that need more or less focus in your planner.
2. Simplify if needed
Feeling overwhelmed? Cut down to 4-6 main color categories. Keep it simple.
3. Roll with life changes
New job or hobby? Add a new color. Kids moved out? Maybe drop that family color.
4. Try new things
Experiment with different approaches. Maybe color-code by urgency instead of category. Red for must-do, orange for should-do, yellow for could-do.
5. Go digital if it helps
If sticking to a physical system is tough, try a digital planner app with color-coding. Great for quick updates on the go.
Remember, color-coding should make life easier, not harder. As Rachel Gerharter, a planning expert, says:
"Color-coding isn’t just trendy. It’s a fun way to get more organized while letting your creative side loose."
Color-coding your planner isn’t just for looks. It’s a productivity booster. Here’s a quick recap:
1. Pick Your Colors
Stick to 4-6 main colors. Keep it simple. Maria Bonacci, a planner pro, uses:
"Pink for planner tasks, green for work, orange for blog content, and purple for personal stuff. It helps you plan your week and see what’s next at a glance."
2. Get Good Tools
Grab quality pens like Papermate InkJoy or Pilot Frixion. They make writing (and fixing mistakes) a breeze. Throw in some highlighters and washi tape if you’re feeling fancy.
3. Set Up Categories
Break your life into chunks. Work, personal, family, and urgent tasks are good starting points.
4. Start Coding
Use your colors consistently. This visual system lets you grasp your schedule in seconds.
5. Check and Tweak
Keep an eye on your system. If it’s not working, change it up.
Color-coding turns your planner into a visual roadmap of your life. It’s simple, but it works. Kayse Pratt, a writer and designer, says:
"Color coding really does help increase your productivity…but it’s also super fun!"
The goal? Make planning easier, not harder. Start small, stick with it, and watch your color-coded planner become your go-to tool for managing time and tasks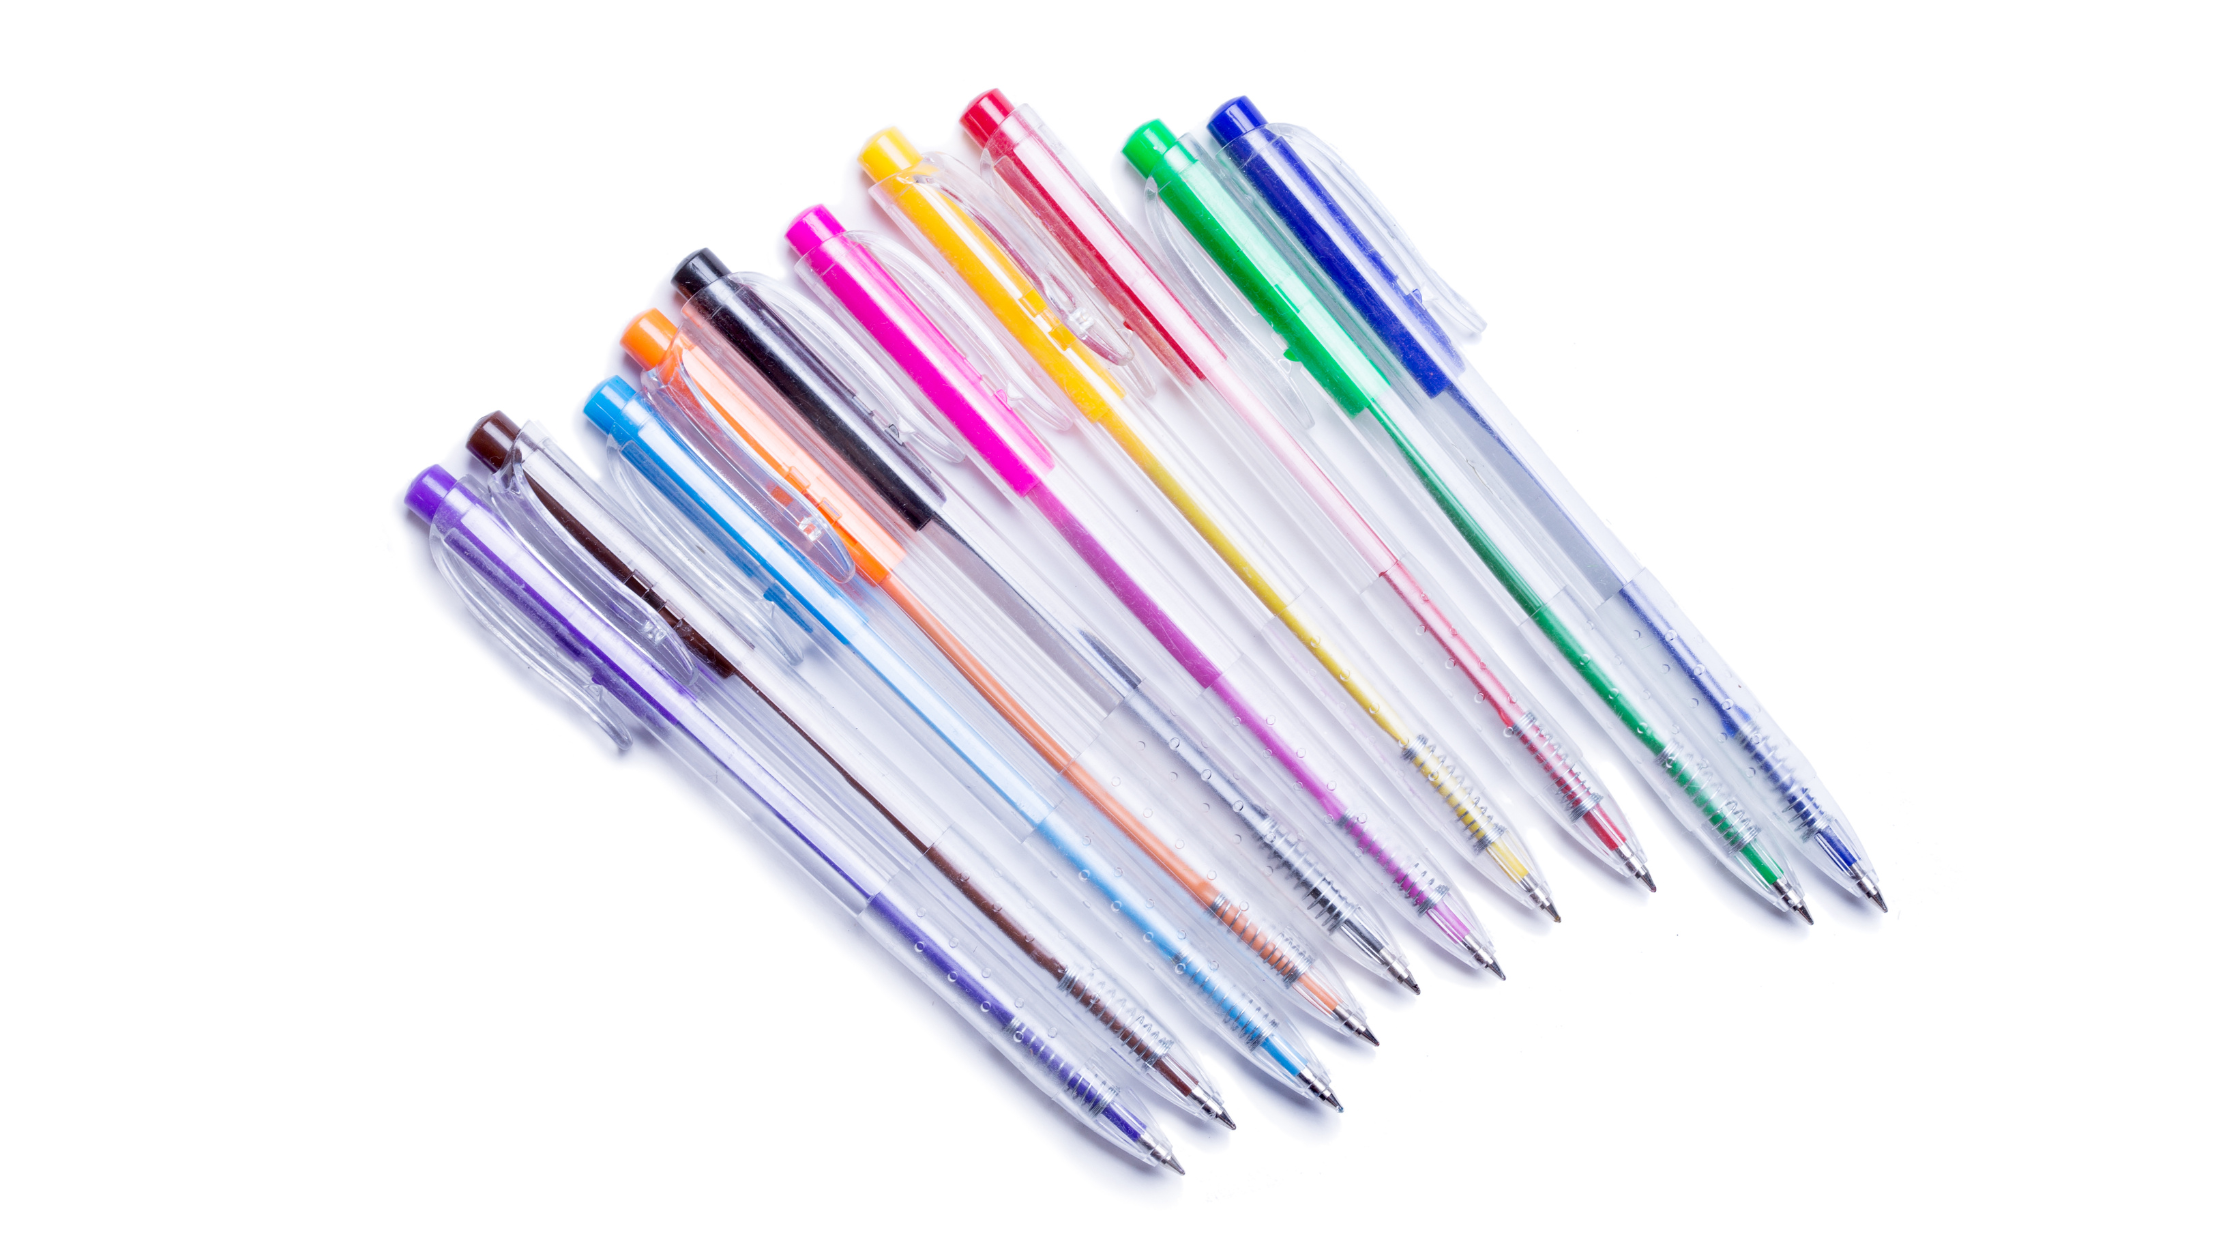
Keep it simple when color-coding your planner. Here’s a popular system:
Pick colors that make sense to you and are easy to tell apart. As Maria Bonacci, a planner fan, puts it:
"I love to color code my planner! It helps me plan my week and lets me know at a glance what kinds of things I need to do next."
To make your planner pop with color:
1. Pick 4-5 main colors for different parts of your life.
Put a color key at the front of your planner. Grab some colored pens, highlighters, or stickers and use them consistently. Don’t be afraid to switch things up if your system isn’t working.
For the parents out there, The Fabulous Planner suggests:
Want to make your planner a color-coding masterpiece? Here’s how:
Start small. Pick a few colors and categories to begin with. Stick to your guns – use the same colors for the same types of tasks or events. Splurge on good pens or highlighters that won’t make a mess of your pages.
And don’t forget to give your system a once-over each month. If it’s not working, change it up!
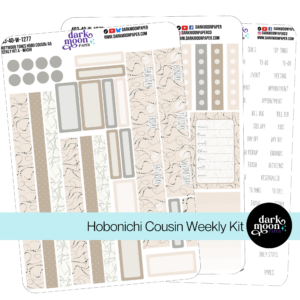
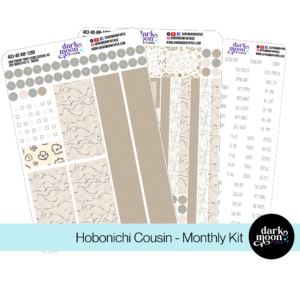
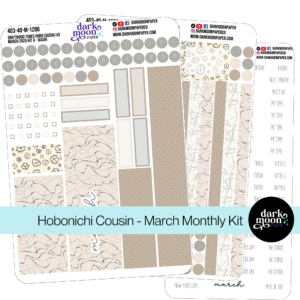
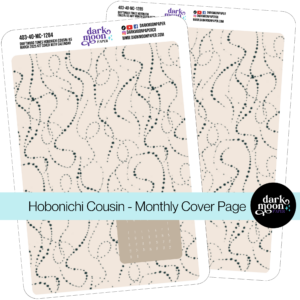
Stickers Made for Planning
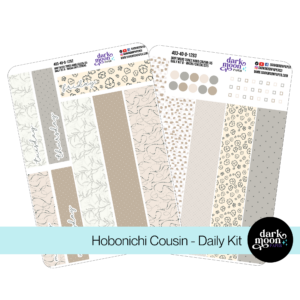
Our custom stickers are a fuss-free way to brighten up your planner pages with perfectly-sized designs that add a spark of personality to every layout.
Why use planner stickers?
Planner stickers make organizing easy, fun, and personal! Add color, creativity, and structure to every page, transforming your planner into a tool that reflects you. Perfect for tracking, decorating, and staying inspired daily!

Hello and welcome!
I’m Rachael Snow, a lifelong artist and entrepreneur, and I started Dark Moon Paper to blend my love of art, technology, and the mysterious beauty of the world around us. My sticker kits are meant to set the mood, tell a story, and give you a little escape from the ordinary.
I work from my cozy studio tucked away in the beautiful woods of Oregon, surrounded by nature and a dark night sky full of stars.