Want to boost productivity and reduce stress? A well-designed weekly schedule layout in your planner or bullet journal is your secret weapon. Here’s how to create one that fits your life:
Let’s break down how to create a weekly schedule layout that works for you. Think of it as building your own success roadmap.
A good weekly schedule layout isn’t just a fancy to-do list. It’s a tool to boost your productivity and keep you on track. Here’s what you need:
"Finding your perfect weekly spread takes a while. You just need to try all of them and find what works for you at the moment." – Masha Plans, Bullet Journal expert
Your planning style should fit your personality and work habits. Here are some options:
1. The Time Blocker
Love structure? Try a layout that splits your day into specific time blocks. Great if you juggle multiple projects or roles.
2. The List Lover
Want flexibility? Go for a list-based layout. Use categories like "Must Do", "Should Do", and "Nice to Do" to sort tasks.
3. The Visual Planner
Creative type? Make a visual layout. Use colors, doodles, or a "dutch door" layout for a fun and useful planner.
4. The Minimalist
Keep it simple? A one-page weekly spread might be perfect. It’s quick to set up and has room for 2-3 main tasks each day.
Don’t worry if your style changes over time. Feel free to try new things and adjust as you go.
So, no matter which style you pick, the act of planning itself puts you on the path to success.

Let’s dive into weekly schedule layouts. The right one can supercharge your productivity. Here’s a breakdown of popular options to help you find your perfect match.
Your layout orientation can make a big difference in how you view and manage your time.
Up-Down Layouts
These present your week vertically, with days stacked on top of each other. They’re great if you:
Take the classic Bullet Journal weekly spread. It often uses an up-down layout, giving you plenty of space to write down tasks and appointments for each day.
Side-to-Side Layouts
These show your week horizontally, with days spread from left to right. They’re perfect if you:
Think Google Calendar. Its default weekly view is side-to-side, letting you easily move events between days.
"Your planner layout shapes how you tackle each day, week, and month during planning sessions." – Plan With Laur, Planner Community Expert
Not feeling the traditional layouts? Check these out:
Task-Based Layouts
These focus on organizing your schedule around specific tasks or projects, not just time blocks. They’re great for:
Instead of days of the week, you might have columns for different projects or life areas (Work, Personal, Health).
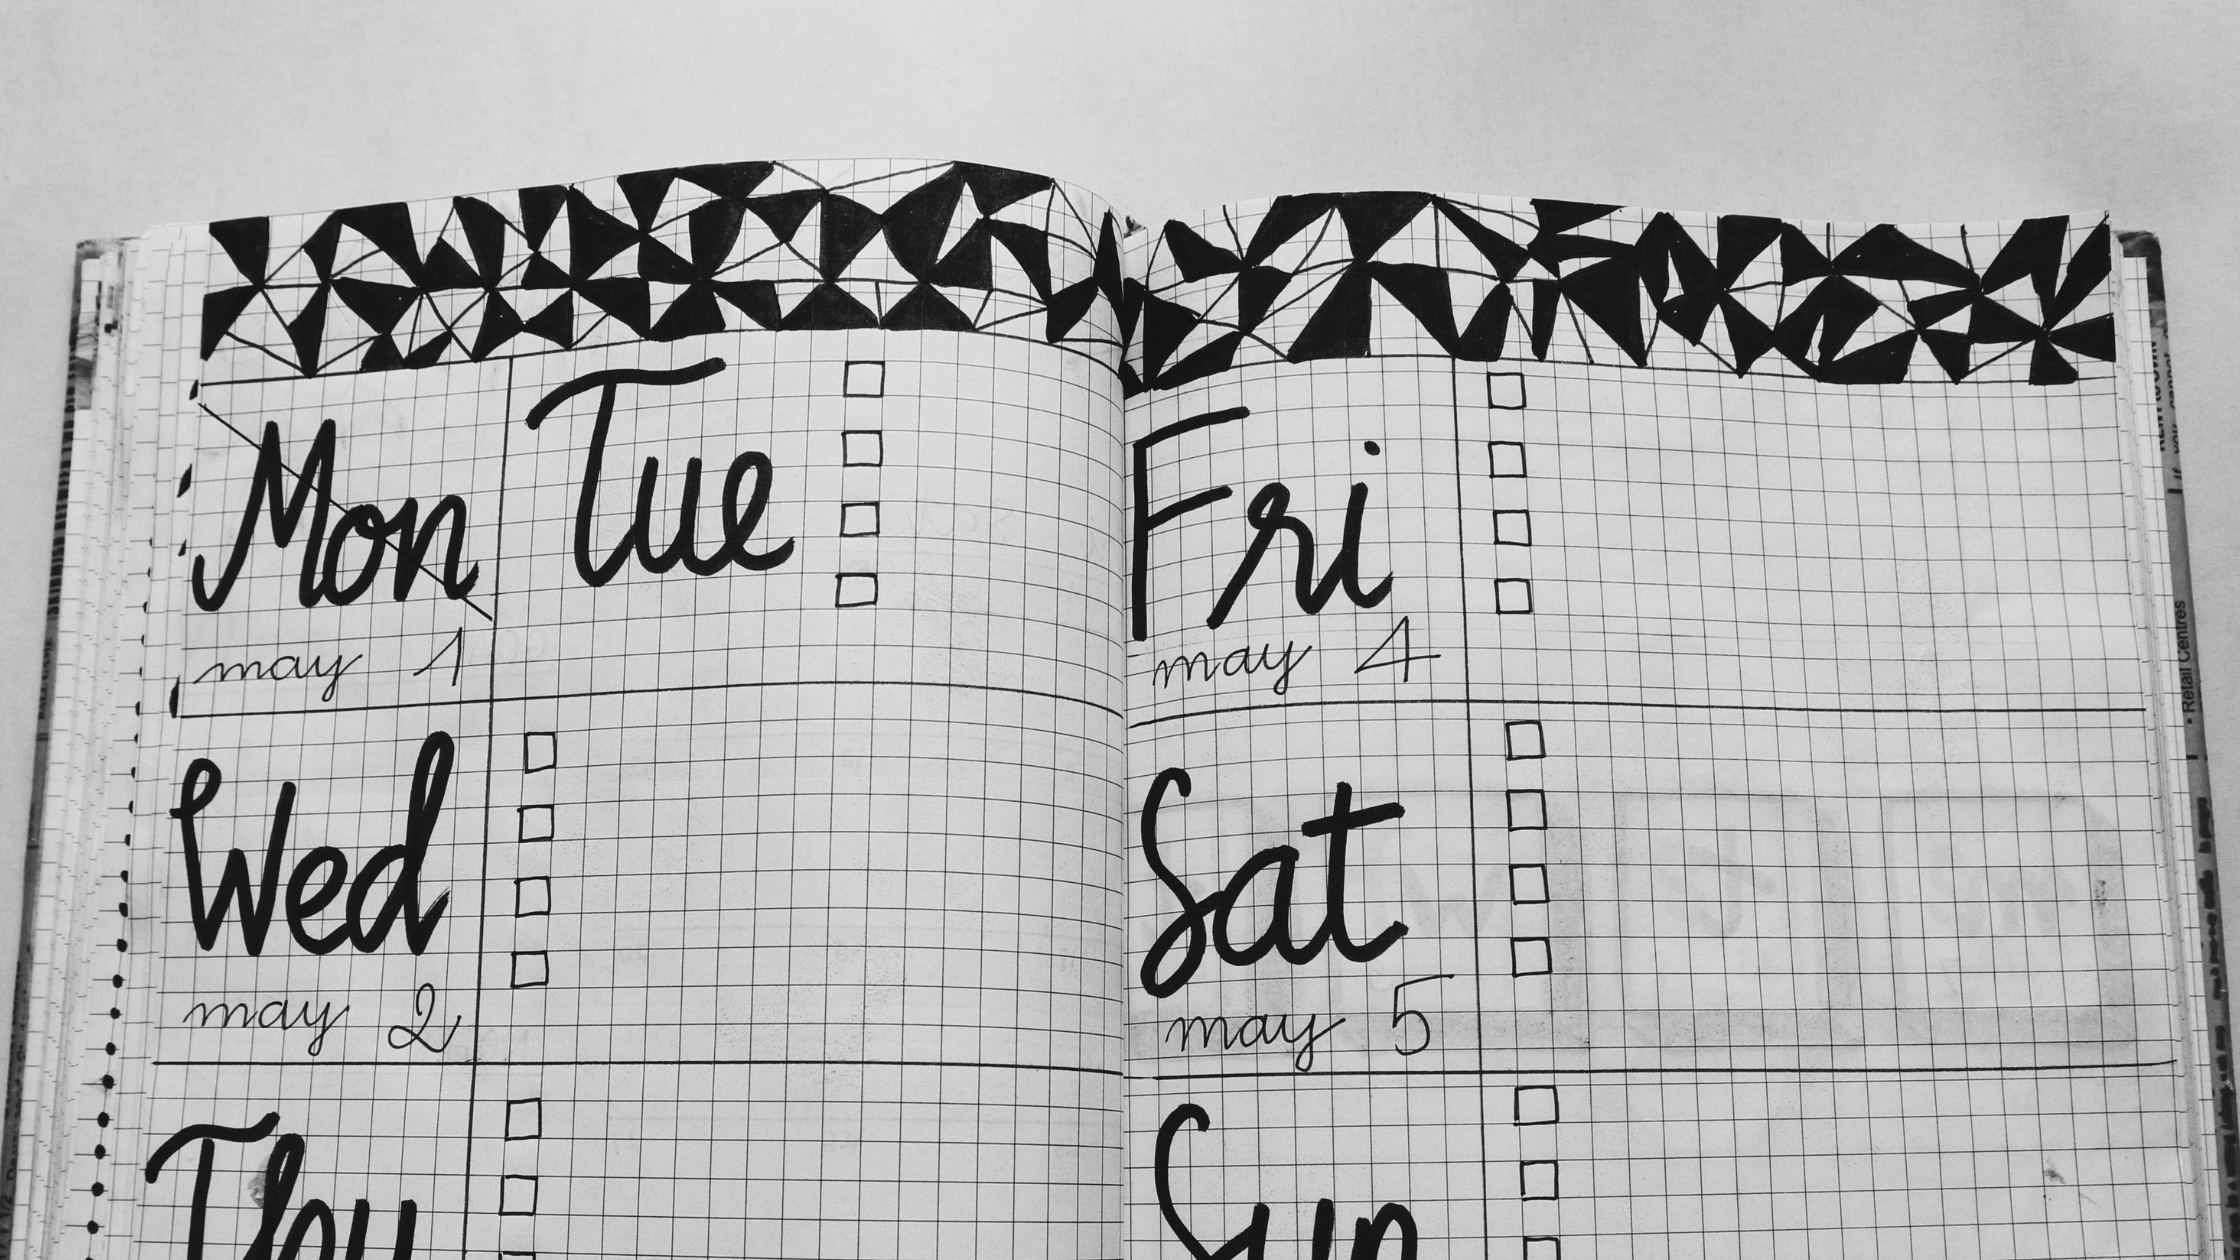
Mixed Layouts
Can’t pick just one? Mix and match! For example:
Masha Plans, a Bullet Journal pro, says: "Minimalist Bullet Journal spreads look amazing, and all you need is a notebook and a pen." This approach makes setup quick and customization easy.
Want to supercharge your productivity? It’s time to create a weekly schedule that actually works. Let’s break down how to build a system that’s both functional and easy on the eyes.
Think of your week as a canvas. Daily themes and color-coding are your paint and brushes. They’ll transform your schedule from a boring to-do list into a visual masterpiece that keeps you on track.
Daily Themes: Give Each Day a Purpose
Imagine each day of your week has its own personality:
This structure creates a rhythm. You’ll know what to focus on each day, making sure nothing important slips through the cracks.
Color-Coding: Your Visual Shortcut
Colors speak louder than words. Use them to your advantage:
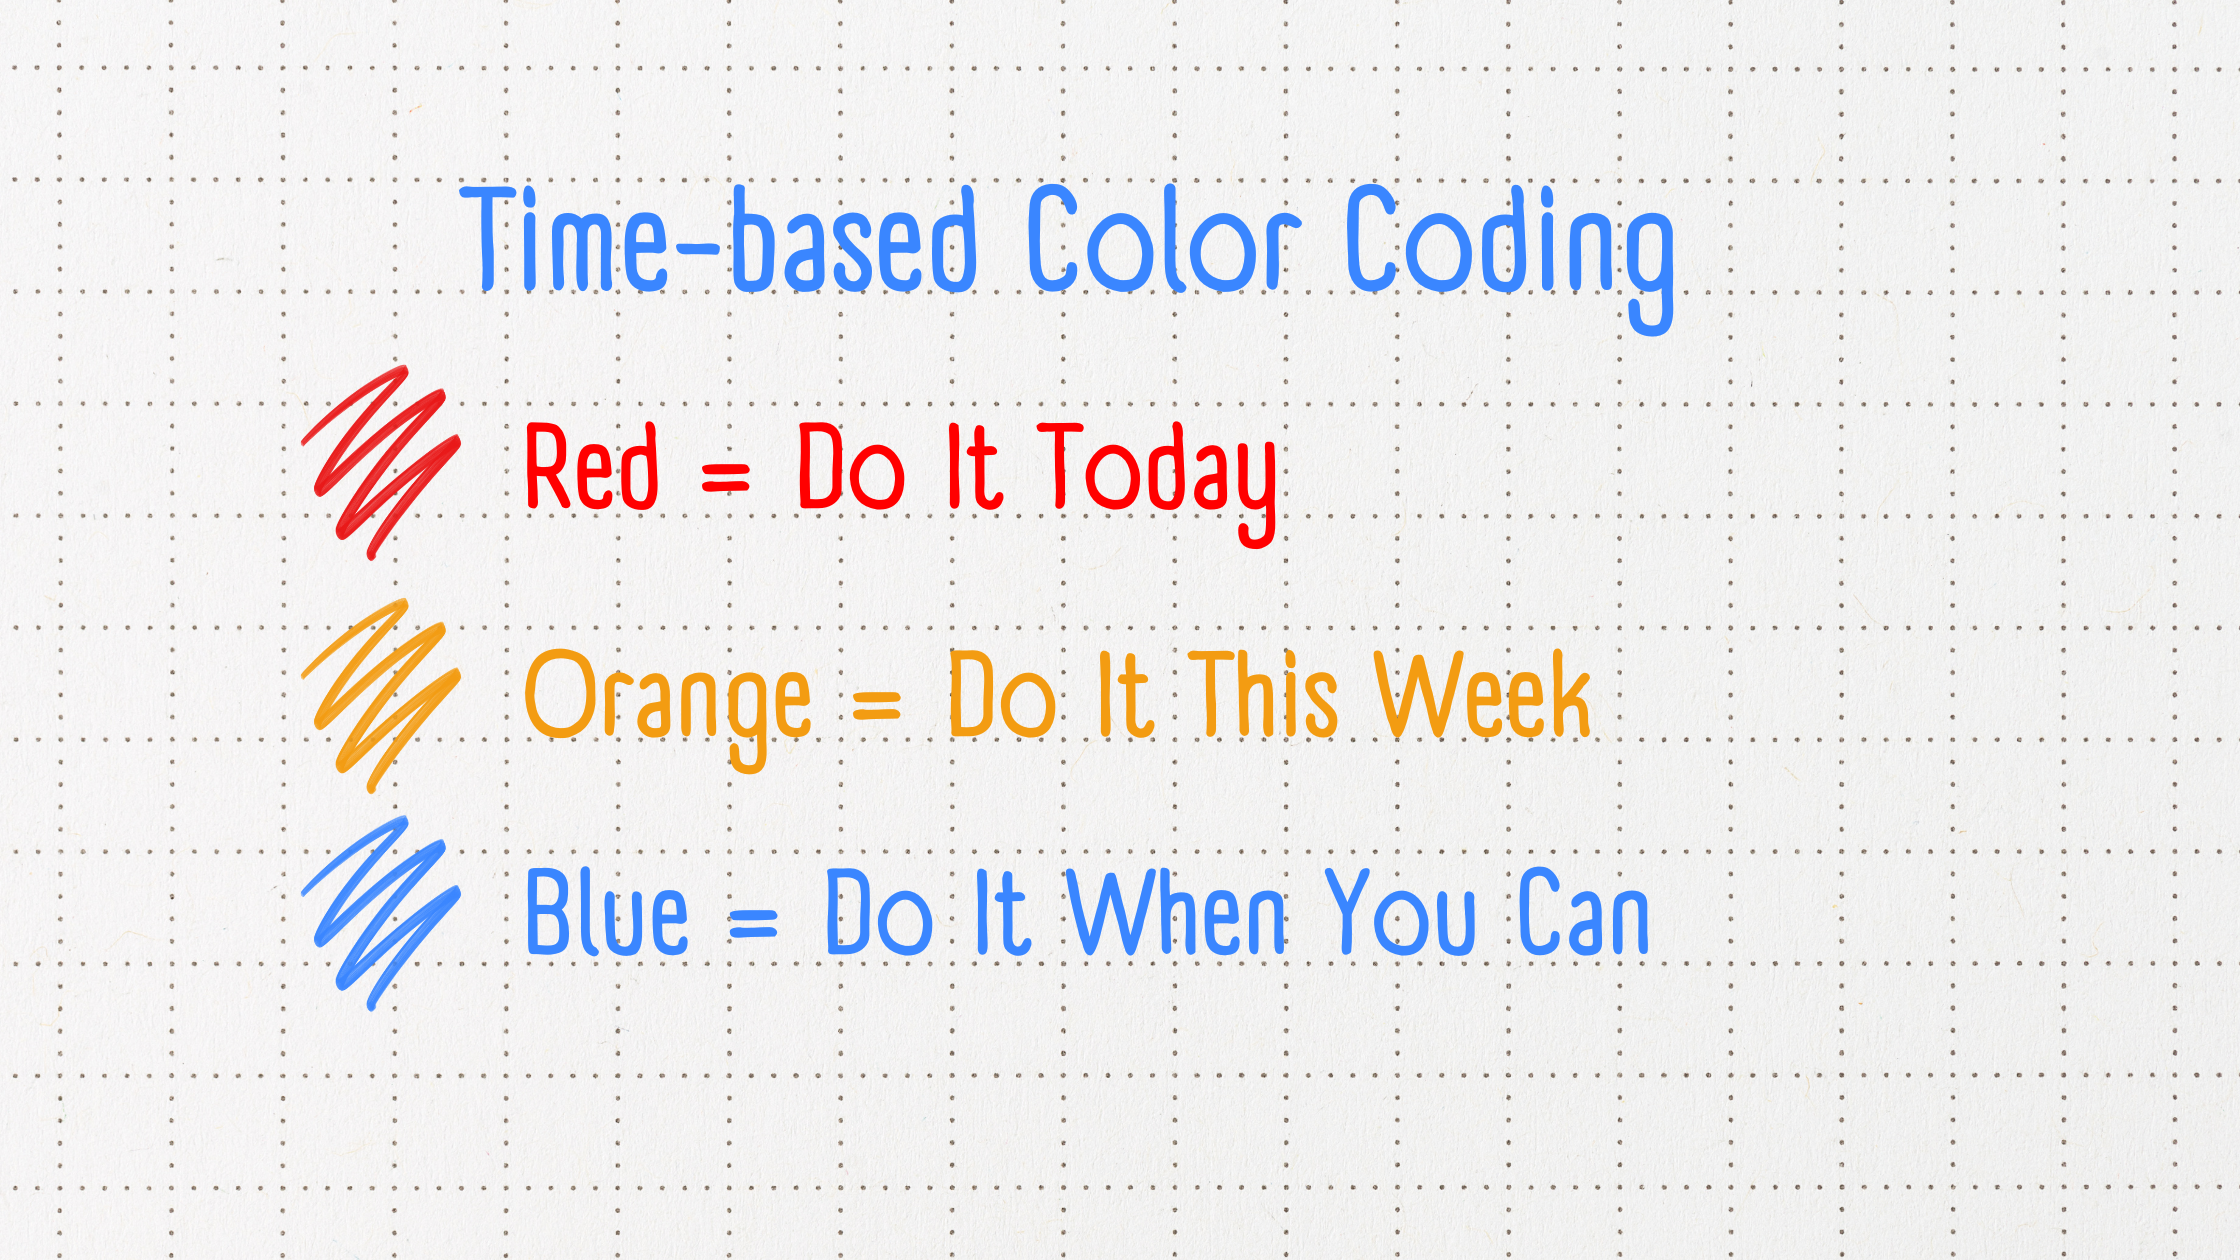
With this system, one glance at your schedule tells you what’s on deck for the day or week.
"Color is like a secret code for your brain. It helps you spot what’s what faster than reading every single word." – Teamup Blog
Your weekly schedule isn’t just a to-do list. It’s a reflection of you. Let’s explore how to make your planner both useful and visually appealing.
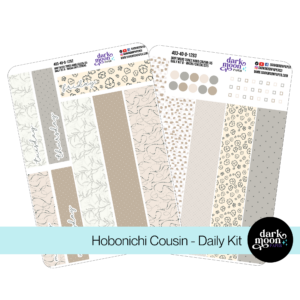
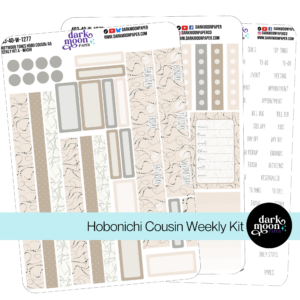
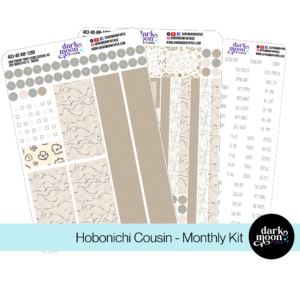
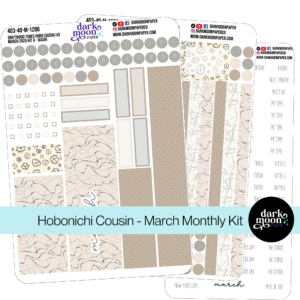
Stickers can jazz up your planner and boost its usefulness. Dark Moon Paper offers themed sticker kits that can transform boring pages into eye-catching productivity hubs.
Here’s how stickers can level up your planning:
"Planner decorating with stickers can be both functional and decorative. There are many options to help make your planner work for you." – Planner Enthusiast
Not into stickers? Try these:

One planner user shared: "After choosing Mildliner colors, adding flag stickers for sports practices, and tweaking the date format…everything clicked." This made their planner more appealing and easier to use.
Consider weekly themes based on:
Creating the perfect weekly schedule isn’t a one-and-done deal. It’s more like a work in progress. Let’s dive into how to tweak your schedule when life throws you curveballs and fix some common layout headaches.
Life’s full of surprises. Your schedule should be able to take a hit without falling apart. Here’s how to stay on track when things get messy:
1. Keep Your Cool
When the unexpected hits, take a breath. Look at your whole week and figure out what’s really urgent.
2. Reshuffle Your Priorities
Move your tasks around. Push less important stuff to next week if you have to. Focus on what absolutely needs to get done.
3. Build in Some Breathing Room
Don’t stress out if things don’t go exactly as you planned. Stay positive and keep moving forward. Do what you can and be flexible with changes.
Even with a flexible schedule, you need a few fixed points. Try these:
Pick 1-3 tasks you’ll do every day, no matter what. These are your anchors. Set specific times for these tasks. When everything else shifts, these stay put.
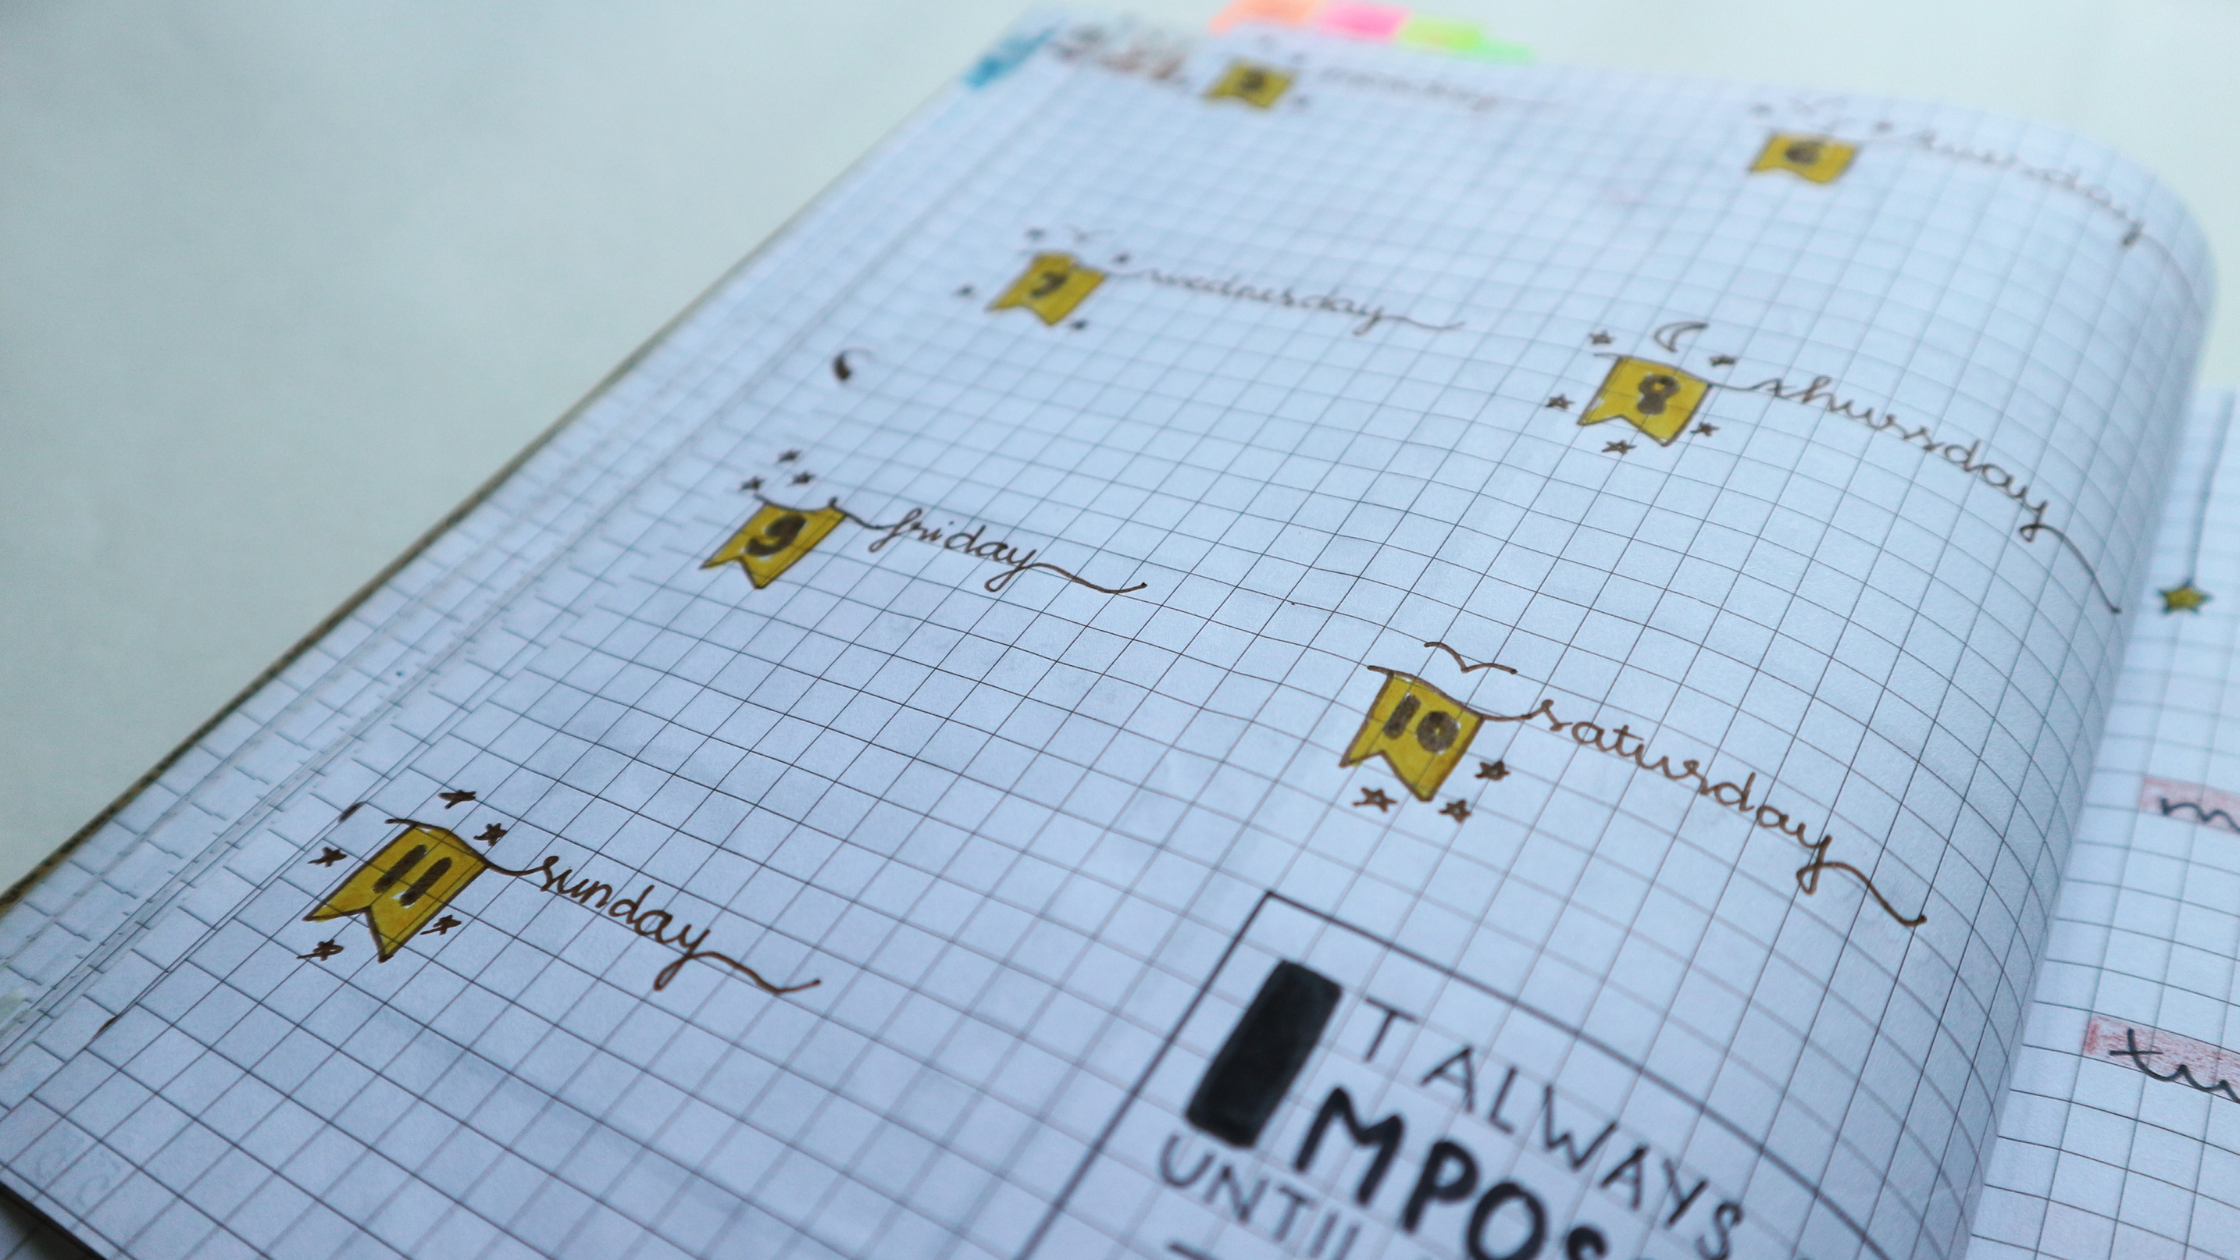
If you’re struggling with your layout, try stripping it down:
"Your bullet journal doesn’t need to be perfect. If you make mistakes, it’s okay." – Productive Pixie, bullet journal expert
Focus on what actually helps you get stuff done. Fancy layouts are nice, but they’re not essential.
Many planners stumble into these pitfalls:
1. Using Too Many Planners
Stick to one planner for both work and personal life. Keep everything in one spot.
2. Forgetting Daily Check-ins
Make it a habit to open your planner every day. If you only check in with your planner once a week to write in your appointments but you don’t check it daily, you’ll miss things.
3. Mixing Planning and Journaling
Keep your planner for tasks and appointments. Use a separate journal for your thoughts and reflections.
When making big shifts in your schedule, take it slow:
Start adjusting a week ahead. This gives your body and mind time to adapt. Shift your wake-up and bedtime by 15 minutes at a time.
This approach helps you avoid shocking your system.
Let’s talk about the tools that’ll make your weekly schedule pop. It’s not just about having a pretty planner – it’s about having the right gear to make planning a breeze.
First things first: you need a good notebook. Bullet journal fans love dotted journals. Why? They’re flexible. You can write, draw, or do both.
When picking a notebook, think about the paper. If you’re into doodling or fancy writing, go for 160gsm paper. For regular use, 120gsm works fine. A lot of planners dig the Leuchtturm1917 Dotted A5. It’s got that dot grid layout and can handle a bit of watercolor.

Good pens can make or break your planning game. Here’s what you might want:
People love the Sakura Pigma Micron Pen Set for fineliners and the MUJI 0.38 mm Black gel pen for everyday writing.
Want to make your schedule stand out? Try these:
Don’t forget these basics:
To give your planner some personality:
Get a case or pouch to keep all your stuff organized. This way, you can plan wherever you go.
"Bullet journaling is for everyone and if you really want to get creative, you can definitely go far even with just a pen and a notebook."
That’s from NotebookTherapy, and they’re spot on. You don’t need to buy everything at once. Start simple with a notebook and a pen you like. Build up your collection as you go.
The main thing? Find tools that work for you. Make planning fun. With the right stuff, your weekly schedule won’t just keep you organized – it’ll be something you’re excited to use every day.

You’ve got your weekly schedule layout. Now let’s make it work for you.
Consistency is Key
Your planner won’t do the work for you. You need to use it. Here’s how:
Embrace Imperfection
Don’t stress about making your planner look perfect.
Get messy. Cross stuff out. Use different colors. Add stickers. Make it fun.
Make It Personal
Turn your planner into something you want to use:
Want to get fancy? Check out Dark Moon Paper’s themed sticker kits.
Review and Adjust
Your needs will change. So should your planner:
Balance Structure and Flexibility
Life’s unpredictable. Your schedule should be too:
A bullet journal weekly schedule layout typically includes seven key elements:
Masha Plans, a bullet journal expert, says:
"After lots of toying and experimenting, not to mention research, I’ve noticed most weekly layouts include many of the seven different types of elements."
But here’s the thing: bullet journaling is all about flexibility. You can mix and match these elements to fit YOUR needs and style.
Icy from Archer & Olive’s design team puts it this way:
"In my personal experience, bullet journaling really is about trying out different weekly spreads and finding which ones work the best for you."
So, don’t be scared to shake things up. Try different layouts each week. It keeps your planning fresh AND helps you figure out what actually works for you.
Stickers Made for Planning
Our custom stickers are a fuss-free way to brighten up your planner pages with perfectly-sized designs that add a spark of personality to every layout.
Why use planner stickers?
Planner stickers make organizing easy, fun, and personal! Add color, creativity, and structure to every page, transforming your planner into a tool that reflects you. Perfect for tracking, decorating, and staying inspired daily!

Hello and welcome!
I’m Rachael Snow, a lifelong artist and entrepreneur, and I started Dark Moon Paper to blend my love of art, technology, and the mysterious beauty of the world around us. My sticker kits are meant to set the mood, tell a story, and give you a little escape from the ordinary.
I work from my cozy studio tucked away in the beautiful woods of Oregon, surrounded by nature and a dark night sky full of stars.