Want to start using a planner but don’t know where to begin? Here’s a quick guide to help you create a simple, beginner-friendly planner setup that’s easy to use and customize. Follow these steps to get started:
Key Tip: Keep it simple and consistent. A planner works best when it fits your lifestyle and is easy to maintain.
Ready to dive in? Let’s break it down step by step.
Finding the right planner doesn’t have to feel like a daunting task. The trick is to choose a format that fits your needs and is easy to stick with.
When starting out, you’ll generally pick between two main types: pre-printed planners and bullet journals.
| Planner Type | Features | Ideal For |
|---|---|---|
| Pre-printed (e.g., Hobonichi Weeks) | Ready-made layouts, user-friendly | Those who prefer structure |
| Bullet Journal | Fully customizable, great for creativity | People who enjoy designing layouts |
For beginners, pre-printed planners like the Hobonichi Weeks strike a good balance. They offer structured layouts to guide you while still leaving space for personal touches [3].
Your planner should match your personality and work style. Start with the basics and add personal touches as you go:
Over time, your planning style might shift. Pick a format that keeps you organized while allowing room for creativity and change [1][2].
Once you’ve chosen a planner that fits your needs, you can set it up to work efficiently for you.
Start by figuring out what you want your planner to do for you. Is it for work, school, personal goals, or a mix of everything? Pinpoint the areas in your life that need more structure and create sections that match those priorities. This way, your planner becomes a tool that fits your lifestyle perfectly.
For example, you might dedicate one section to work tasks, another to personal goals, and a third for tracking your progress. The key is to make each section reflect what you need to stay organized and on track.
Monthly pages give you a snapshot of important dates and goals. Begin each month with a calendar spread where you can mark deadlines, events, and big-picture objectives. Then, break it down into weekly layouts that focus on your top priorities, daily tasks, and a space for notes or ideas. This setup helps you stay organized without feeling overwhelmed.
Here’s a simple weekly layout idea:
| Time Frame | What to Include |
|---|---|
| Weekly Goals | 2-3 top priorities to focus on |
| Daily Tasks | Specific to-dos for each day |
| Notes Section | Room for meeting notes or brainstorming |
| Progress Review | Space to assess what worked and adjust |
Once your monthly and weekly pages are ready, you can dive into the nitty-gritty of daily planning.
Daily pages are where you plan your day in detail. Use them to list your top tasks, block out time for activities, and jot down quick notes or reflections.
A good daily page might include:
Keep your daily pages simple and easy to update so they stay useful and don’t feel like a chore to maintain [1][2].
Give your planner a personal touch with decorative elements that keep it both stylish and functional. Stickers and washi tape can help you organize and highlight important details without overwhelming the layout.
| Purpose | Decorative Element | Best Use |
|---|---|---|
| Important Dates | Icon Stickers | Mark appointments and deadlines |
| Section Dividers | Thin Washi Tape | Create clear visual boundaries |
| Themes & Priorities | Themed or Highlight Stickers | Keep focus on key items and maintain consistency |
Once your planner feels visually appealing, you can make it more practical by adding trackers or creating custom sections.
Trackers are a great way to monitor your habits and goals. Placing them near weekly pages ensures they’re easy to update and review [1].
Consider dedicating sections for:
For added flexibility, use sticky notes to manage tasks or ideas that might change over time [2].
Sticky notes are a simple way to keep your planner adaptable. They’re great for temporary tasks, brainstorming, or creating movable lists [1]. Try using them to:
These small additions make your planner more practical while keeping it fun and personalized.
Check your planner every few months to see if it still fits your needs. Focus on how you’re using it, how well the space is working for you, and whether it’s serving its purpose. If you find pages you rarely use or features that feel unnecessary, tweak or remove them.
| Review Focus | Key Questions | Action Items |
|---|---|---|
| Usage Patterns | Which pages do you use most/least? | Remove or change unused sections |
| Space Management | Is there enough room for tasks? | Adjust layout spacing |
| Functionality | Are trackers being used? | Simplify or combine tracking tools |
If you’re feeling overwhelmed or notice unused sections piling up, it’s a sign your setup needs a refresh [2]. You might need to expand sections you often run out of space in or simplify trackers that are too complicated. It’s also a great time to update the look of your planner – swap out stickers, washi tape, or other decorative elements to keep it visually appealing.
After fine-tuning your setup, try out new ideas to keep things fresh and functional.
Keep your planner interesting by gradually introducing new techniques. This way, you can avoid making overwhelming changes all at once [1]. Spend a little time each day updating your planner, testing small adjustments, and ensuring it still works for your core needs.
Resist the urge to cram in too many trackers or overly complex layouts – they can make your planner harder to use [1]. Instead, focus on changes that make your system simpler and more effective. Small tweaks can go a long way in keeping your planner both practical and enjoyable.
Once you’ve fine-tuned your planner setup and tried out new ideas, it’s time to create a system that genuinely fits your needs.
"A planner won’t organize your life. You organize your life with the help of a planner."
– Kelly, author of The Best Laid Plans
A strong planner setup often includes these key elements:
Writing things down by hand can help improve both memory and focus, which is why physical planners often feel more effective than digital ones. Make it a habit to check and update your planner daily or weekly.
When things feel chaotic, stick to these core principles:
"Using a planner effectively is all about CONSISTENCY."
– Rose from Signature By Rose
If you’re not sure where to start, consider The Functional setup ($40–$60). It’s perfect for beginners, offering just enough features without being overwhelming. As you get more comfortable, you can explore options that better match your planning style and goals.
With regular use and thoughtful updates, your planner becomes more than just a tool – it evolves into a personalized system that helps you stay on track and reach your goals. Build a planner that works for you, reflects your needs, and makes planning a rewarding part of your routine.
Setting up a bullet journal is straightforward if you follow these beginner-friendly steps:
"Using a planner effectively is all about starting simple and building up gradually as you become more comfortable with the system", says Kelly from The Best Laid Plans [1].
You can organize your bullet journal pages in a way that fits your needs. Divide sections into time blocks, task categories, or freeform notes. This system is flexible and lets you create a planning tool that works for you while also leaving room for creativity.
Quick Tips:
Let your bullet journal grow with you. Begin with these basics, and tweak it over time to match your planning style and goals.
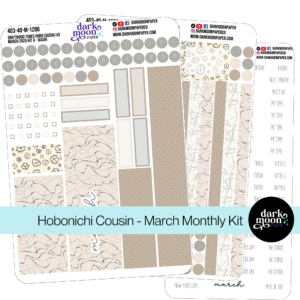
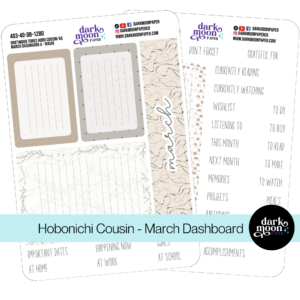
Stickers Made for Planning
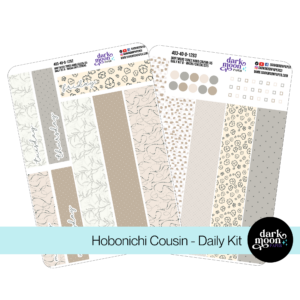
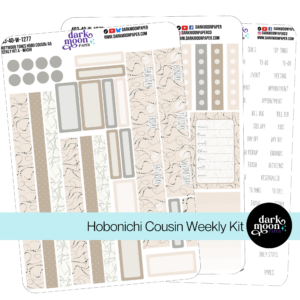
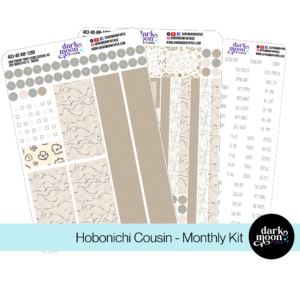
Our custom stickers are a fuss-free way to brighten up your planner pages with perfectly-sized designs that add a spark of personality to every layout.
Why use planner stickers?
Planner stickers make organizing easy, fun, and personal! Add color, creativity, and structure to every page, transforming your planner into a tool that reflects you. Perfect for tracking, decorating, and staying inspired daily!

Hello and welcome!
I’m Rachael Snow, a lifelong artist and entrepreneur, and I started Dark Moon Paper to blend my love of art, technology, and the mysterious beauty of the world around us. My sticker kits are meant to set the mood, tell a story, and give you a little escape from the ordinary.
I work from my cozy studio tucked away in the beautiful woods of Oregon, surrounded by nature and a dark night sky full of stars.