Want an easier way to keep your bullet journal organized? Start with a great index! Your index is like a map for your journal, helping you quickly find what you need. Here’s how to make it work for you:
Whether you’re tracking daily tasks, managing projects, or planning goals, a well-designed index saves time and keeps everything in order. Let’s dive into how to set it up!
A well-organized index helps you find what you need quickly in your bullet journal. Here are three practical ways to set up your index:
Keep things simple with a two-column setup: page numbers on one side, topics on the other. If you’re using a Leuchtturm1917 notebook, you’ll find pre-made index pages ready to go. Try grouping your entries by month – it’s a clean approach that works great for people who like to keep things straightforward.
Break down your index into clear sections like "Monthly Logs", "Trackers", and "Collections." This works especially well with notebooks like Scribbles That Matter that give you dedicated index space. Instead of hunting through a long list, you’ll find what you need in its own category. It’s perfect for students juggling assignments and personal goals, or professionals keeping track of various projects and meetings.
List everything in the order you create it – simple as that. Your index might look like:
This style works best if you prefer to go with the flow rather than sorting everything into categories. It gives you a nice timeline of how your journal evolved over time.
Each of these methods has its own strengths – pick the one that matches how your brain organizes information. The best index is one you’ll actually use.
Looking to supercharge your index? Here’s how to boost its functionality while keeping things simple and organized.
Break down your index into specific, focused sections instead of broad categories. Think "Health Goals", "Reading Lists", and "Event Planning." This works great when you’re juggling multiple projects or areas of life. Want to take it up a notch? Mix in symbols with your categories to create layers of organization that make sense at a glance.
Short on space? Multi-column layouts are your friend. Split your page into dedicated zones – maybe one column for daily stuff and another for big-picture goals. Or separate work and personal life into their own columns. This setup shines in compact planners like the Hobonichi Weeks, letting you pack in more info while keeping everything neat and tidy.
Make your index speak to you visually. Pick colors that click with your brain – blue for work, green for personal stuff, red for "do it now!" tasks. Then add simple markers like stars (*) for must-dos or checkmarks (✓) for wins. Just make sure your color choices stand out from each other and match what the categories mean to you.
Think of these tweaks as your index’s power-ups. They’ll help you find what you need faster and make your system work harder for you.
Want to make your bullet journal index pop? Let’s explore some eye-catching ideas that’ll help you stay organized while making your journal uniquely yours.
Make your index personal with simple drawings. Try adding small flowers around your entries, sketch tiny leaves in the margins, or include seasonal icons like snowflakes or sunshine. Not confident in your drawing skills? No problem – stencils and stamps work great for clean, consistent designs.
Jazz up your index pages with washi tape – it’s like giving your journal a mini makeover! Pick patterns that match your style: soft florals for a gentle touch or bold geometric patterns to keep things modern. The best part? You can easily peel it off and try something new if you change your mind.
Stickers aren’t just fun – they’re super practical too. Use them to mark important sections like "Goals" or "Projects". They’ll help you flip to the right page in seconds, and they add a splash of personality to your index. Think of them as little signposts guiding you through your journal.
Want to add some sparkle? Try gold ink or foil details. They look amazing against white pages and absolutely stunning on dark ones. Just a few touches here and there can transform a simple index into something special.
A good index makes your bullet journal work better. Let’s break down how to make one that fits your needs perfectly.
Want your index to last? Pick the right tools. Fine-liners and dual-tip markers help create clear category markers that won’t fade – super helpful when you’re working with small spaces.
Here’s what works: Some people love a basic two-column setup (just page numbers and titles), while others go all out with detailed systems. Try a flip-out key – it’s just a small fold-out page attached to your index that shows your symbols and color codes without eating up space. Perfect if you’re using a compact planner like the Hobonichi Weeks.
Your index should grow with you. Add new collections when you need them, and take a few minutes each month to update everything. This keeps your journal running smoothly and saves you time hunting for stuff later.
Make it yours! Add washi tape tabs to mark your go-to sections – they look great and work even better. Gold details can turn your index from plain to eye-catching while keeping it practical. The goal? An index that works hard but looks good doing it.
Stickers Made for Planning
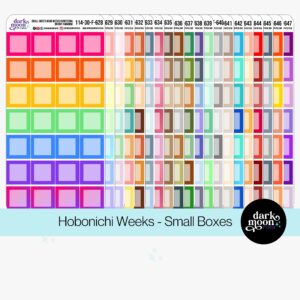
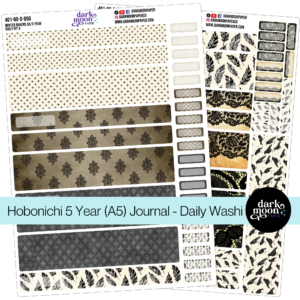
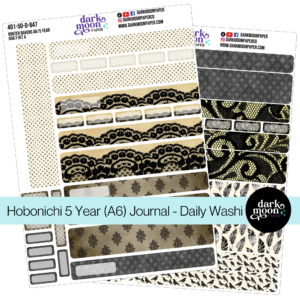
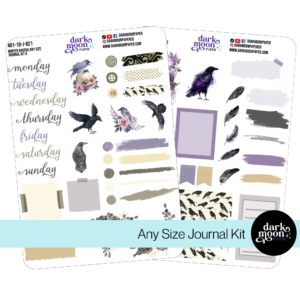
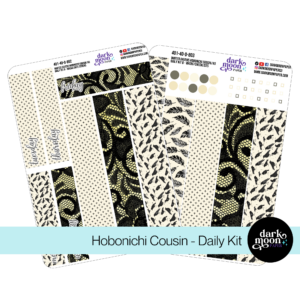
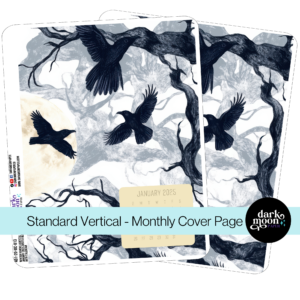
Our custom stickers are a fuss-free way to brighten up your planner pages with perfectly-sized designs that add a spark of personality to every layout.
Why use planner stickers?
Planner stickers make organizing easy, fun, and personal! Add color, creativity, and structure to every page, transforming your planner into a tool that reflects you. Perfect for tracking, decorating, and staying inspired daily!
Hello and welcome!
I’m Rachael Snow, a lifelong artist and entrepreneur, and I started Dark Moon Paper to blend my love of art, technology, and the mysterious beauty of the world around us. My sticker kits are meant to set the mood, tell a story, and give you a little escape from the ordinary.
I work from my cozy studio tucked away in the beautiful woods of Oregon, surrounded by nature and a dark night sky full of stars.