Struggling to decorate your planner without losing its functionality? Here’s how to avoid common mistakes with your functional planner setup and create a balance between style and usability.
By focusing on these tips, you can create a planner that’s both attractive and practical. Ready to dive deeper? Let’s explore how to get it right.
It’s easy to get carried away with decorations, but overloading your planner can make it hard to read and use. Aim for a balance between decoration and functionality. Keep 30-40% of each page as blank space to ensure clarity. Use larger stickers as focal points, like a floral sticker in the corner, and save smaller stickers for marking tasks or events. This approach keeps your planner visually appealing without sacrificing usability.
Combining clashing themes or colors can make your planner look chaotic and unfocused. To keep things organized and visually pleasing, stick to a unified look. Try these strategies:
| Strategy | How to Apply It | Why It Works |
|---|---|---|
| Monthly Themes | Choose a single color palette or theme per month | Keeps the design consistent and organized |
| Coordinated Kits | Use sticker sets from the same collection | Ensures all elements match seamlessly |
| Limited Colors | Stick to 2-3 main colors per spread | Avoids overwhelming the layout visually |
Consistent design choices make your functional planner setup easier to navigate and more enjoyable to use.
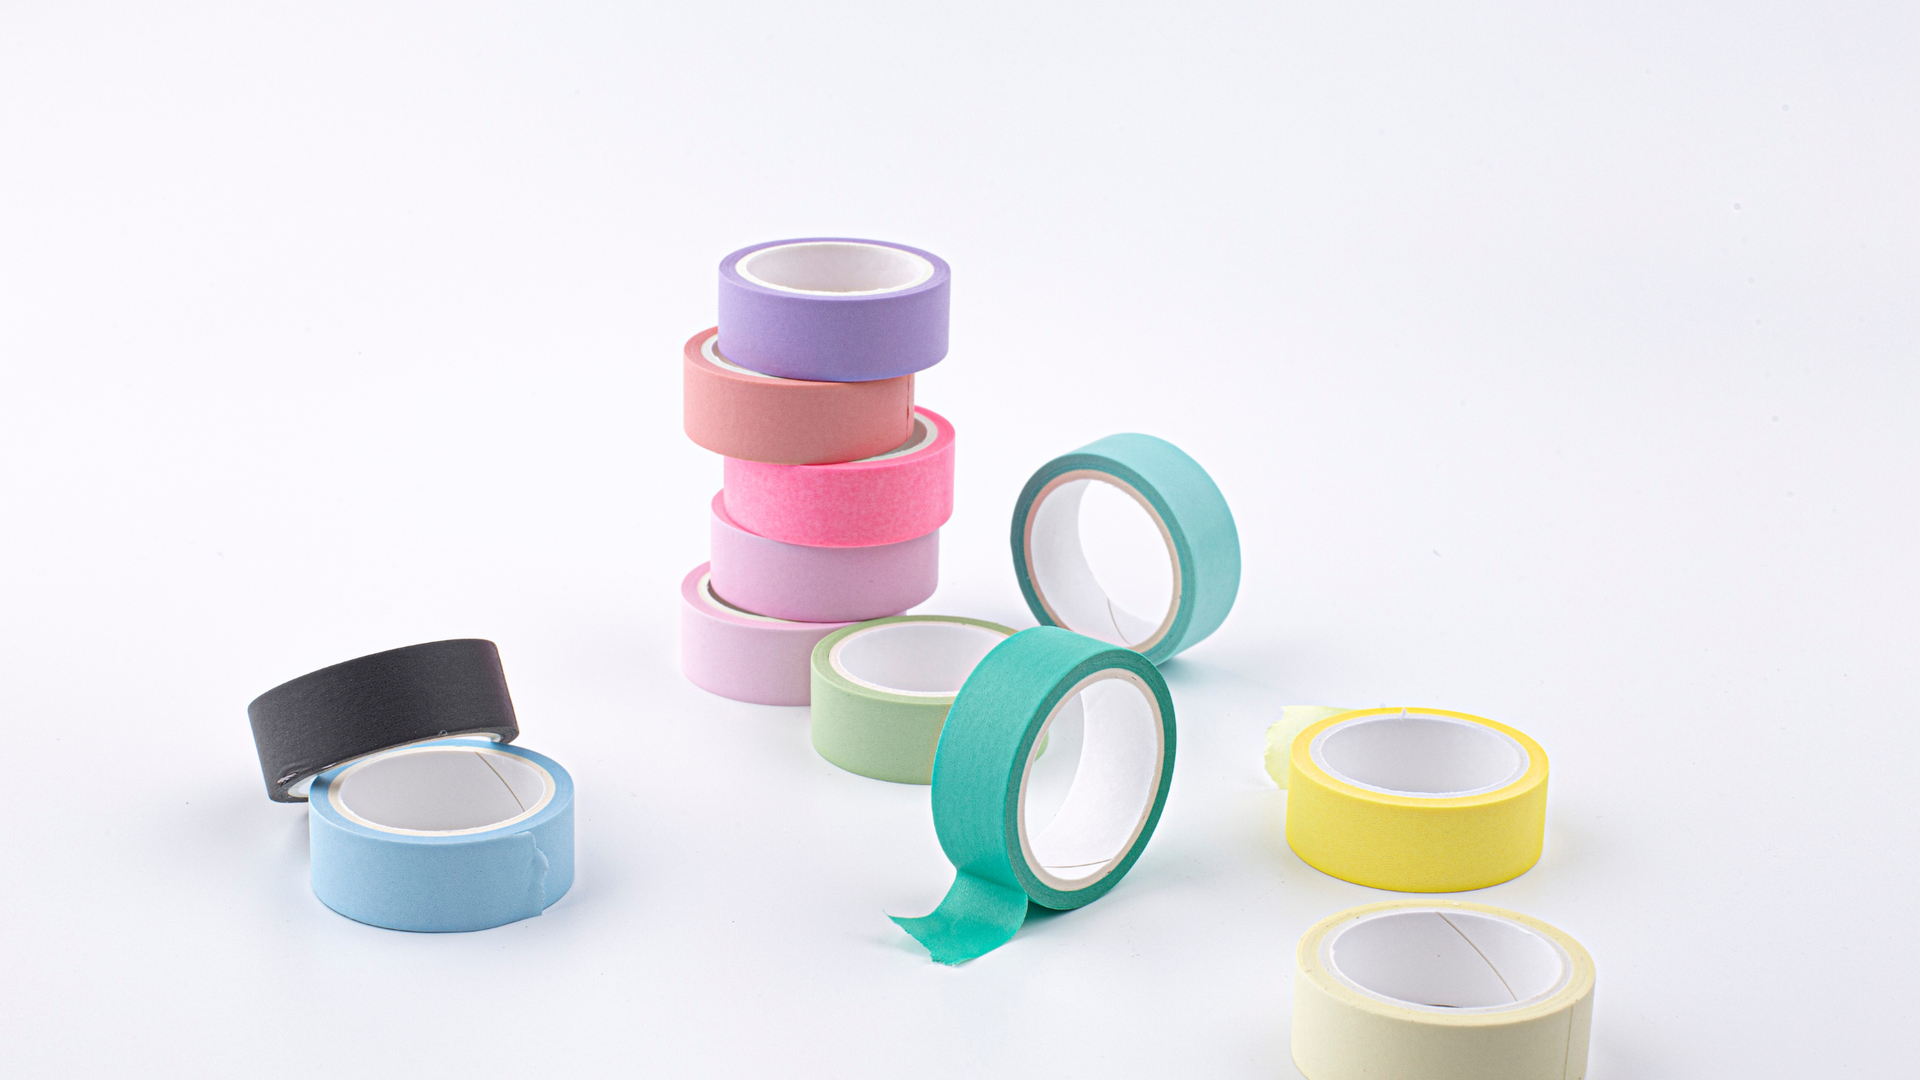
Using the wrong tools or techniques can damage your planner and ruin its look. For example, pressing too hard with adhesive rollers can tear thin pages. Washi tape is a great alternative – it’s easy to reposition and won’t harm the paper.
When adding stickers, prioritize functionality. Place headers, date markers, and task boxes first, then add decorative elements around them. If you’re working with delicate paper, like in Hobonichi planners, use a gentle touch and test adhesives on a scrap page beforehand. This ensures your planner stays intact and looks polished.
Start by building a strong foundation for your planner before adding any decorative elements. Here’s a quick guide to balancing usability with a touch of style:
| Planning Element | Purpose | Decorative Additions |
|---|---|---|
| Time Blocks | Manage your schedule | Use color-coding for tasks |
| Task Lists | Organize daily to-dos | Add themed bullets or icons |
| Habit Trackers | Track progress on goals | Include decorative borders |
| Notes Section | Jot down quick thoughts | Enhance with washi tape or headers |
"Having a designated space for everything each day has made my planning much more effective." – Saskia, planner enthusiast
Start with these essentials, then slowly add decorative elements. This way, your planner stays organized and visually appealing without losing its practicality.
Once you’ve identified your planning needs, picking the right format can help you balance structure and creativity. Here are a couple of popular options:
"The best planner layout is one that keeps you inspired and organized." – Erin Condren, Planner Expert
To make your planner work for you:
Experiment with these ideas to find a setup that fits your routine. This way, your planner will stay functional and look great without feeling cluttered.
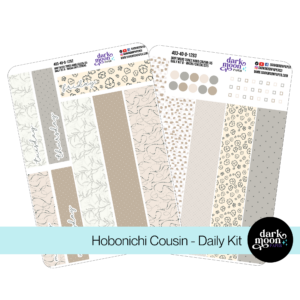
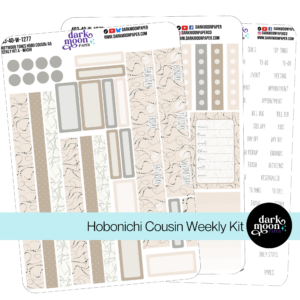
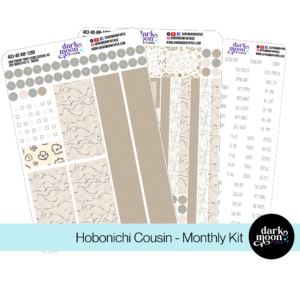
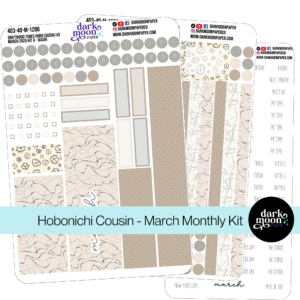
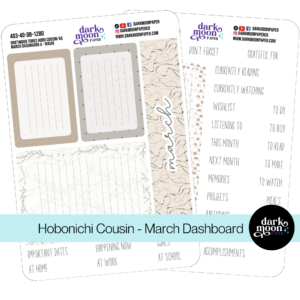
If you’re new to planner decoration, starting with a basic sticker kit can make things easier. Look for kits that include essentials like checkboxes, headers, decorative elements, and storage options. Dark Moon Paper is a great choice – they’re known for high-quality materials and unique designs that can turn any planner into an organized and visually appealing tool.
Here’s a quick breakdown of the sticker types they offer and how they can elevate your planning:
| Sticker Type | Purpose | How It Helps |
|---|---|---|
| Functional | Task tracking & organization | Boosts productivity with checklists, dots, and boxes |
| Decorative | Adds visual flair | Helps create consistent themes and aesthetics |
| Headers & Text | Labels for sections | Makes navigation and readability easier |
| Trackers | Tracks progress | Keeps you on top of habits and goals |
"Effective planner decorations combine functionality with personal style", says Rachael Snow, founder of Dark Moon Paper.
The planner community is thriving online, with plenty of platforms offering inspiration and advice. Here’s a quick guide to some of the best ones:
| Platform | What You’ll Find | Ideal For |
|---|---|---|
| Visual inspiration and trends | Discovering new decoration styles | |
| Facebook Groups | Interactive community advice | Getting tips and personalized feedback |
| Detailed discussions and tutorials | Learning specific techniques |
To get the most out of these communities, try:
With the right stickers and a supportive community, your planner can become both a practical tool and a creative outlet.
Using the right tools, techniques, and mindset, you can turn your planner into a tool that’s both functional and visually appealing. A well-designed functional planner setup not only keeps you organized but also allows you to showcase your personal style.
Avoiding decoration pitfalls comes down to planning thoughtfully and staying organized. Dark Moon Paper stickers are a great choice – they bring a mix of style and practicality, adding flair to your pages without losing functionality. Their designs make planning easier and more enjoyable.
Here are a few tips to keep in mind:
Stickers Made for Planning
Our custom stickers are a fuss-free way to brighten up your planner pages with perfectly-sized designs that add a spark of personality to every layout.
Why use planner stickers?
Planner stickers make organizing easy, fun, and personal! Add color, creativity, and structure to every page, transforming your planner into a tool that reflects you. Perfect for tracking, decorating, and staying inspired daily!

Hello and welcome!
I’m Rachael Snow, a lifelong artist and entrepreneur, and I started Dark Moon Paper to blend my love of art, technology, and the mysterious beauty of the world around us. My sticker kits are meant to set the mood, tell a story, and give you a little escape from the ordinary.
I work from my cozy studio tucked away in the beautiful woods of Oregon, surrounded by nature and a dark night sky full of stars.