Want to make your planner look great without spending hours on it? Here are 10 planner tips to save time and boost productivity:
These tips will help you create a planner that’s both beautiful and efficient. The key is finding what works for you.
Let’s dive in and make planning fun and productive!
Want to save time when planning? Set up your workspace right. Here’s how to organize your supplies so you can spend less time searching and more time creating.
Smart Storage Ideas For Planner Accessories
A growing collection of colored pens, coordinating stickers, and planner accessories can get messy fast. It’s helpful to have a place to keep planner goodies until it’s time to sit down for a planning session. Let’s look at a few ways to keep your supplies organized.
Drawer Organization
Got lots of supplies? Try a drawer system. One planner fan uses an Ikea desk with an Alex drawer unit. Here’s how to set it up:
1. Clean drawers and add contact paper
2. Sort supplies by type
3. Use trays and jars inside drawers
4. Organize based on how often you use items
This system saves time and makes planning more fun:
"I’m so much happier with all of my newly organized planner supplies. I can find the things I need so much easier, plus they look so pretty when I open the drawers!!"
Creative Sticker Storage
For big sticker collections, try:
The key? Make it easy to see and grab what you need. Choose a system that works for you and your planning style.
Now that your planner supplies and stationery are on their way to being well organized, it’s time for a time management strategy when it comes to planning. Want to level up your decorative planning? Plan multiple weeks in one go. It’s like meal prepping, but for your planner.
Here’s how it works:
Set aside a chunk of time to tackle several weeks at once. This keeps your style consistent and frees up time for creativity.
Matt Ragland, a Bullet Journal expert, says:
"If you ever get frustrated by constantly migrating tasks for days at a time, a weekly master task list might be the best way to organize your bullet journal and stay focused."
How to make it happen:
This approach isn’t just about saving time. It’s about maximizing your planner’s potential. You’ll create a cohesive look across your pages, making your planner both functional and visually appealing.
New to batch planning? Start small. Try planning two weeks at a time and gradually increase as you get comfortable. The goal is to make planning easier, not more stressful.

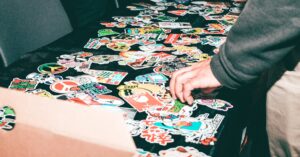
As you plan from week to week, you’ll inevitably have sticker “leftovers”, the pieces of sticker kits that you haven’t used yet. Without a good way to keep them organized, they can clutter your space and can slow you down. Here’s how to sort your stickers, scraps, and other paper and make it easy to find:
Sticker Binder
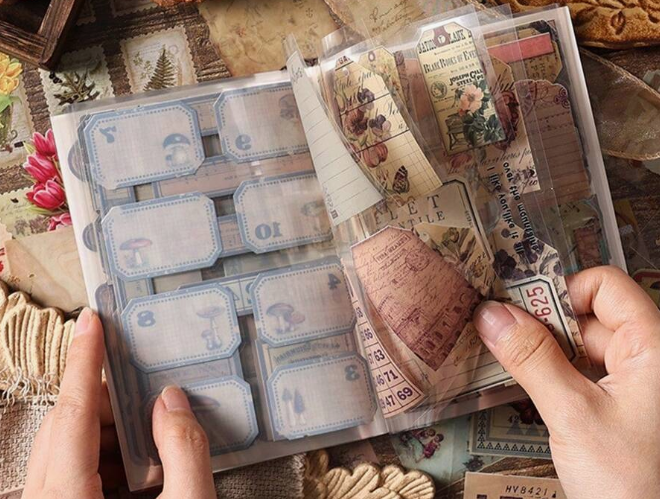
A sticker binder can be a game-changer. Use a three-ring binder with sheet protectors for full-page sticker sheets. This works well for printable stickers too. For smaller sheets, try mini binders with clear pockets. You can get these for about $1.99 for a pack of 5.
Photo Albums
Similar to a sticker binder, modern photo albums can serve the same purpose and can hold around 300 sticker sheets depending on the album size. Small photo albums are often available at dollar stores and other discount stores, making this a very affordable option.
Drawer Organizers
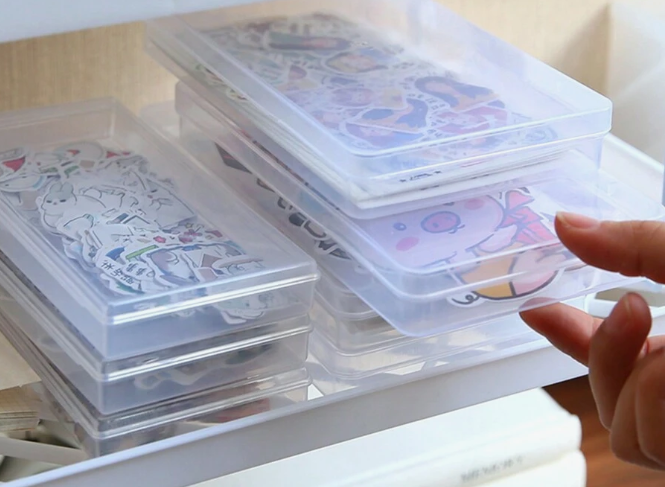
For loose stickers or smaller sheets, try clear mini pull-out drawers. Label each drawer by theme, color, or sticker type. This makes finding what you need a breeze.
Wall Storage
Short on desk space? Try wall storage. One planner fan says:
"I use a pegboard from Ikea. I didn’t want to drill holes, so I used a bunch of velcro command strips."
A hanging shoe rack also makes a great storage area for small items like stickers. Over-the-door shoe storage racks often come with clear pockets, perfect to stash your stickers and other planning supplies and see at a glance what you’re looking for.
Cosmetic Cases and Travel Bags
Who says travel bags have to be used for miniature sized deodorants and shampoos? These small zippered pouches make a great storage solution for pens, markers, clips, stickers, and other small planner accessories. The best part? You can throw it into a larger bag like your purse or backpack and have your favorite planning supplies with you and ready to go at a moment’s notice.
DIY Sticker Books
Make your own sticker books using empty sticker paper. A ring binder and a hole punch can transform any leftover sticker sheet into a quick new page for your sticker storage book. This lets you hang on to partially used sheets and reference them later to do a “franken-planner” style weekly layout when you’ve accumulated enough of them.
Pick the organization method that works best for you. The key is to have a system that makes your planning goodies easy to find and use. When your stickers and pens are organized, planning becomes faster and more fun.
Do you ever have a week where you know you need to set up your planner or bullet journal, but you just don’t have the time or energy to work on it? Ready-made layouts and sticker kits are a planner’s best friend. They’re like a head start for your creativity, giving you more time to focus on the fun stuff.
The Happy Planner® has a cool trick up its sleeve: Sticker Planning Guides. These 10 clear sheets let you test-drive your sticker layout before you commit. It’s like trying on clothes before you buy them, but for your planner!
For a more DIY approach, check out free resources like Canva. They’ve got a ton of planner templates you can tweak to your heart’s content. They’ve got templates for everything – daily schedules, meal plans, workout trackers, you name it. And the best part? You can make them your own.
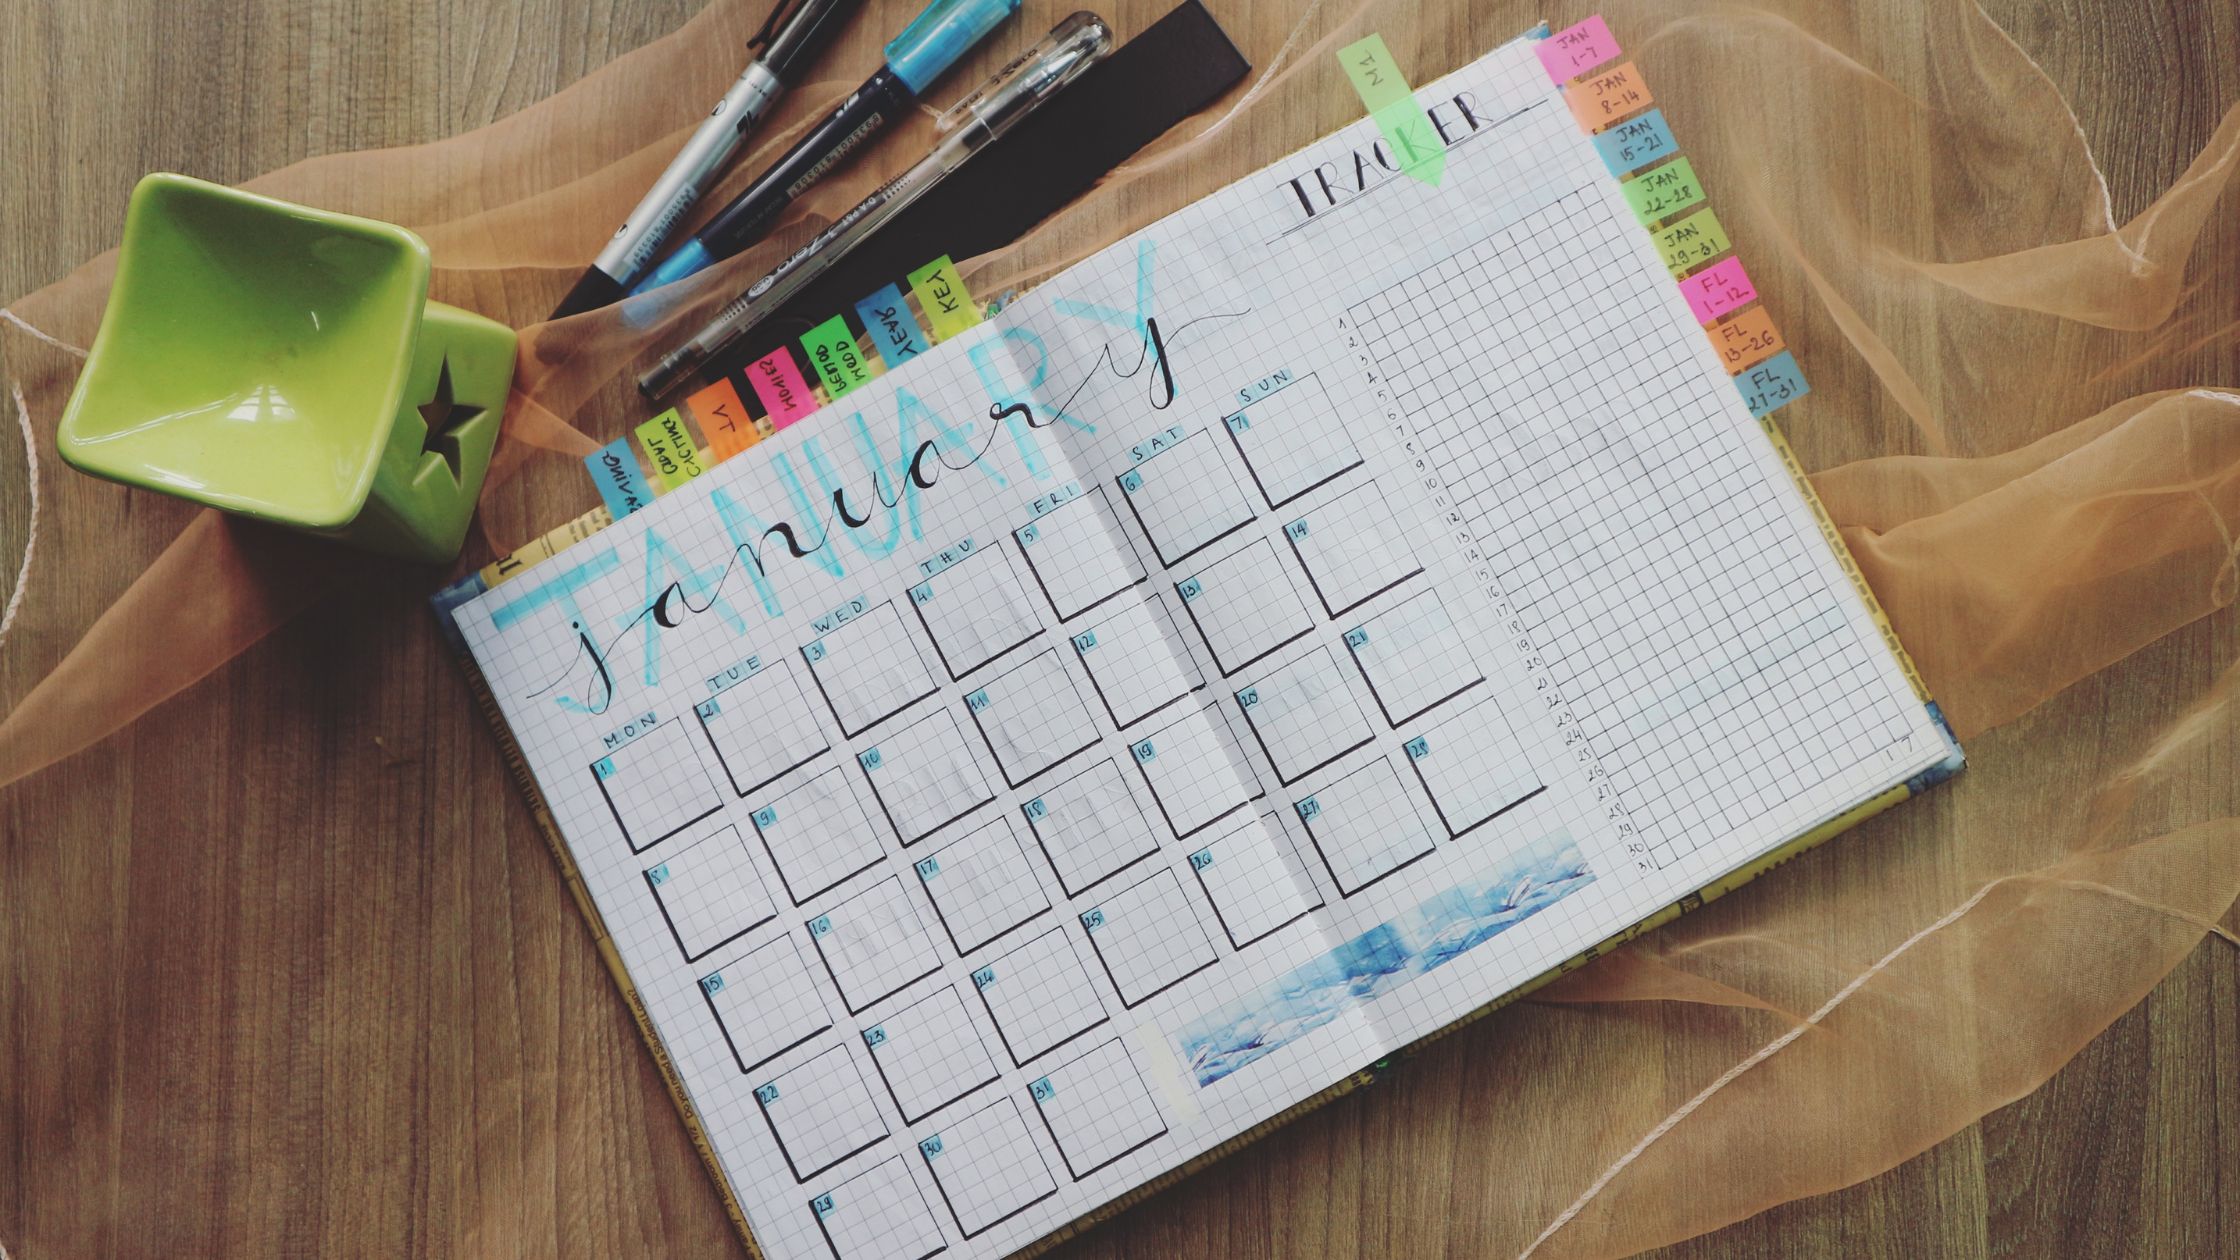
Adobe Express is another option if you like to get your hands dirty. Their free online templates are like a blank canvas – you can play around with fonts, colors, and graphics until it feels just right. Once you’ve nailed your design, you can use it again and again.
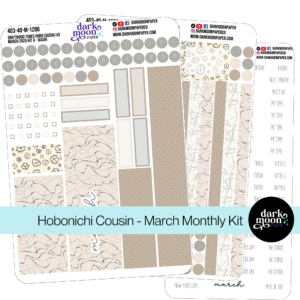
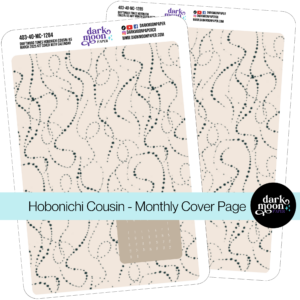
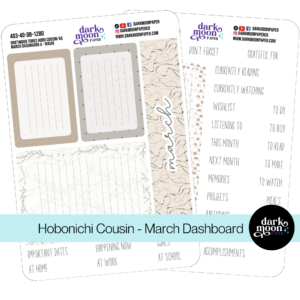
Want something a bit more special? Check out Dark Moon Paper. They drop new themed sticker kits every week. With designs like ‘Enchanted Apothecary’ and ‘Winter Hygge’, your planner will look like a work of art.
Ready-made layouts are all about making your life easier. They give you a starting point, so you can spend less time stressing and more time creating a planner that’s uniquely you.
Color coding can supercharge your planner and make you more productive. It’s a simple trick: assign colors to different parts of your life, and suddenly your tasks pop out at you.
Here’s how to do it:
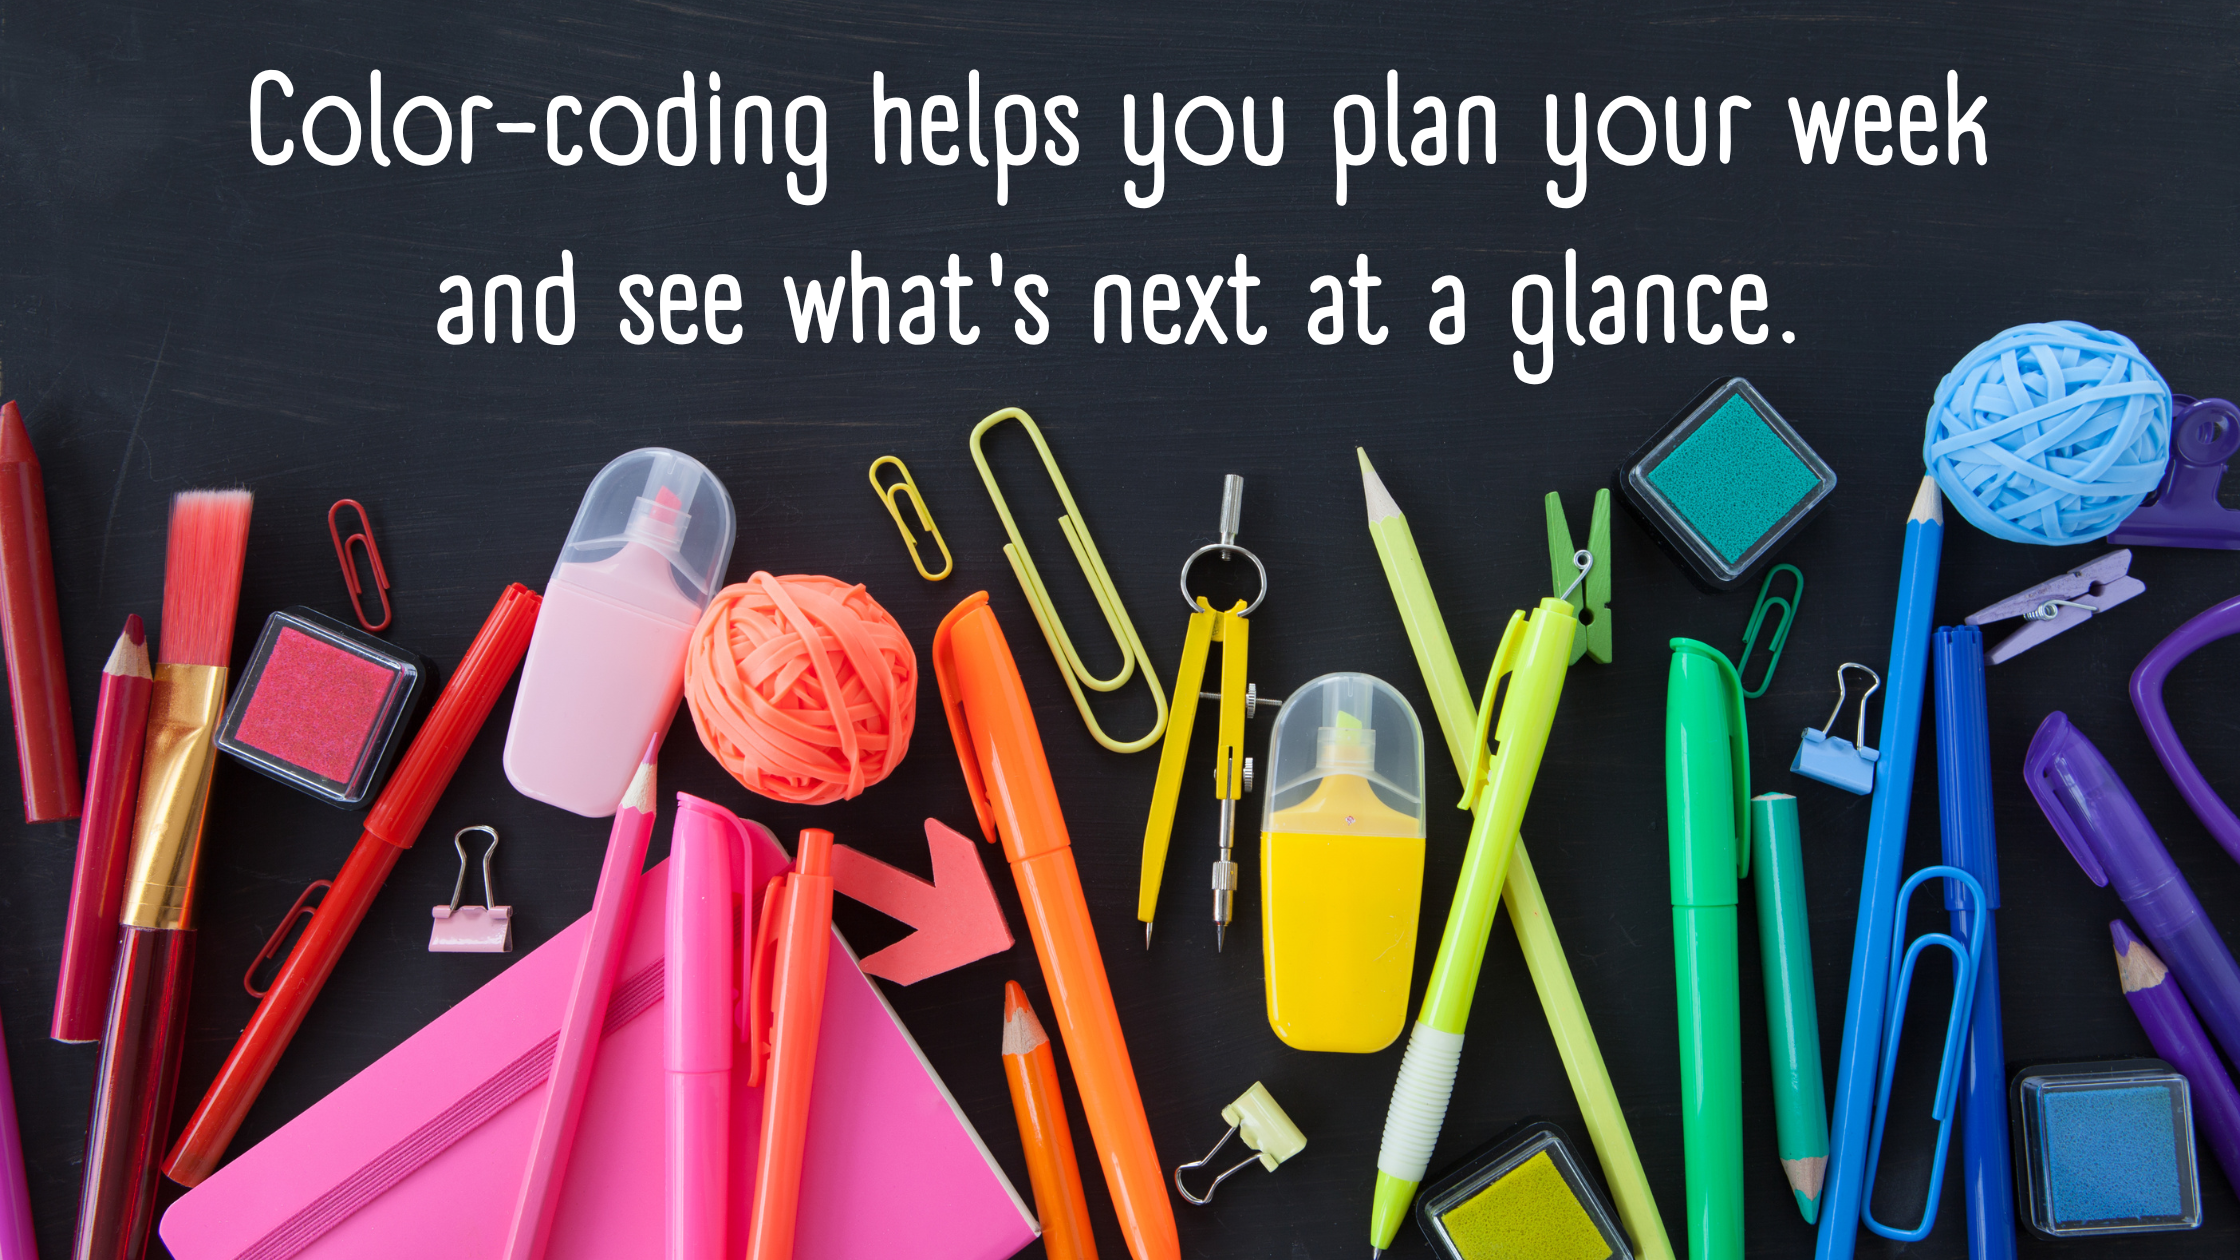
Pick 4-5 main areas of your life. Think work, personal stuff, family, health, and money. Then, give each one a color. Green for money, blue for personal, yellow for fun stuff, red for urgent tasks, pink for kid stuff.
Stick a color key on your planner’s first page. You’ll need it at first, but soon you’ll know your colors by heart.
Now, use colored pens, highlighters, or stickers to mark up your planner. It’s like giving your schedule a paint job – suddenly you can see what’s what at a glance.
Catarina Mateus, a Bullet Journal pro, says:
"I use a color code in my bujo. It helps me see what I’ve got planned and what’s important. The different colors on my weekly spread really stand out."
Some tips to make it work:
The point is to make life easier, not harder. As the folks at Appointed put it:
"Adding color to your planner isn’t just fun – it can boost your productivity and help you get organized."
So grab some colorful pens and give your planner a makeover. Your to-do list will thank you.
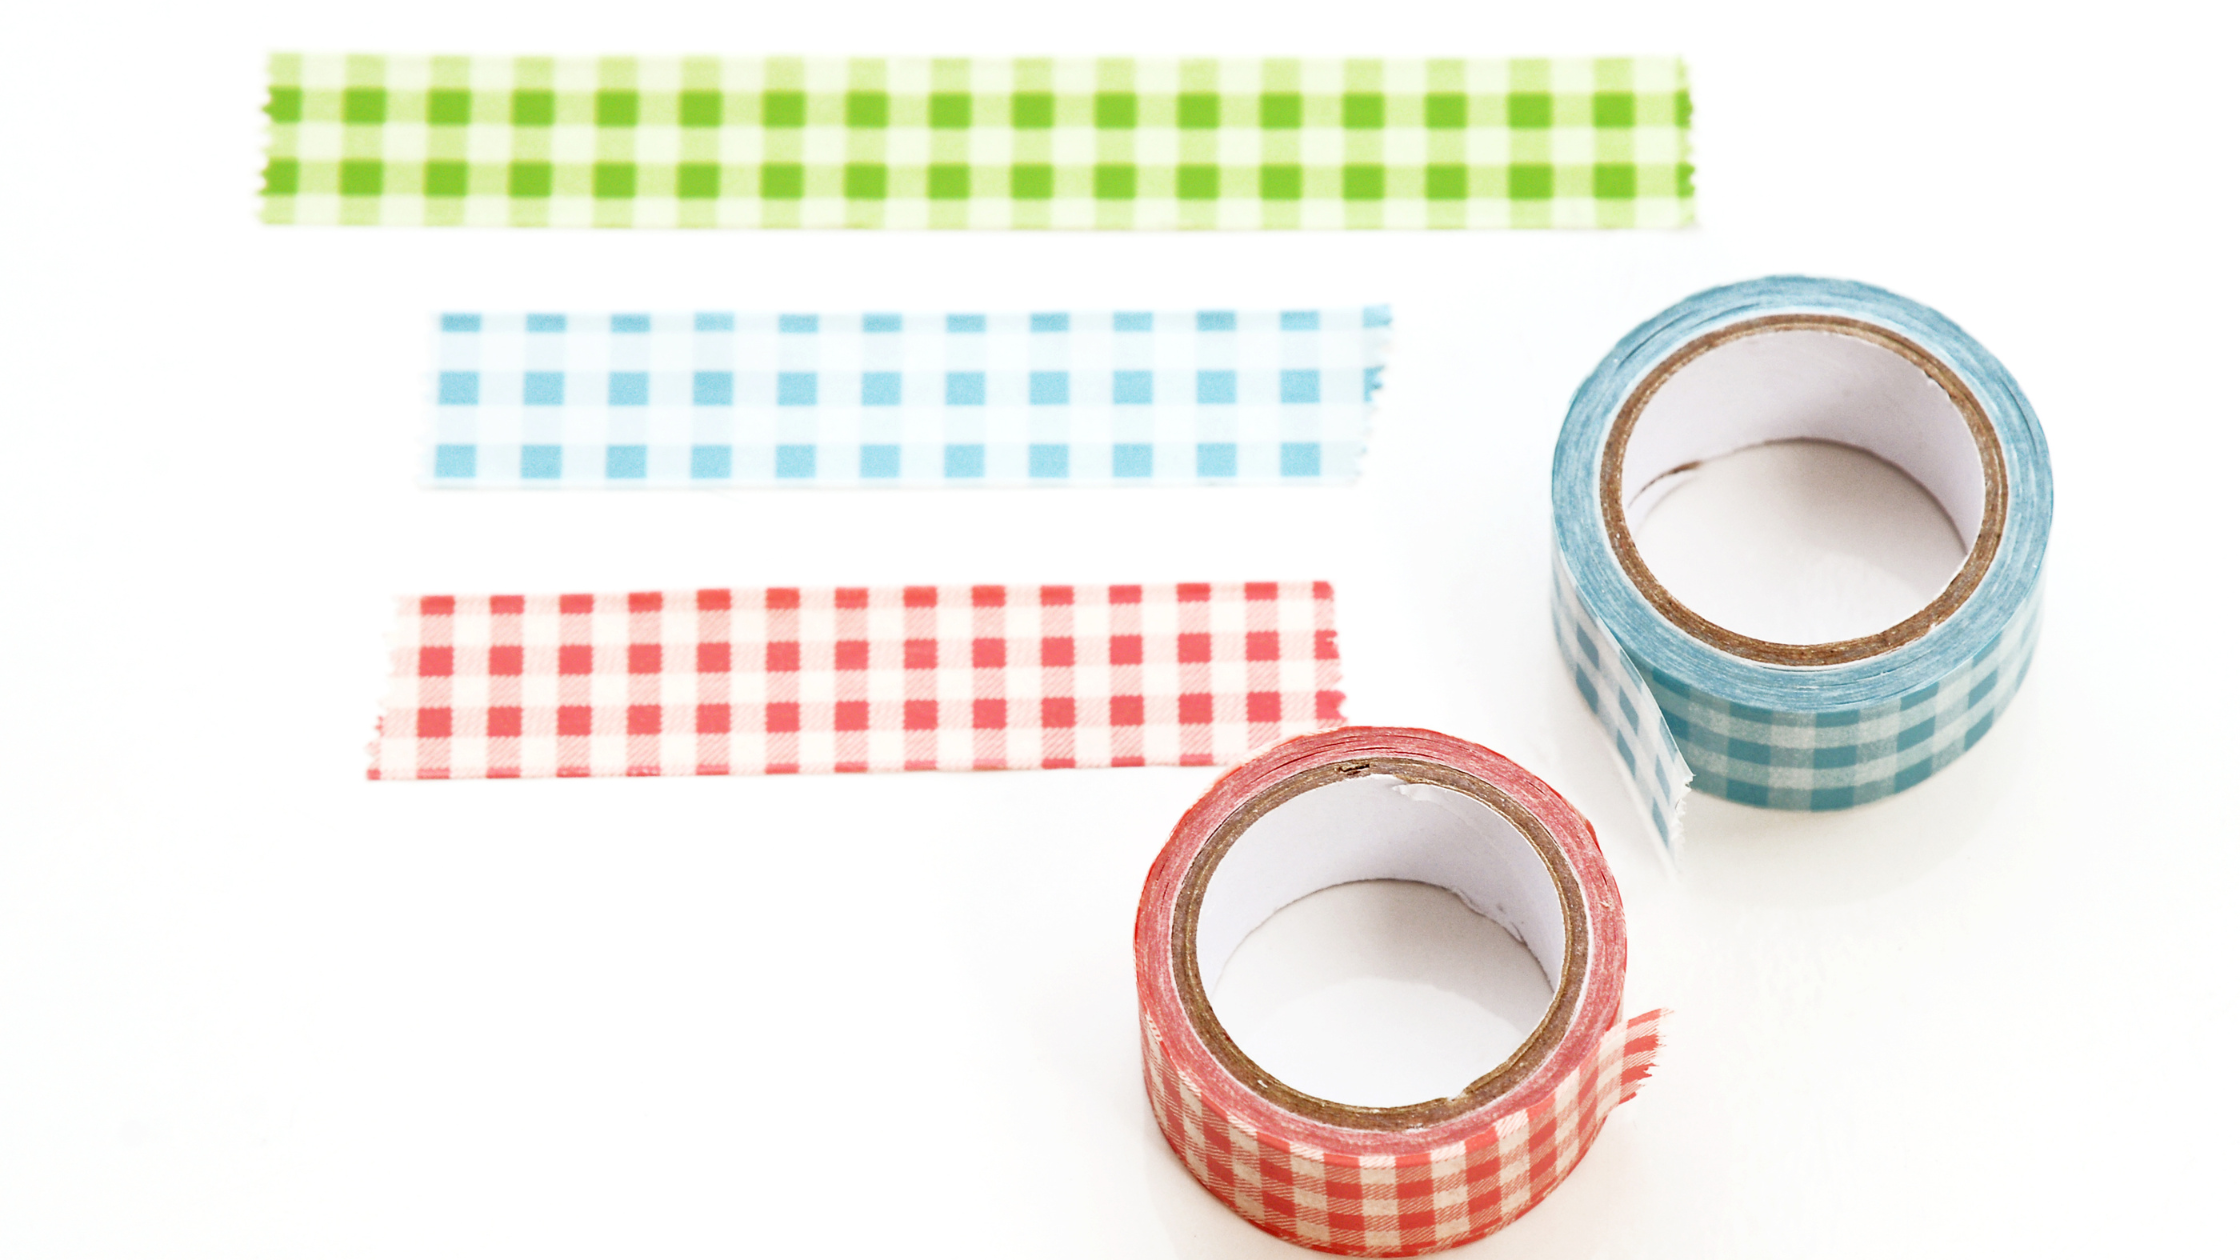
Washi tape is a planner’s best friend for fast, stylish decorations. No drawing skills? No problem. Here’s how to jazz up your planner in a snap:
Instant Subheadings
Slap a strip of washi tape on your page and write on it. Boom! Your info pops and you’ve got color. It’s way quicker than drawing boxes or lines.
Page Tabs
Need to find stuff fast? Fold a bit of washi tape over the edge of key pages. It takes seconds but saves you tons of time later.
Cover Blank Spaces
Empty days in your calendar? Don’t leave ’em bare. Slap on some washi tape. Now your dead space is part of the design.
Layer It Up
Want a fancy look without the time sink? Layer different washi tapes. Overlap patterns and colors. It looks complex, but it’s super quick.
Divide Your Page
Separate sections with washi tape. It’s faster and neater than drawing lines. Split your to-do list from your notes in a flash.
Fix Mistakes
Oops, made a goof? Don’t cross it out or start over. Just cover it with washi tape. A planner fan points out:
"If you’re anything like me, you rarely create a bullet journal spread without a mistake or three! Thankfully, washi tape can be a super handy way to cover up mis-spelled words and lines that have ended up in the wrong place."
Make Flaps
Stick printables or extra notes to your pages with washi tape. Lift the flap to write underneath. You’ve just maxed out your space without permanent changes.
Want to make your planner pop without spending all day? Here’s how to add style in a flash:
Sticky Note Magic
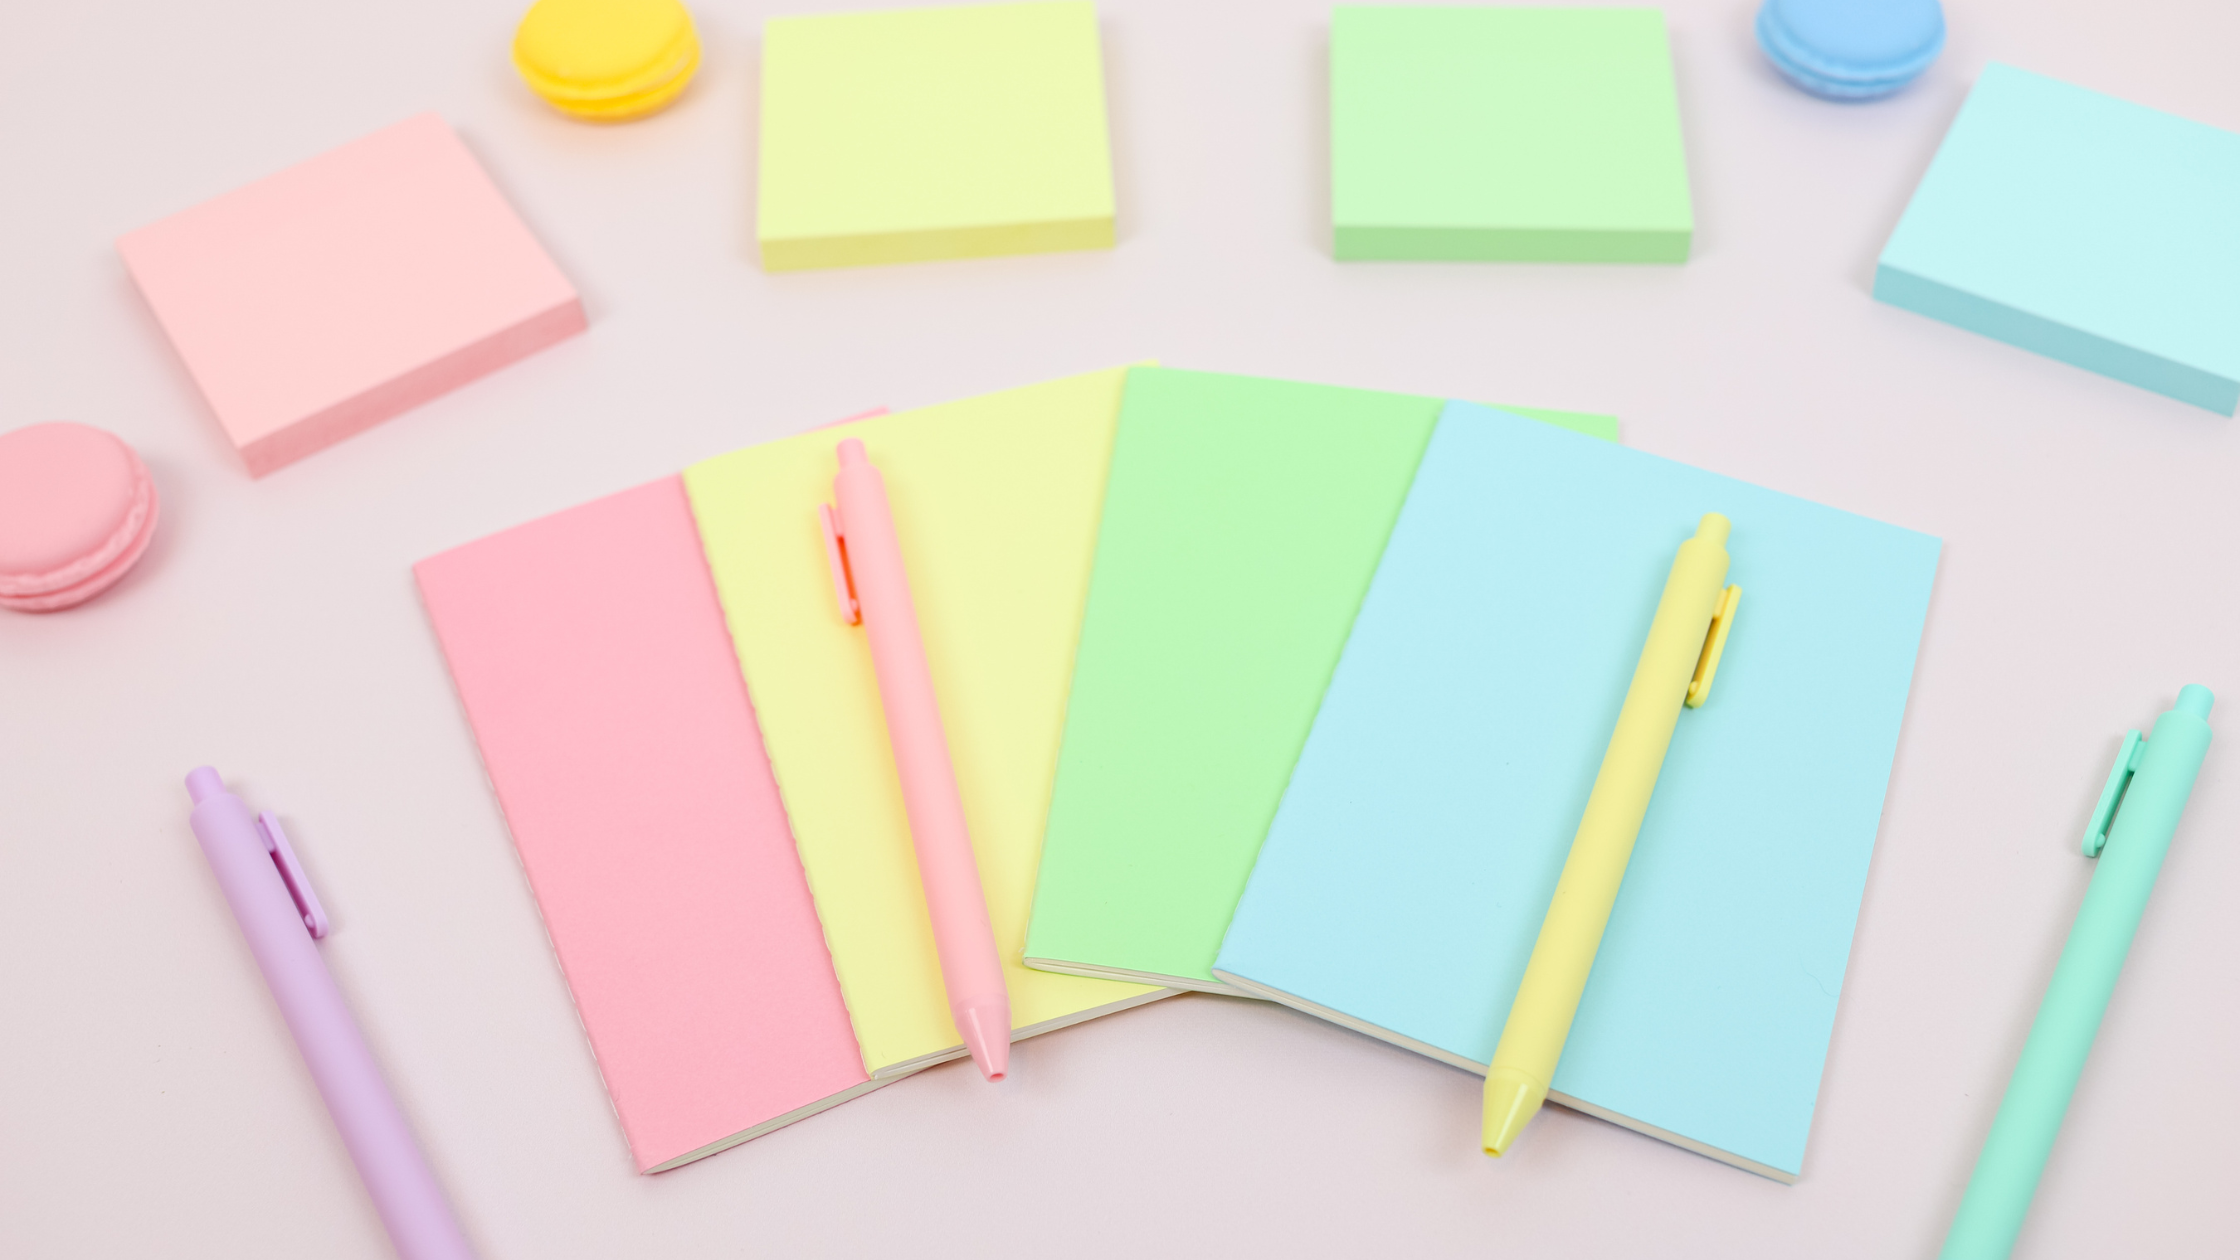
Colorful sticky notes are your secret weapon. Use them to create instant blocks on your pages. It’s quick, easy, and doesn’t require any measuring. Sticky notes also work great for planning ahead when you have a great idea for your bullet journal or blank planner pages, but you don’t have time to set it up. Jot down your idea onto a sticky note and put it on the page you plan to transform. This is a great technique for establishing your bujo layout for a new year as well.
Stamp It Out
Sick of drawing the same checklist boxes week after week? A custom stamp and some fun ink colors can transform your page in seconds. Invest in a few stamps for the planner elements you use frequently, and in minutes you’ll have a polished look with minimal effort.
Washi Wonderland
Washi tape is a game-changer for fast decorating. Use it for borders, section dividers, or color pops. As one Reddit user put it:
"Totally agree with everyone… Washi tape, stickers, stamps and some highlighted words go a long way!"
Sticker Strategy
Stickers aren’t just cute – they’re time-savers. Mark important dates, track habits, or add quick embellishments. Dark Moon Paper offers themed sticker kits that can transform your pages in minutes, as well as hundreds of functional sticker sets like checklists, trackers, and labels. Instead of writing out your water tracker from day to day, invest in a sheet of colorful tracker stickers to make your planning quick, easy and attractive.
Rapid Logging with Flair
Mix rapid logging with hand-lettered titles for a fast but stylish look. Throw in a few printed photos or stickers, and you’ve got a personalized spread in no time.
These tricks will help you decorate your planner quickly and easily, without sacrificing style. Mix and match these techniques to find what works best for you!
Let’s talk about making your planner both pretty and practical. Who says you can’t have both?
Stickers: More Than Just Eye Candy
Stickers can actually boost your planning game. Check out Dark Moon Paper‘s bullet journal stickers. Their planner kits are sized specifically for your favorite planner, whether you use a Hobonichi Weeks, Erin Condren Life Planner, or a blank notebook. Sticker kits help organize tasks and highlight key info.
But wait, there’s more. Don’t forget to check out the huge range of functional stickers, like habit trackers, weather icons, and pre-printed text labels. You can even have a custom page of text labels printed with exactly what you want your planner to say! One planner fan says:
"Dark Moon Paper’s weekly habit tracker stickers make sticking to habits seem more doable. They’ve really helped me commit to tracking."
 Washi Tape: Your Planning Swiss Army Knife
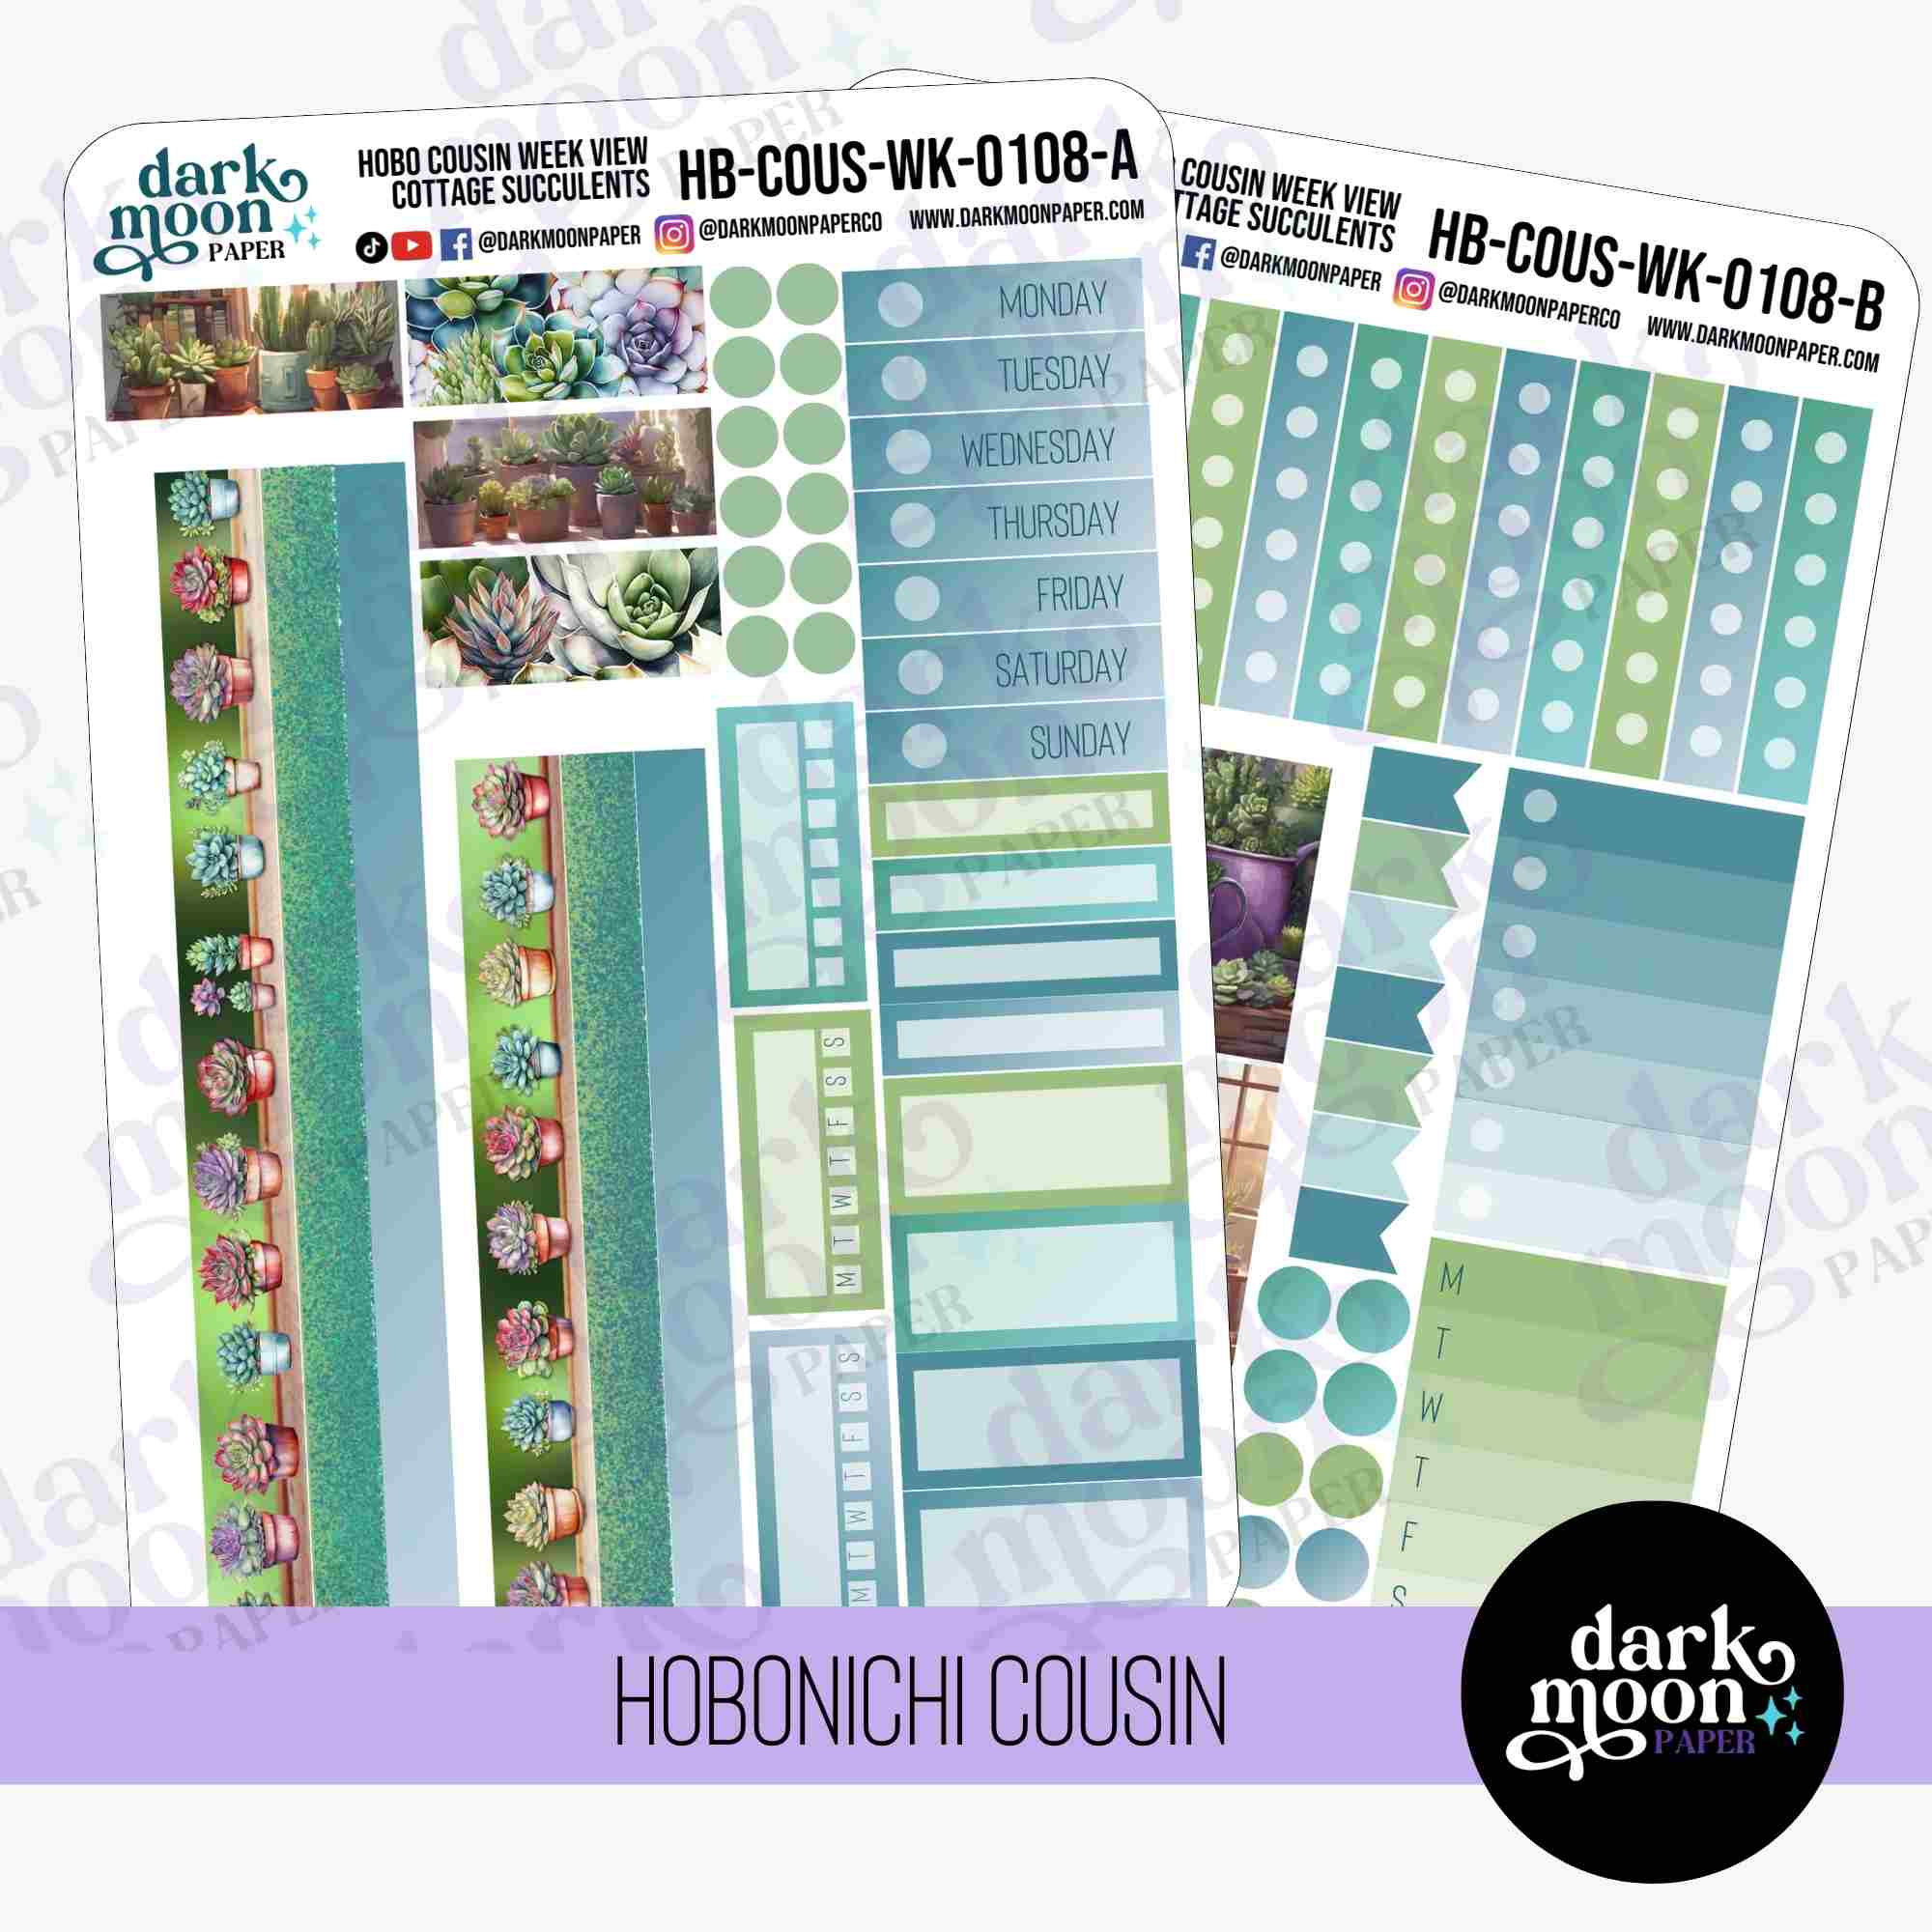
Yes, we are obsessed with washi tape, but it’s for good reason! Washi tape isn’t just pretty – it’s super useful beyond your typical decoration and dividing lines. Here’s how:
Sticky Notes: For Plans That Might Change
As mentioned earlier, sticky notes are perfect for tentative plans and ideas. Use them for possible appointments or brainstorming. When plans firm up, you can easily move or remove them without messing up your layout. The sticky note market has evolved a lot in the decades since the classic yellow notepad first appeared. There are thousands of cute themed sticky notes to choose from to make your planning not only flexible but fun.
Remember, your planner should work for you. So go ahead, play around with these functional decorations. Your planner (and your productivity) will thank you!
Planning doesn’t have to eat up your whole day. Here are some fast ways to get your days and weeks in order:
The 5-Minute Daily Plan
Kick off your day with a quick 5-minute planning session. Jade Boyd, a business owner and author, says:
"Planning your week is so incredibly powerful. It doesn’t take a lot of time, but when it comes to maximizing your productivity as a business owner, it’s hugely effective."
Here’s the drill:
The Weekly Power Hour
Set aside one hour each week to plan ahead. Many people like Sunday evening or Monday morning. During this time:
Look at what’s coming up next week. Set some goals. Plan your meals. Put important tasks and appointments in your calendar.
15-Minute Task List
Make a list in your planner for tasks that take 15 minutes or less. List small tasks like quick chores or self-care activities. When you have a short break, knock one of these out to feel extra productive.
Color-Coded Calendar Wheel
Use a weekly calendar wheel to see your schedule at a glance. Give different colors to different parts of your life:
Yellow for morning routine. Blue for work projects. Green for personal time. Red for important deadlines.
This lets you quickly see how you’re spending your time and make changes if needed.
Two-Page Weekly Layout
Fit your whole week on two pages. Include:
A weekly calendar, to-do list, habit trackers, notes section, and a quick look at next week.
The Planning Mindfully team notes:
"With some creative management, you can tie all seven of these elements in two pages. That means you get the details you need and fewer pages to manage it all. Win!"
These quick planning methods can help you stay on top of your game without spending hours on organization. Pick the one that works best for you and give it a shot!
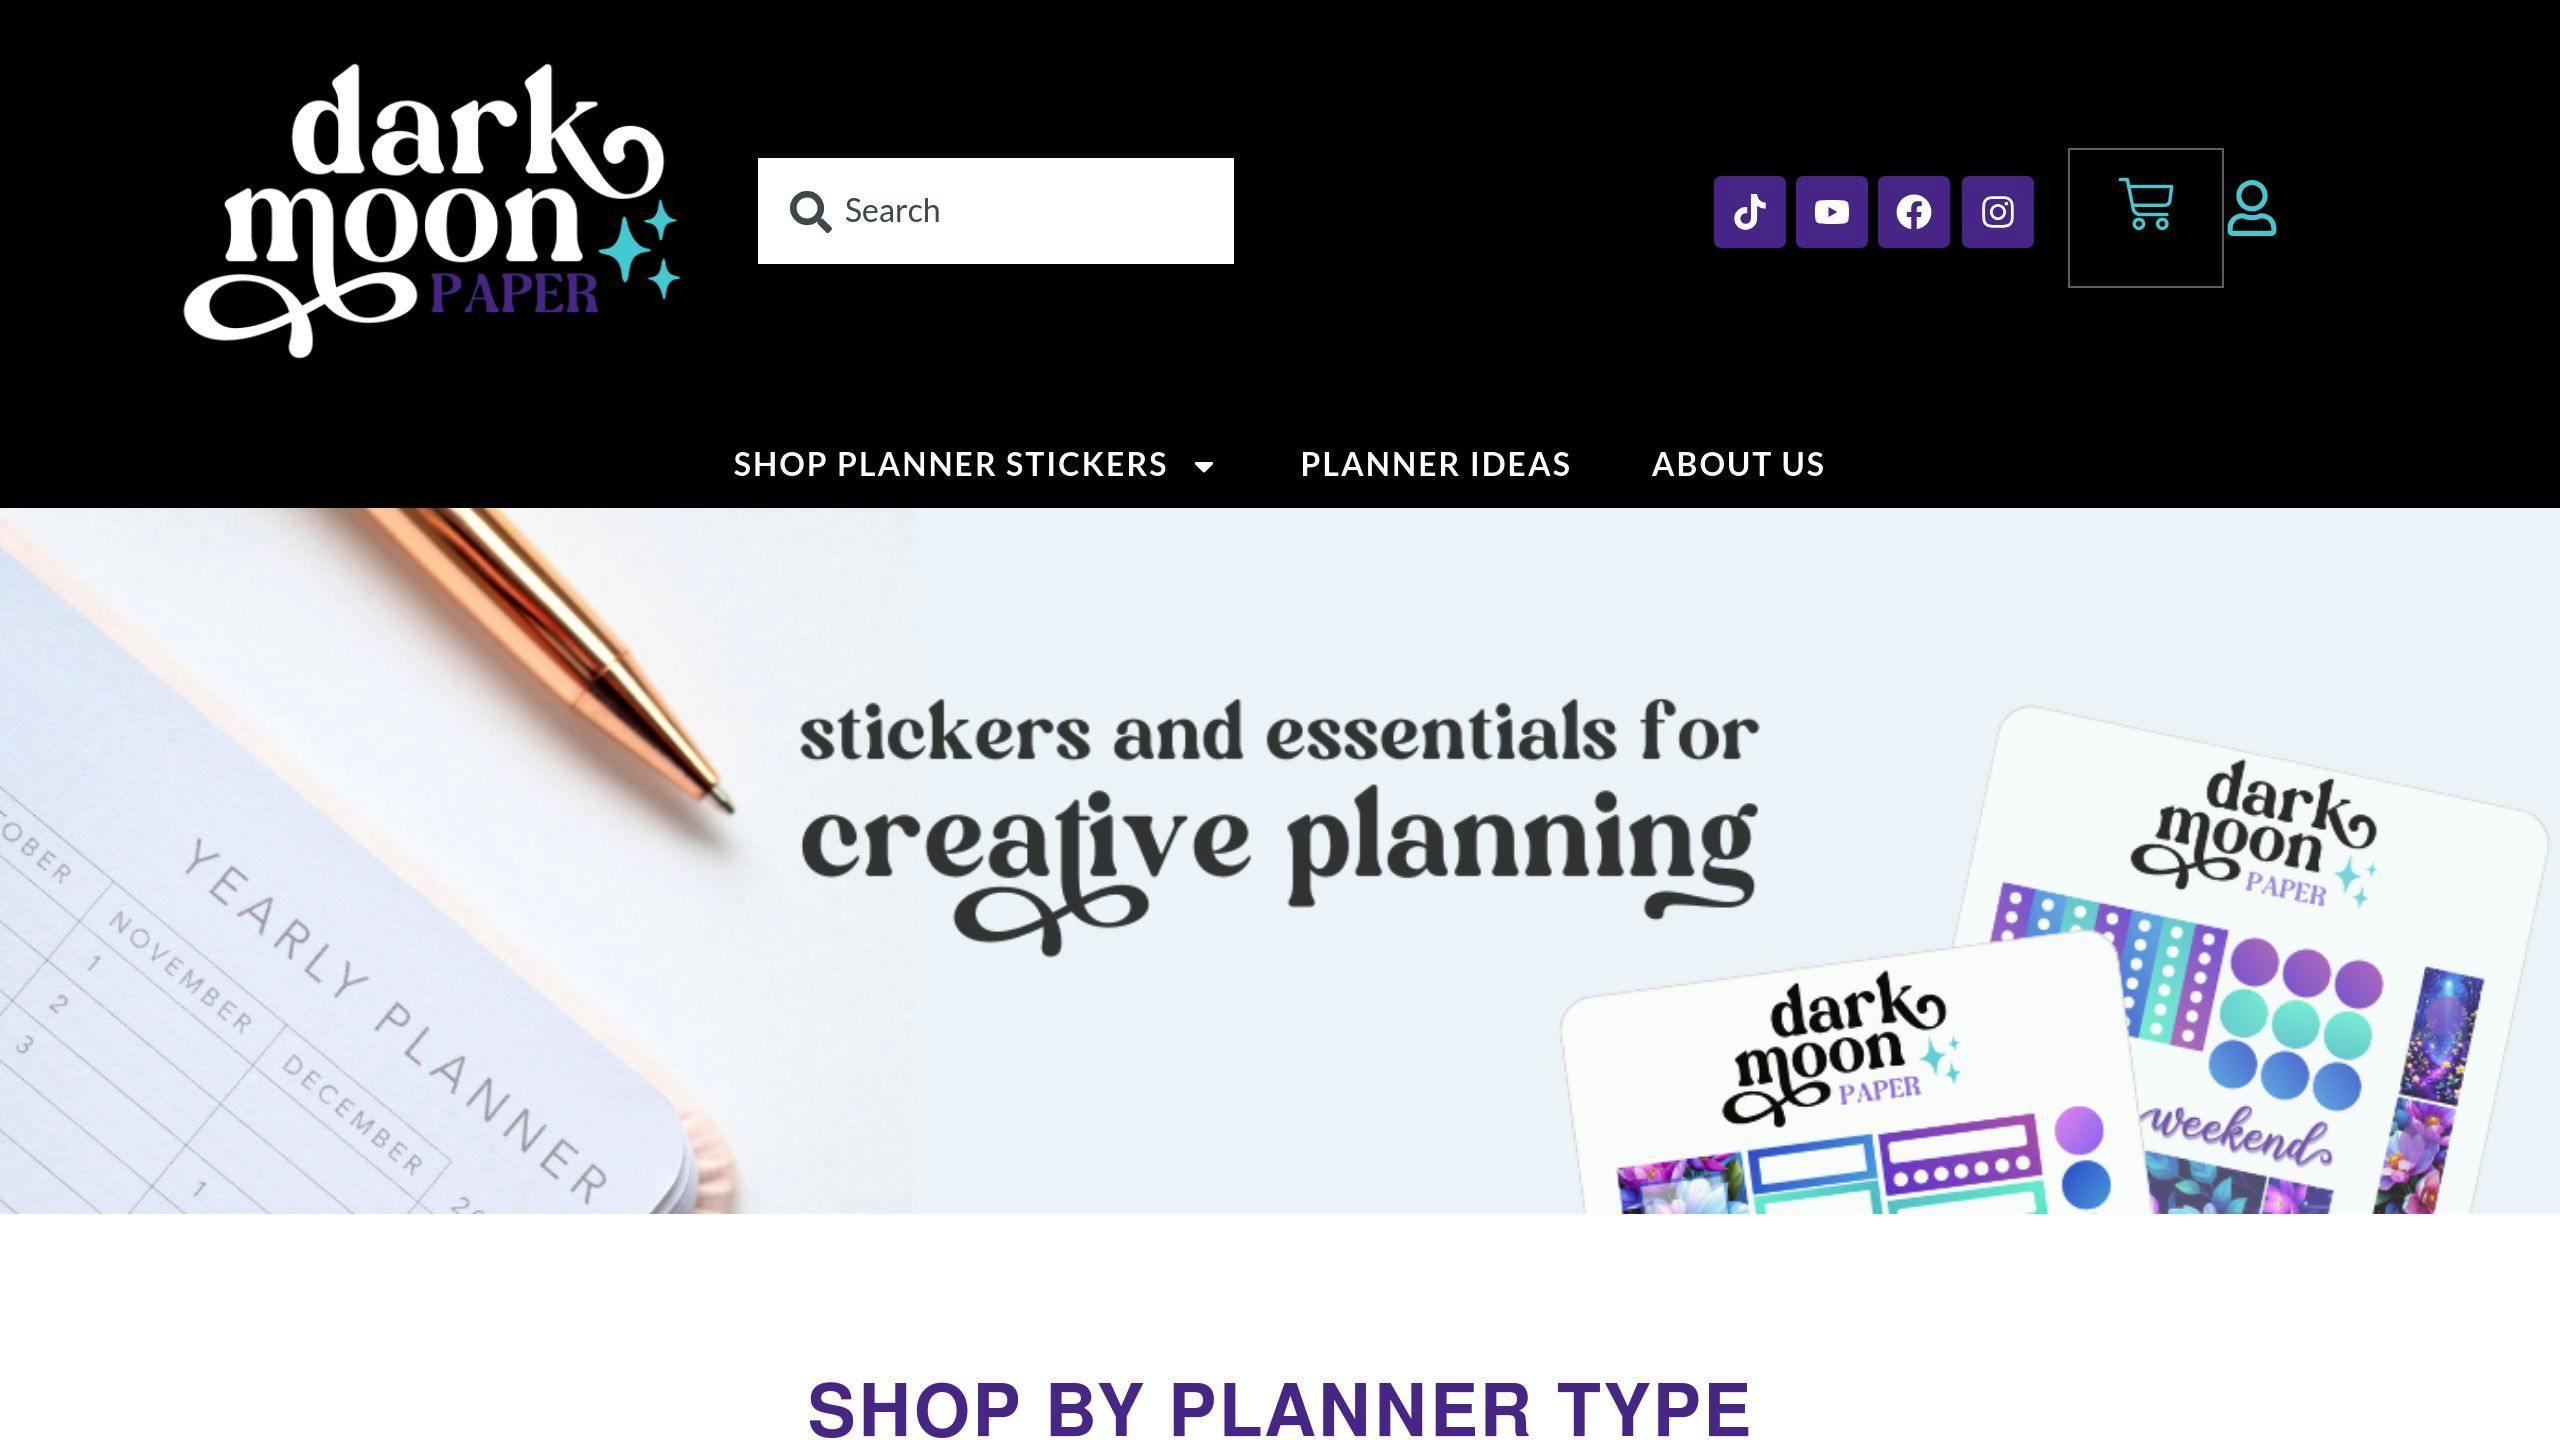
Dark Moon Paper’s themed sticker kits are a game-changer for quick, consistent planner decoration. These sets can transform your pages in no time, freeing up your creative energy for more important tasks.
New themed kits drop weekly, with styles for every taste. From "Lilac Dusk" to "Electric Forest" and "Cottage Succulents", there’s something for everyone.
Here’s how to squeeze the most out of these sticker sets:
The point is to make planning easier, not harder. As Rachael Snow, the brains behind Dark Moon Paper, puts it:
"Our sticker kits are designed to inspire creativity while simplifying the decorating process. We want planners to feel excited about organizing their lives, not overwhelmed by it."
So go ahead, stick it to your planner – in the best way possible.
A tidy workspace boosts creativity and saves time. Here’s how to keep your planning tools in check:
Carve Out Your Planning Spot
Pick a dedicated area for your supplies. One planner fan shared:
"I love how this shelf turned out and how it helps me organize all of my planner supplies!"
They use a $25 Walmart bookcase to showcase their planners and accessories.
Smart Storage Hacks
Try these tricks to keep things neat:
Check out the See Jane Work line at Office Depot for great options.
Pen Management
Keep your writing tools handy:
One planner uses See Jane Work Pen Holders for their Papermate InkJoy and Tombow Dual Brush Pens.
Washi Tape Taming
Don’t let your washi tape turn into a mess. Try:
1. Washi Tape Rings: Simple and effective
2. Washi Tape Boxes: Hold up to 45 rolls, dust-free
3. Washi Tape Dispensers: Easy access to 30 rolls
Or get creative:
On-the-Go Organization
For planning anywhere, try a versatile caddy. The Mimmo Caddy works great:
This setup lets you plan wherever you go.
With these tips, you’ll create a smoother planning experience. Once you have your planner storage sorted out, you’ll find you have more room to keep just the things you need on your desk and keep it more organized in the long run.
Let’s dive into how to weave these time-saving techniques into your daily planning routine. The goal? Make your planner both beautiful and functional without spending hours on it.
Set aside one hour each week, preferably on Sunday evening or Monday morning, to plan ahead. During this time, review your upcoming week, set 2-3 main goals, plan your meals, and schedule important tasks and appointments. This weekly overview will keep you focused on what matters most.
Kick off each day with a quick 5-minute planning session. Choose 2-3 main tasks for the day, check your schedule for meetings and deadlines, block out time for tasks and breaks, jot down any quick notes or reminders, and reflect on yesterday’s successes and challenges. This brief daily check-in keeps you on track without eating up too much time.
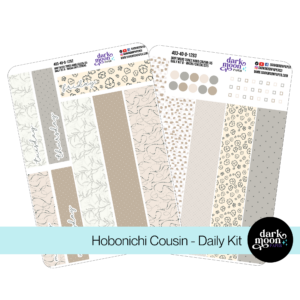
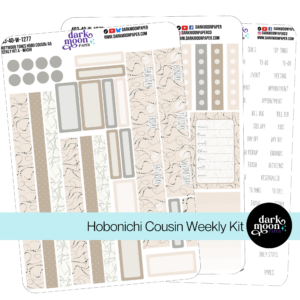
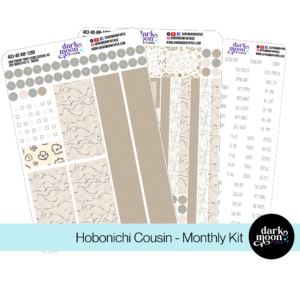
Save time on decorating by using pre-made layouts and sticker kits. Dark Moon Paper offers weekly themed sticker kits that can transform your pages in minutes. Choose between daily, weekly, or monthly kits plus functional stickers and trackers to fit every need. Pick a theme that fits your mood or the season, and you’ll have a cohesive look without the hassle.
Assign colors to different areas of your life: green for finances, blue for personal tasks, yellow for fun activities, and red for urgent items. Use colored pens, highlighters, or stickers to mark up your planner. This visual system helps you quickly identify what needs attention.
A tidy workspace boosts creativity and saves time. Set up a dedicated planning area with smart storage solutions. Use magazine holders for sticker books, organizer trays for small items, and group pens by type or color in pen holders. With everything in its place, you’ll spend less time searching and more time planning.
Group similar activities together to boost efficiency. Plan multiple weeks at once, decorate several pages in one sitting, or write all your to-do lists for the week in one go. This approach helps you get into a flow state and complete tasks more quickly.
While structure is helpful, don’t let it box you in. Use sticky notes for tentative plans or brainstorming. They’re easy to move or remove without messing up your layout.
Every few weeks, take a step back and assess your planning routine. Ask yourself: What’s working well? What feels cumbersome or time-consuming? Are there any new techniques you want to try? Be willing to tweak your approach as needed. Your planning style should evolve with your life.
We’ve covered ten planner tips to save time while making your planner look great. These tips will help you plan faster without losing your creative touch.
Planning should be fun and productive. From using pre-made layouts to keeping your supplies in order, each tip helps you spend less time planning and more time making your planner work for you.
Try these planner tips and you’ll find yourself spending less time setting up and more time enjoying an organized life. Whether you’re using colors to spot tasks quickly or grabbing Dark Moon Paper’s themed sticker kits for instant style, you’re building a planner that fits your needs.
Stickers Made for Planning
Our custom stickers are a fuss-free way to brighten up your planner pages with perfectly-sized designs that add a spark of personality to every layout.
Why use planner stickers?
Planner stickers make organizing easy, fun, and personal! Add color, creativity, and structure to every page, transforming your planner into a tool that reflects you. Perfect for tracking, decorating, and staying inspired daily!
Hello and welcome!
I’m Rachael Snow, a lifelong artist and entrepreneur, and I started Dark Moon Paper to blend my love of art, technology, and the mysterious beauty of the world around us. My sticker kits are meant to set the mood, tell a story, and give you a little escape from the ordinary.
I work from my cozy studio tucked away in the beautiful woods of Oregon, surrounded by nature and a dark night sky full of stars.