Improving your handwriting is simpler than you think. With the right tools, posture, and daily practice, you can create writing that’s neat, legible, and uniquely yours. Here’s a quick guide to get started:
Handwriting isn’t just about appearance – it’s a skill that boosts focus, memory, and productivity. Start small, stay consistent, and enjoy the process of developing your personal writing style.
The tools you use can make a big difference in how neat and consistent your handwriting looks. A good combination of writing instruments and paper can elevate your writing experience.
Choosing the right pen can completely change how you write. Fine-tip pens are great for detailed work, like filling in planner boxes, while fountain pens offer smooth, consistent lines – perfect for cursive writing in journals.
Look for pens that offer:
Once you’ve found your ideal pen, pair it with the right paper to ensure the ink flows smoothly and stays crisp.
The quality of your paper matters just as much as your pen. Smooth, durable paper helps prevent ink from bleeding or smudging, keeping your writing clean and sharp. Pay attention to the GSM rating – higher numbers mean thicker, more durable paper.
| Paper Type | Best For | Features |
|---|---|---|
| Rhodia | Everyday writing | Ultra-smooth surface, minimal ink bleeding |
| Tomoe River | Fountain pens | Thin but strong, enhances ink shading |
| Moleskine | Journaling | Balanced texture, works with many pen types |

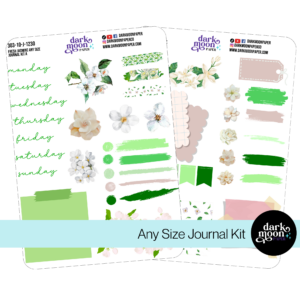
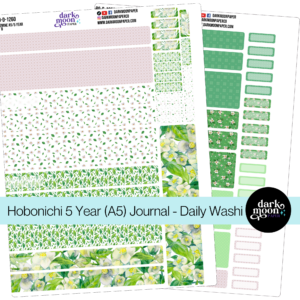
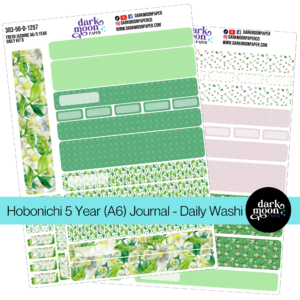
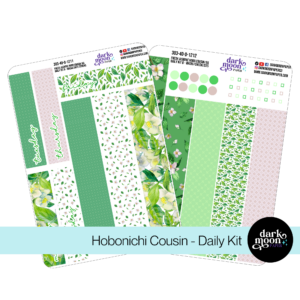
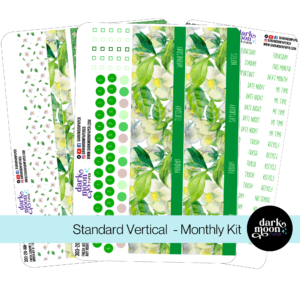
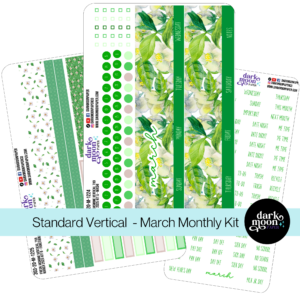
If you’re into planners, Dark Moon Paper offers themed sticker kits like "Lilac Dusk" that combine creativity with functionality. These accessories not only make your planner look great but also help improve your handwriting by adding structure.
Their headers, boxes, and trackers can:
Incorporating these tools into your daily routine can make handwriting practice more enjoyable and effective.
Getting your pen grip and writing posture right is key to achieving neat, consistent handwriting. These basics not only make writing more comfortable but also reduce hand strain, giving you better control over your strokes. Pair these tips with the pens and paper we discussed earlier for the best results.
Hold the pen lightly between your thumb and index finger, with the middle finger providing support. This grip allows for smooth movements and precise control over your writing.
Tips to Adjust Your Grip:
Set up your workspace for comfort and efficiency:
Good posture not only prevents neck and shoulder strain but also helps maintain consistent letter size and slant. Keep your wrist straight and rest your forearm on the desk for stability. This alignment provides a solid foundation for smooth, clean writing.
If your writing starts to look messy, it might be a sign of grip fatigue. Take a moment to reset your position before you continue.
Now that you’ve got the grip and posture down, let’s dive into specific methods to improve your handwriting. These techniques will help turn those basics into polished, fluid writing.
Using the ergonomic grip we covered earlier, start with these essential strokes – the building blocks of all letters:
These strokes are also great for creating decorative headers or labels for planners.
Even spacing is crucial for clear handwriting. To achieve this, imagine fitting a lowercase ‘o’ between each letter to maintain even gaps.
For uniform letter size, pay attention to these areas:
Handwriting guides can help you build muscle memory and improve accuracy. For example, The Postman’s Knock offers free cursive worksheets with drills for both uppercase and lowercase letters [2].
Some helpful guide types include:
Take your time with these guides – focus on precision over speed as you practice.
Take a close look at how you currently write. Pay attention to how consistent your letters are, the direction of your lines, the pressure you apply, and any characters that may be hard to read. To get a fresh perspective, ask someone else to evaluate your handwriting for clarity and readability.
Once you’ve established a comfortable writing position, focus on keeping your paper at the same angle to ensure uniformity. Consistency plays a big role in improving handwriting. Here’s a quick guide to help you stay consistent:
| Element | Technique | Common Mistake to Avoid |
|---|---|---|
| Slant | Position the paper at a 45° angle for right-handed writers or 30° for left-handed writers | Adjusting the paper angle while writing |
| Spacing | Keep even spacing between letters | Squeezing letters together when writing fast |
| Size | Use the x-height (the height of lowercase letters) as a baseline | Allowing letter size to vary within a word |
"Handwriting is muscle memory, and if you’re unhappy with the way you write, chances are high that you need to adjust and/or retrain your hand in order to produce different strokes." [1]
Once you’ve nailed the basics of spacing and sizing, you can start introducing some personality to your handwriting:
For Headers and Titles:
For Regular Text:
Before using these decorative touches in everyday writing, test them in a practice journal to see what works best. These small artistic details should enhance the consistency you’ve already achieved through earlier exercises.
Take your handwriting to the next level with these focused daily exercises:
Don’t forget to take short breaks to avoid hand fatigue. Stick to the ergonomic setup mentioned earlier to ensure comfort and precision.
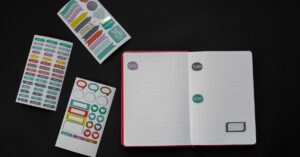
Turn your planner or journal into a handwriting workshop. These everyday tools are perfect for refining your technique:
This kind of applied practice works hand-in-hand with structured exercises from earlier handwriting tips.
Track your improvement by comparing dated journal entries to the alignment and spacing guidelines discussed earlier. Focus on these key areas:
| Aspect to Monitor | What to Look For |
|---|---|
| Letter Formation | Are the shapes and curves consistent? |
| Spacing | Are gaps between words and letters even? |
| Line Alignment | Does the text follow a straight baseline? |
| Writing Speed | Is there a good balance of speed and quality? |
By using the tips and tools shared earlier, you can turn handwriting into a skill that’s both practical and expressive. With the right techniques and regular practice, you’ll see your writing become clearer and more consistent over time.
Handwriting experts often stress the importance of retraining muscle memory through focused effort. Whether you’re jotting down notes, journaling, or practicing specific letters, every session helps improve precision and flow.
The tools you choose also play a big role in your progress. As you work on your planner or journal, you’ll notice that handwriting isn’t just about rules – it’s about creating a style that feels personal. Use the artistic ideas from earlier sections to shape a style that’s uniquely yours.
Improving your handwriting is a journey. Each small step – better spacing, smoother lines, or consistent letters – brings you closer to writing that’s both beautiful and functional. With dedication and attention to detail, you’re ready to create text that stands out in your daily life.