The Hobonichi Weeks is a compact and lightweight planner (7.4 x 3.7 inches) with smooth, ink-friendly Tomoe River paper, perfect for organizing your life and expressing creativity. Here’s how to get started:
This planner balances portability and functionality, making it easy to customize for your personal planning style.
Setting up your Hobonichi Weeks planner starts with choosing tools that complement its Tomoe River paper. These items not only make planning easier but also let you add a personal touch.
Tomoe River paper pairs well with certain pens:
| Pen Type | Best Uses | Recommended Brands |
|---|---|---|
| Gel Pens | Daily writing | Pilot G2, Uni-ball Signo |
| Fine Liners | Details & headers | Sakura Micron |
| Fountain Pens | Journaling | Pilot Metropolitan, TWSBI Eco |
Stick to tip sizes between 0.38mm and 0.5mm for clear writing, especially in the planner’s compact layout.
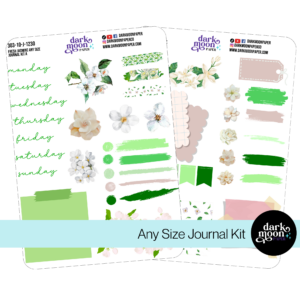
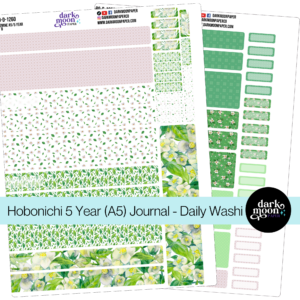
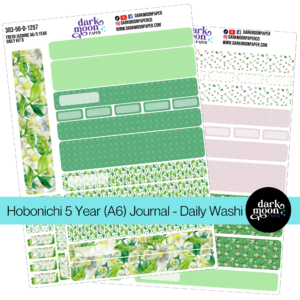
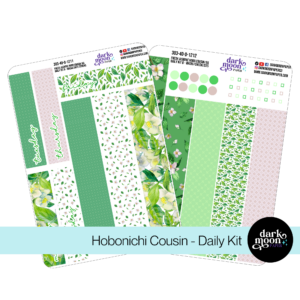
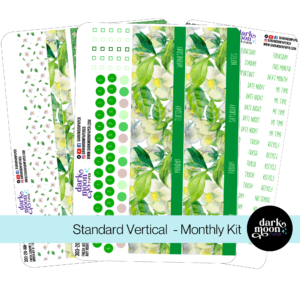
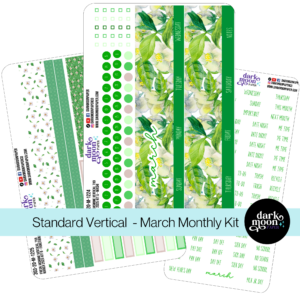
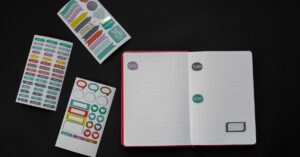
Stickers and washi tape are perfect for both decorating and organizing. Dark Moon Paper offers themed sticker kits like Lilac Dusk and Winter Hygge that make it easy to create well-coordinated weekly spreads.
"The key to effective planner decoration is finding the balance between aesthetics and functionality. Stickers should enhance your planning system, not hinder it." – Rachael Snow, Founder of Dark Moon Paper
Here are some ideas for using these decorative tools effectively:
Accessories can help protect your planner and keep everything in order:
| Accessory Type | Purpose | Price Range |
|---|---|---|
| Cover | Protection & storage | $10-20 |
| Page Markers | Quick navigation | $5-10 |
| Supply Pouch | Portable storage | $10-30 |
A pencil case can keep your pens and stickers organized, while removable page markers are great for accessing key sections without damaging the paper.
Once you’ve gathered these supplies, you’re ready to dive into designing your Hobonichi Weeks layouts.
The compact design of the Hobonichi Weeks planner calls for smart use of its space. Here’s how you can organize it to get the most out of your planning.
The vertical layout of Hobonichi Weeks gives you two main ways to plan your week:
| Layout Style | Best For | Key Features |
|---|---|---|
| Time-Block | Scheduled appointments | Hourly divisions for detailed scheduling, with color coding for easy categorization |
| Task-Focus | Managing projects | Checklist format with priority markers to track task progress |
Leave some white space for flexibility. If you need both scheduling and task management, mix elements from these styles to create a hybrid layout that suits your needs.
Once your weekly spreads are set up, you can use the notes section for extra planning or creative purposes.
The notes section is an open canvas for additional planning and creative ideas. The gridded Tomoe River Paper makes it easy to create structured layouts for various purposes.
"I devised a Bill Tracker system where I have all of my Bills and financial obligations on one page. This way, I won’t forget it and all the due dates can be indicated on the weeklies from the bill tracker." [1]
Here are some ideas for using this section:
The notes section is also perfect for tracking habits and setting goals. Its grid design makes it simple to create structured tracking systems.
To make the most of it:
Functional stickers, such as checkboxes or progress bars, can make your tracking spreads both practical and visually appealing.
With these layouts and tools in place, you can customize your Hobonichi Weeks to match your personal planning style.
Once your layouts are ready, it’s time to make your planner reflect your personality and needs.
Give your planner a personal touch with temporary decorations. Try using removable die-cut stickers along with a clear plastic cover. This way, you can update the look whenever your style or goals change while keeping everything protected.
The first pages are where your planning journey begins. Here’s how you can make them both functional and personal:
| Section | Purpose | Suggested Elements |
|---|---|---|
| Inspirational Pages | Goal setting and reference | Photos, quotes, key dates, and milestones |
| Personal Data | Essential info | Emergency contacts, important numbers |
These additions make your planner not only practical but also something you’ll enjoy using every day.
Monthly and yearly spreads are perfect for adding a mix of organization and creativity. For example, Dark Moon Paper offers themed sticker kits that match Hobonichi Weeks’ dimensions, like their Monthly Overview Stickers ($7.95 USD). These help keep your layouts neat while adding a bit of flair. Ashton Womack’s nature-inspired designs are another great option for a seasonal touch.
Here are some tips to make your monthly spreads both functional and visually pleasing:
Since the Hobonichi Weeks is compact, every decorative element should have a purpose – whether it’s to keep you organized or to inspire you.
Once your monthly and yearly layouts are personalized, you’ll be ready to explore ways to keep your planner fresh and functional over time.
Dedicate 20-30 minutes each day to updating your planner. Many users, like @thecoffeemonsterzco’s Helen, suggest evening sessions for organizing your tasks and plans effectively. Make the experience enjoyable – grab your favorite drink, play some background music, and keep your supplies within reach to create a cozy, productive atmosphere.
Successful Hobonichi users often combine functionality with a touch of creativity. Here’s how they do it:
| Purpose | Practical Approach | Creative Touch |
|---|---|---|
| Daily Tasks | Ample writing space | Simple washi tape borders |
| Weekly Overview | Clearly marked time blocks | Color-coded categories |
| Goal Tracking | Checkbox system | Motivational stickers |
"I find it really reinforces my focus on my goals each day, and it feels really gratifying to be able to write down my wins when I complete those goals."
Adding creative elements not only makes your planner visually appealing but also helps keep you motivated and organized.
"The common thread running through all of these ‘goals’ is that most of them require that I carry the Hobonichi with me, if not all the time, certainly more than last year when it lived on my desk at home."
To keep your planner relevant and useful, try these strategies:
Getting your Hobonichi Weeks planner ready is both practical and personal. Start with the basics – good pens and simple tools – and build from there.
| Setup Phase | Key Focus | Tips for Success |
|---|---|---|
| Initial Setup | Basic Tools & Layout | Pick 2-3 reliable pens and stick to a simple layout. |
| Customization | Personal Touches | Add creative elements like stickers or washi tape gradually. |
| Maintenance | Regular Updates | Spend 20-30 minutes daily to keep your planner updated. |
Once you’ve got the basics down, the fun part begins – making your planner truly yours.
Your Hobonichi Weeks planner is more than just a tool – it’s a way to combine organization with creativity. Its simple design gives you endless ways to make it your own. Whether you prefer a clean, minimalist look or love adding decorative flair, this planner can match your style.
What matters most is finding a setup that fits your life. Over time, your approach will naturally change as you figure out what helps you stay productive and enjoy the process. Plus, the growing Hobonichi Weeks community is full of ideas and inspiration to keep you motivated. Use this planner to strike the perfect mix of structure and creativity that works just for you.