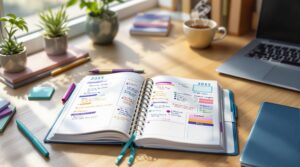
Want to write neater and create notes that are clear, organized, and memorable? Here’s how:
Studies show that neat handwriting boosts information retention by 24%, while color-coding improves recall by 41%. Try these simple techniques to make your notes both functional and visually appealing.
Handwriting isn’t just a practical skill; it can also sharpen your focus and boost productivity. Let’s dive into three key techniques to tackle common issues like hand strain and messy writing.
How you hold your pen matters. The dynamic tripod grip – holding the pen between your thumb and index finger while resting it on your middle finger – helps reduce strain by using larger muscles instead of just your fingers [1]. Some people also find the dynamic quadrupod grip (adding an extra finger) comfortable and effective.
Your posture plays a big role too. Keep your feet flat on the floor, knees bent at 90 degrees, and rest your forearms on the desk with elbows also at 90 degrees. If you’re right-handed, tilt your paper 30-45 degrees to the left; left-handed writers should tilt the opposite way. This setup can cut shoulder and neck strain by nearly half compared to slouching [1][2].
Practice makes perfect. Spending just 5 minutes a day on simple exercises like drawing vertical lines or circles can improve letter consistency by 25% in as little as two weeks [2]. Focus on tricky letters using traceable templates to build muscle memory.
For better readability, slightly shrink your letter height by 10-15% while keeping the vertical proportions intact. This adjustment reduces unnecessary hand movement by 30%, helping you write faster without losing clarity [1].
The tools you use can make a big difference. Here are some recommendations:
If you need to write on both sides of the paper, go for thicker sheets (100 grams per square meter or more) to avoid ink showing through.
Common mistakes to avoid? Many people grip their pens too tightly (62%), extend their elbows too far (45%), or rely on wrist movements instead of rotating their forearms (81%) [1][2][3]. Keep your grip relaxed and let your arm guide the motion for smoother, less tiring writing.
Once you’ve nailed the basics of handwriting, adding visual elements can make your notes more engaging and easier to remember. Studies show that using 3-4 high-contrast colors can improve information retention by 25% compared to sticking with just one color [1]. For the best results, try warm colors like red or orange to mark urgent tasks, while cooler shades like blue and green are ideal for reference material.
To get the most out of your notes, apply color thoughtfully. Here are a few tips:
Avoid low-contrast inks like light gray, as they can make your notes harder to read. Instead, stick with bold, vibrant colors [2]. You can also use office sticky notes as an affordable way to color-code and organize information.
Headers are a key part of visually organizing your notes. Make them stand out by making them three times taller than your regular text and using thicker nibs (0.7mm or larger). Leave extra spacing – triple the usual amount – above headers for better readability. Brush pens are great for bold headers, especially when paired with fine-tip pens for the main text [2][3].
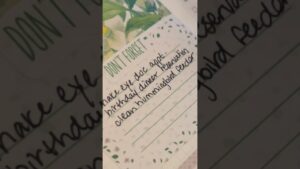
Consider using themed sticker kits with headers, icons, and trackers to keep your notes looking polished while adding some flair.
Decorating your notes can be fun, but it’s important to keep them practical. Here’s how to strike the right balance:
The "Functional Decoration" approach suggests using structured numbering systems and keeping doodles within 20% of the margin space [1][2]. For work settings, stick to subtle accents like gray markers and simple symbols (e.g., ▲ for priorities, ● for completed tasks) to maintain a professional look.
The materials you choose can directly impact how effective and organized your notes are. With the right tools, you can turn standard notes into clear, visually appealing documents that make learning easier and help you retain information.
Sticker kits with checkboxes, arrows, or botanical designs can help structure your notes while adding some personality. For tasks, use smaller stickers (8-12mm), and for labeling sections, go for larger ones (15-20mm). Stick to your existing color scheme to keep everything consistent.
Removable masking tape is another great tool for creating section dividers. It won’t damage your pages and can be repositioned several times without losing its stickiness or affecting the paper quality [2].
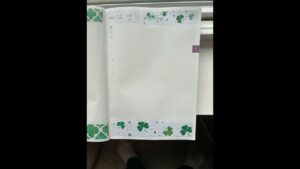
The type of paper you use matters. Heavier paper (90-120g) works well with gel pens, preventing smudges, while lighter paper (80g) is ideal for fountain pens. Dot grid paper can improve alignment by 30% compared to traditional lined paper [2].
Smooth, high-quality paper is more durable and resists ink smudging [4]. For daily use, try hybrid sheets that combine smooth areas for writing with textured zones for sketches or diagrams.
Pairing good paper with thoughtful decorations can make your notes both practical and visually appealing.
Stick to a 70/30 ratio of text to decoration to keep your notes functional. Add small watercolor accents using very little water to avoid damaging the paper. For headers, quick-dry brush pens work well, and fine-tip markers are perfect for precise details.
Here’s a quick guide for artistic tools:
If you want to add watercolor effects, use watercolor pencils with minimal water. This creates soft, subtle designs without warping your notebook pages, keeping your notes both decorative and easy to use.
Short, daily writing drills can help you build muscle memory quickly. Spend five minutes practicing wave patterns that connect the baseline to the midline. This helps create smoother motions and consistent letter sizes. To focus on specific areas, try repeating single letters – like writing rows of "nnnn" – to improve straight lines and spacing [2]. These quick sessions also reinforce proper posture and grip while targeting letter shapes.
A study from 2023 showed that practicing for just 21 days improved writing speed by 18% without losing legibility [1]. To get the most out of these sessions, ensure your forearm is positioned correctly to avoid fatigue.
Tracking your progress with measurable goals helps you see real improvement. Try this monthly evaluation system:
| Measurement | Method | Target |
|---|---|---|
| Letter Height | Compare the x-height of 5 random letters | Stay within 1mm variation |
| Word Spacing | Measure gaps between 10 consecutive words | Keep distances ±2mm |
| Writing Speed | Time yourself completing a standard paragraph | Beat your previous benchmarks |
You can use tools like cloud-based journals or apps such as GoodNotes to monitor letter slant and other details [3].
A well-organized workspace makes your tools more effective. Implementing a 3-zone desk layout can boost efficiency [3]. Keep your active zone – such as your notebook and two main pens – within easy reach. Place reference materials in a secondary zone, and store extra supplies in a designated area.
Carry a portable kit that includes your favorite pens, a tracking notebook, a mini ruler, and sticky flags for marking improvements.
"Organized supplies reduce mental strain and posture errors by 30%."
Improving handwriting and note-taking comes down to consistent practice, not striving for perfection. The methods shared in the Basic Steps section provide a solid starting point, while adding personal touches can make your notes more functional and visually appealing.
Using tools like graph paper for spacing or bold-lined paper for alignment can help you see clear improvements over time [5]. Studies show that combining structure with creative elements can boost information retention by 23-40% [1].
Here’s how structure and creativity work together:
| Aspect | How to Apply | Benefit |
|---|---|---|
| Creative Touches | Add 20% margin designs | Improves recall by 23-40% |
Keep an eye on your progress by using letter height templates or measuring speed and accuracy [1]. As you refine your technique, aim for consistent letter sizing while gradually including creative features like those in the Making Notes Look Better section. This mix of structure and creativity ensures your notes are both practical and visually engaging.

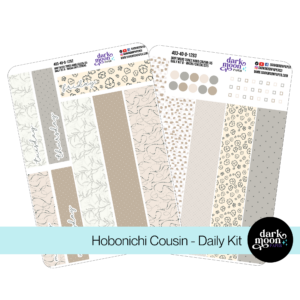
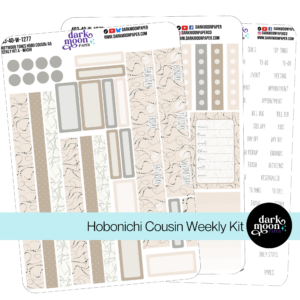
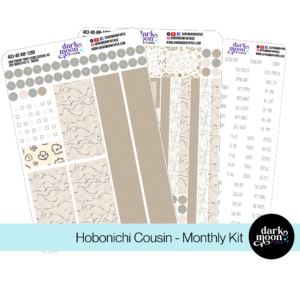
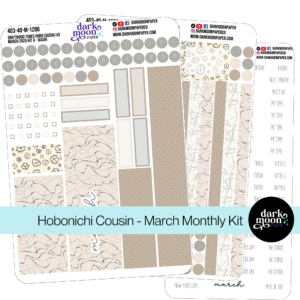
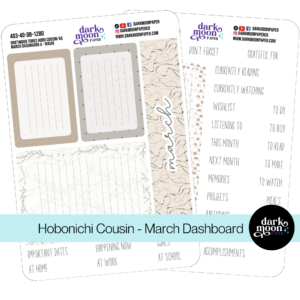
Stickers Made for Planning
Our custom stickers are a fuss-free way to brighten up your planner pages with perfectly-sized designs that add a spark of personality to every layout.
Why use planner stickers?
Planner stickers make organizing easy, fun, and personal! Add color, creativity, and structure to every page, transforming your planner into a tool that reflects you. Perfect for tracking, decorating, and staying inspired daily!


Hello and welcome!
I’m Rachael Snow, a lifelong artist and entrepreneur, and I started Dark Moon Paper to blend my love of art, technology, and the mysterious beauty of the world around us. My sticker kits are meant to set the mood, tell a story, and give you a little escape from the ordinary.
I work from my cozy studio tucked away in the beautiful woods of Oregon, surrounded by nature and a dark night sky full of stars.