Welcome to our ultimate guide where we dive deep into the transformation of your vertical planner using dashboard and weekly kits. Whether you’re a seasoned planner enthusiast or just starting out, enhancing your vertical planner’s functionality and aesthetics can elevate your organizational experience. In this comprehensive guide, we’ll explore layout setups, customization tips, weekly kit enhancements, digital hacks, and more.
The foundation of an effective vertical planner begins with a well-structured layout. Start by dividing your planner’s daily columns into 3-4 vertical boxes. This method is excellent for those who prefer time-based planning divided into Morning, Afternoon, and Evening slots, or for categorical organization, such as Work, Personal, and Health categories. Each approach offers unique benefits, allowing you to manage time or focus on specific life areas efficiently.
An integral aspect of this layout is integrating a dashboard column or sidebar. Here, you can place habit trackers, weekly goals, or progress metrics, such as fitness achievements, reading lists, or financial savings. This section serves not only as a motivational visual aid but also helps you keep track of long-term objectives.
Customization is where your planner truly becomes a reflection of your personal style and needs. Implement an abbreviation system to manage recurring tasks efficiently. For instance, using letters like “M” for meetings or “C” for calls saves space and makes tracking straightforward. Consider incorporating sticky notes and overlays for tasks that require flexibility. They allow you to make adjustments without cluttering your main layout and provide room for creativity as you experiment with different setups.
Color coding is another crucial customization tool. Assign different hues to various categories to enhance visual clarity. For example, shade your work tasks in blue, personal tasks in green, and leisure activities in yellow. This technique not only adds aesthetic appeal but also facilitates quick identification of each category, thereby improving your organizational flow.
Weekly kits are a planner’s best friend when it comes to balancing aesthetics and functionality. Begin by identifying your top three priorities for each day, using these to label daily boxes. This method ensures you maintain focus on high-impact tasks and helps streamline your daily endeavors.
Consider incorporating memory-keeping strategies into your planner by reserving a column for weekly reflections or gratitude logs. Journal small victories, moments of gratitude, and challenges overcome throughout your week. This practice not only serves as a reminder of your accomplishments but also fosters positive mental health by promoting mindfulness.
Project tracking is another enhancement that many find invaluable. Allocate a box per project and break down tasks into phases or milestones. This approach provides clarity and facilitates progress monitoring, ensuring you stay on top of ongoing projects.
For planners who prefer digital solutions, converting a vertical layout to a digital format can enhance flexibility and accessibility. Start by resizing your vertical planner layout to a landscape orientation using software tools. This adjustment allows for a better fit on digital screens while maintaining the benefits of a traditional planner setup.
To optimize your digital planner, adjust column widths and manually add widgets such as habit trackers. This method enables you to customize your planner according to your daily requirements and preferences, providing a seamless blend of digital convenience and traditional organization techniques.
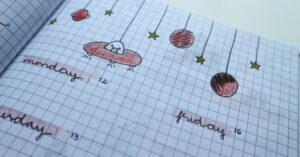
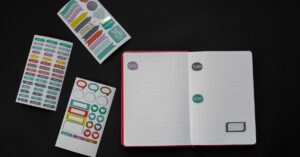
The blend of aesthetic appeal and functionality is vital for a planner that inspires and serves its purpose. Incorporate decorative elements like washi tape, stickers, and doodles to personalize sections and make planning a joyous task. These elements not only enhance visual appeal but also provide creative expression.
Moreover, strategically utilize white space to give your planner a clean, breathable look. This space can serve as an area for jotting down inspirational quotes or reflections, offering a mental escape and encouraging creativity amid your daily tasks.
Understanding the nuances between vertical and dashboard layouts can help in creating a system that best suits your needs.
| Feature | Vertical Layout | Dashboard Layout |
|---|---|---|
| Structure | Columns for categories | Grids for metrics |
| Best For | Multitaskers | Goal-oriented users |
| Customization | High flexibility | Fixed sections |
By strategically blending elements from both layouts, such as layering dashboard features like habit trackers into your vertical columns, you can devise a hybrid system that caters to both multitasking and goal tracking.
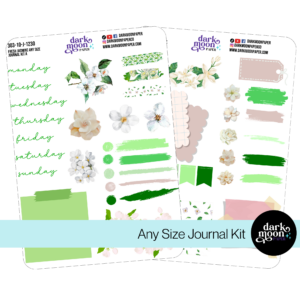
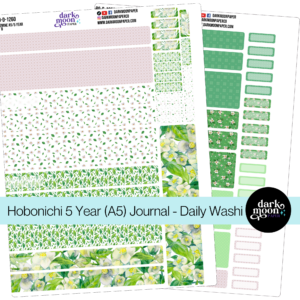
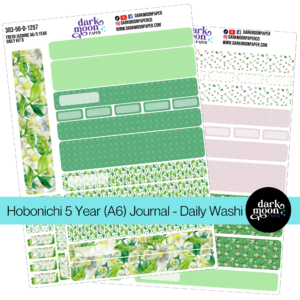
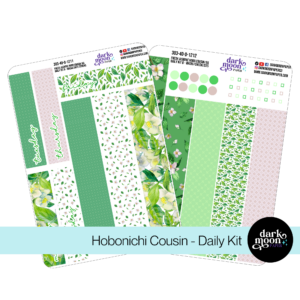
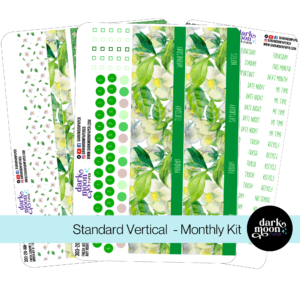
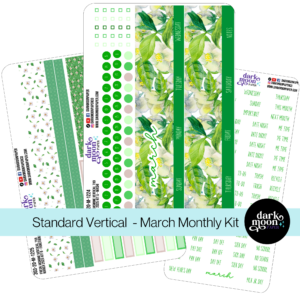
For those looking to explore new styles and planners, consider our Weekly Kits and Dashboard Kits to enhance your planner and make organizing an artful, enjoyable experience.