Want to stay organized and productive every day? A Notion daily planner can help you manage tasks, track deadlines, and personalize your workflow – all in one place. Here’s how you can make the most of it:
Takeaway: Start simple, build your planner over time, and make it a daily habit. With Notion, you can create a system that grows with you and helps you achieve more every day.

Start by clicking the ‘+’ button to create a new page. Give it a meaningful name like Daily Planner. Start with sections such as Daily Tasks, Appointments, and Notes to create a simple structure. While the blank page might seem overwhelming at first, Notion lets you adjust and refine your planner as your needs evolve [4].
Use Notion’s blocks to structure your planner. Add to-do lists for tasks, tables for schedules, and calendars for deadlines. To insert a block, type "/" followed by the block type you want, such as "table" or "list." For example, you can use a table to track tasks with columns for priority, due dates, and status. To keep things tidy, collapse completed tasks using the toggle feature [4][3].
Templates can simplify your planning process and keep things consistent. Key template elements include:
For recurring tasks, set up a database template you can duplicate each day [2]. Templates are meant to be a starting point – tweak them to fit your workflow and preferences [1].
Once your planner is in place, you can adjust the design and features to better suit your style and needs.
Want your planner to feel more personal? Click ‘+ Add Cover’ or ‘+ Add Icon’ to upload your own images or pick from Notion’s gallery. Choose visuals that reflect your planning style and goals. You can also arrange blocks side by side to keep important sections – like tasks and schedules – easily accessible. Using consistent color schemes or design themes can make your planner more visually appealing and enjoyable to use every day.
Take advantage of Notion’s database features to create a task management system that keeps you organized. Here’s a simple setup for your task database:
| Column Name | Purpose | Type |
|---|---|---|
| Task Name | Description of the task | Text |
| Priority | Urgency level (High/Medium/Low) | Select |
| Status | Current state (Not Started/In Progress/Complete) | Status |
| Due Date | Deadline | Date |
| Tags | Category or project | Multi-select |
Use tags to group tasks by category and apply filters to focus on deadlines or priorities. This makes it easier to stay on top of what matters most [1][2].
Add a calendar view by typing /calendar and selecting "Calendar – Inline". From there, you can click on specific dates to link tasks directly [1]. Set up calendar views for milestones, schedules, or deadlines to keep everything organized at a glance.
To manage deadlines more effectively, use the calendar’s filter feature to focus on specific tasks or events. This helps you stay on track without feeling overwhelmed and ensures you never miss an important deadline [1][3].
Now that your tasks and deadlines are organized, let’s dive into ways to enhance your planner’s design.
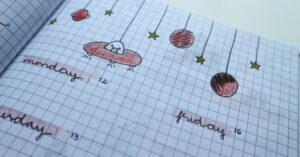
Boost your productivity by incorporating a journaling section into your planner. You can create a dedicated ‘Journal’ page using /page and organize it with sections like:
The /button feature lets you set up shortcuts for quick navigation. For example, you can jump straight to tasks, journal entries, or habit trackers. To connect tasks with related entries, highlight the text and press Ctrl/Cmd + K to add a link. This creates a well-organized system that’s easy to navigate and keeps everything connected [1][5].
These tools work best when paired with a regular routine. Start by reviewing your tasks each morning and reflecting on your progress at the end of the day. Block out time in your calendar specifically for planning, set reminders to check in, and create a dashboard for your most important information. Keeping up with regular updates ensures your system stays organized and effective [3][2].
For quick access, pin your planner to your browser or phone’s home screen. This makes planning feel like a natural part of your day instead of a chore [1][5].
Once your planner is running smoothly, you can make it more personalized by adding stickers or themed designs to give it a touch of creativity.
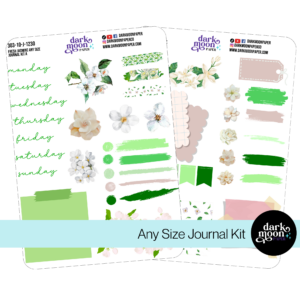
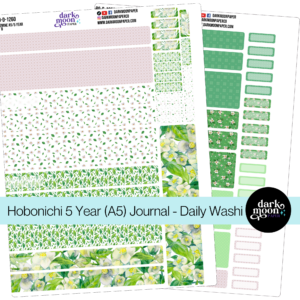
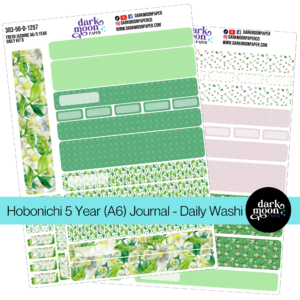
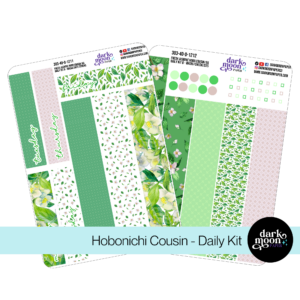
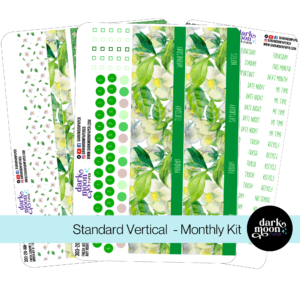
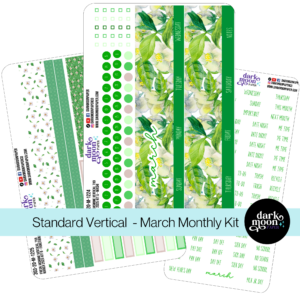
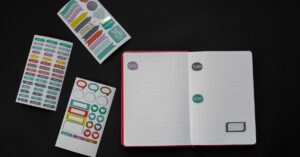
Add some flair to your Notion planner by blending functionality with eye-catching design elements. Digital sticker kits are a great way to personalize your workspace while keeping it practical. They can help you highlight tasks or separate sections in a creative way. Here are a couple of tips:
Thoughtful use of stickers and themes can make your planner more visually appealing while helping you stay focused and organized. The trick is to pick elements that enhance productivity rather than distract from it [2].
Take advantage of Notion’s built-in tools like covers, icons, headers, and templates to give your planner a polished and cohesive look [1]. Use high-quality images from Notion’s Unsplash integration and stick to a consistent color palette to create a smooth, intuitive navigation experience [3].
Consider updating your planner’s design every month to keep it fresh and aligned with your changing needs. Good design isn’t just about looks – it should make your planning process smoother and more effective [1][2].
Your Notion planner is more than just a tool – it’s a blend of task management, design, and advanced features that can help you stay on top of your schedule. By balancing function with design, you can create a planner that works seamlessly with your workflow. Tools like task linking and buttons make navigation easier, while calendar integration helps you visualize deadlines and track your progress effectively [1][3].
Ready to build your Notion planner? Start simple. Include basics like task lists and calendars, then layer in advanced tools as you go [1]. Consistency is key – make it a habit to update and review your planner daily.
Here are a few tips to get started:
Notion’s true strength lies in its ability to grow with you. With regular updates and a touch of creativity, your planner can become more than just a productivity tool – it can inspire you to achieve more every day [3].