Lined stickers make planning easier and more visually appealing. They provide structure, improve handwriting, and help you stay organized while adding a personal touch to your planner. Here’s why they stand out:
Lined stickers are versatile tools for staying organized while customizing your planner. Whether for tracking tasks, marking events, or adding flair, they help simplify and enhance your planning process.
Lined stickers bring order and style to your planner, making it easier to stay organized while adding a personal touch.
Lined stickers help turn a messy planner into a well-organized tool by separating activities like work tasks, appointments, or personal events. This clear structure allows you to quickly find what you need. For those who like precision, using a grid or ruler can help you position stickers neatly, letting you create layouts that match your planning preferences. This method also simplifies breaking down larger goals into smaller, daily steps, making big projects feel more manageable. Plus, it encourages tidier, more uniform handwriting.
One standout feature of lined stickers is how they naturally guide your handwriting. The lines help maintain consistent letter size and spacing, making your entries easier to read. Studies suggest that lined paper improves legibility, which can benefit anyone using a planner.
For the best results, choose stickers with line spacing that matches your handwriting style. Whether you write directly on the lines or between them, the result is a cleaner, more polished look that’s both practical and visually pleasing.
Lined stickers are as functional as they are stylish, turning your planner into a personalized and visually appealing tool. They also work well for color coding, helping you:
This mix of practicality and design helps you stick to your planning habits. Lined stickers provide the structure you need while keeping your planner visually engaging, making it easier to stay motivated over time.
Lined stickers can add both style and structure to your planner. Here’s how to choose, place, and use them creatively.
Start by measuring your planner and identifying your needs. Sticker size and style should match your planner’s layout. For example, TaggieTag’s "Cozy Winter Theme" collection, launched in January 2024, is tailored for Hobonichi Weeks planners, which measure 4.35 x 6.25 inches. These stickers are made from matte vinyl, making them water-resistant and perfect for daily use.
When selecting stickers, keep these factors in mind:
Before applying stickers, make sure your planner page is clean to avoid oils or debris interfering with adhesion. Use the grid lines in your planner as a guide for precise placement. Here’s a simple method to get it right:
| Step | Action | Purpose |
|---|---|---|
| 1 | Test placement without removing the backing | See how it looks before committing |
| 2 | Peel the backing partially | Stay in control while positioning |
| 3 | Align with gridlines | Keep the sticker straight |
| 4 | Smooth from the center outward | Avoid air bubbles and wrinkles |
This method ensures your stickers look neat and stay firmly in place.
Lined stickers aren’t just for decoration – they can also enhance your planner’s functionality. Take Franklin Planner’s "Essentials Borders & Frames" collection ($6.95), for instance. These stickers can be used to create decorative borders, banners, or accents that make your planner both organized and visually appealing.
Here are some creative ideas:
For a budget-friendly option, Plan to Plan Sticker Co. offers their Blog Headers/Dividers collection for $3.00. These stickers help you create professional-looking sections while keeping costs low. By using these creative applications, you can make your planner not only look great but also work better for you.
Lined stickers work beautifully with other tools like washi tape to create more engaging layouts. For example, TheChicLife.com shows how aligning washi tape alongside stickers can create custom borders that add depth and keep your pages organized.
Here are a few ways to combine tools effectively:
| Tool Combination | Purpose | How to Use It |
|---|---|---|
| Washi + Lined Stickers | Page Structure | Layer washi tape under stickers for accents |
| Color-Coordinated Pens | Visual Flow | Match pen colors to your sticker themes |
| Highlighters | Emphasis | Use soft tones that won’t overpower text |
Blending these tools can elevate both the functionality and creativity of your planner.
Once you’ve mastered tool combinations, focus on organizing with color. Bloom daily planners offer sticker packs with over 1,000 options, making color-coding a breeze.
"Color code to your heart’s content with bloom’s highly functional Color Coding Planner Stickers. Organize appointments, to-dos, important dates, and more by category with these versatile labels that will add color, fun, and organization to any planner." – bloom daily planners
To make the most of color organization:
Beyond color, consistent layout patterns can simplify your planning process. A repeatable structure helps you stay efficient while keeping things visually appealing. Try dividing your planner into sections:
Placing similar stickers in the same spots each week builds a routine that’s easy to follow. Use bright accents sparingly and keep text minimal to avoid cluttering your design.
Struggling with stickers that won’t stick? You can easily fix this using simple supplies. One creative trick, shared by Plan With Bee, involves adding a transparent sticky note backing. This works great for things like seasonal decorations or temporary layouts.
Here’s a handy table for common adhesion problems:
| Problem | Fix | What You Need |
|---|---|---|
| Stickers not sticking | Use a transparent sticky note backing | Clear sticky notes, scissors |
| Weak grip | Add removable page tabs | Page tabs, clear tape |
If stickers still won’t stay put, even after these fixes, you can also follow some steps to adjust their placement without causing damage.
Made a mistake when placing a sticker? No problem. Warm up the adhesive by using a hairdryer on low heat for about 30 seconds. Then, gently peel the sticker off with tweezers to avoid damaging your planner pages.
"Heating the sticker with a hair dryer before peeling can help prevent any marks. For stubborn stickers, gentle solutions like dish soap or diluted vinegar can help without leaving behind residue or marks."
– Stomp Stickers
When you’re ready to remove a sticker completely, try these methods:
In April 2023, Megan from The Homes I Have Made blog showed how applying hand sanitizer for just a few seconds made sticker removal easy and left no damage behind.
Sticker type matters, too. As Stomp Stickers explains:
"The permanent sticker has a pressure-sensitive adhesive that does not allow removal from a surface it is applied to without causing damage to the sticker or leaving some sticky residue (dependent on the length of time on a given surface). The removable sticker has a low-tack adhesive that can be removed quickly and cleanly from a surface."
– Stomp Stickers
Lined stickers bring together structure and style, reshaping how people approach planning. As Passion Planner puts it:
"There are infinite ways to use stickers to support your goals and dreams, all while adding more fun to your planning experience. No matter what sticker books or stickers you choose, remember to embrace the uniqueness of your creative process and let your planner be a space for what really matters."
These stickers go far beyond simple decoration. They serve as practical tools for beginners and seasoned planners alike. Starter packs from brands like Erin Condren offer a great starting point for building effective planning habits, supported by research linking planning tools to higher task completion rates .
Here’s how lined stickers can make a difference:
| Benefit | Impact |
|---|---|
| Organization | Simplifies tasks and deadlines |
| Creativity | Adds a personal touch to planning |
| Functionality | Supports habit tracking and routines |
To get started, focus on a planning system that fits your style and goals. Begin with simple organizational features and gradually add creative elements as you go.
Lined stickers have become key in modern planning by blending practicality with creative flair. They help users stay organized while adding a touch of individuality, making them a must-have for anyone looking to streamline and personalize their planning process.
Stickers Made for Planning
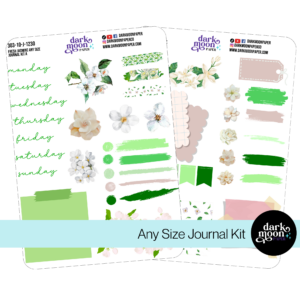
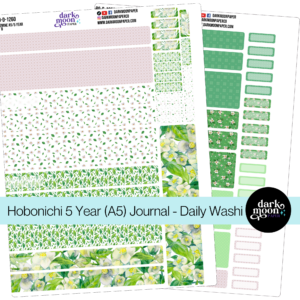
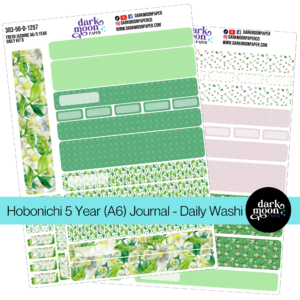
Our custom stickers are a fuss-free way to brighten up your planner pages with perfectly-sized designs that add a spark of personality to every layout.
Why use planner stickers?
Planner stickers make organizing easy, fun, and personal! Add color, creativity, and structure to every page, transforming your planner into a tool that reflects you. Perfect for tracking, decorating, and staying inspired daily!
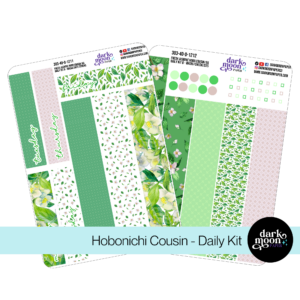
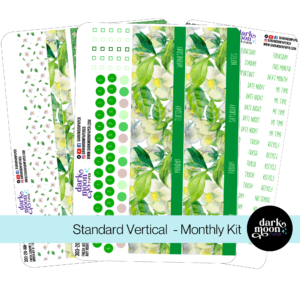
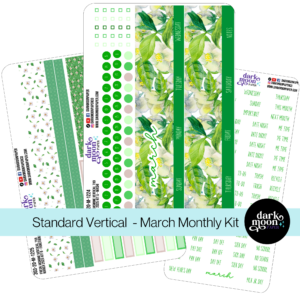

Hello and welcome!
I’m Rachael Snow, a lifelong artist and entrepreneur, and I started Dark Moon Paper to blend my love of art, technology, and the mysterious beauty of the world around us. My sticker kits are meant to set the mood, tell a story, and give you a little escape from the ordinary.
I work from my cozy studio tucked away in the beautiful woods of Oregon, surrounded by nature and a dark night sky full of stars.